Hello, craft friends! Feeling stuck on your first vinyl project? I get it—I’ve been there too. My guide cuts through the confusion, starting with the absolute basics. I’ll explain what cutting vinyl really is, show you the essential tools, and help you choose the right material. Then, I walk with you step-by-step from your first cut through weeding and final application. Let’s start your project right—together
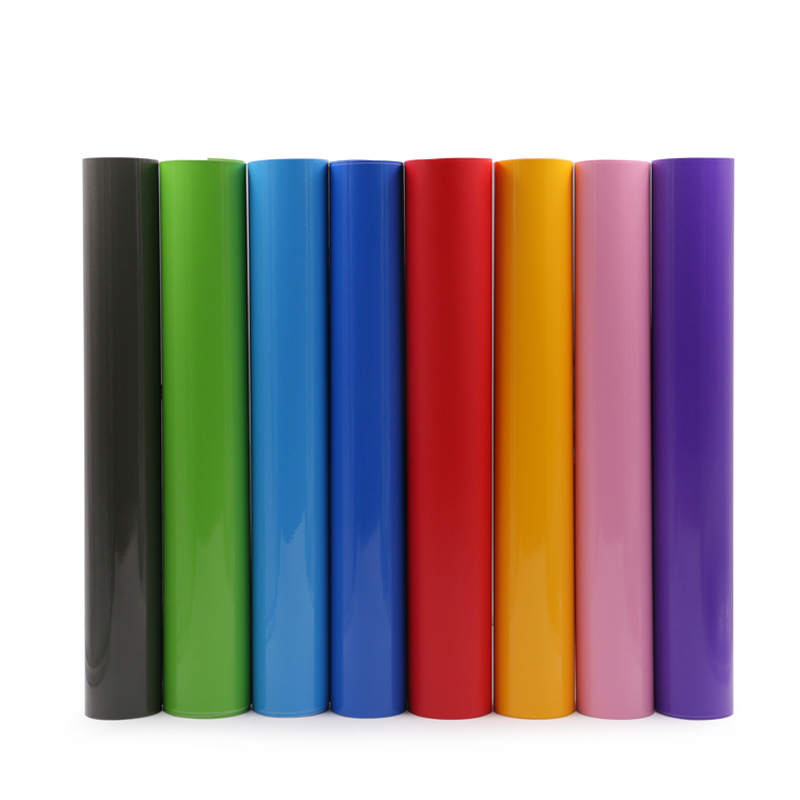
1. The Different Types of Cutting Vinyl
Walk into a craft store, and the vinyl aisle can be overwhelming. They are not all the same! Picking the wrong one is the fastest way to a frustrating project. Let me make it simple.
Your everyday hero is Permanent Vinyl. It has a strong adhesive for long-term projects. Use it for water bottles, car decals, or signs. Once it’s on, it’s meant to stay.
For temporary fun, you need Removable Vinyl. The adhesive is much gentler. It’s perfect for seasonal window clings, wall decor in a rental, or any place you might want to take it off later without damage.
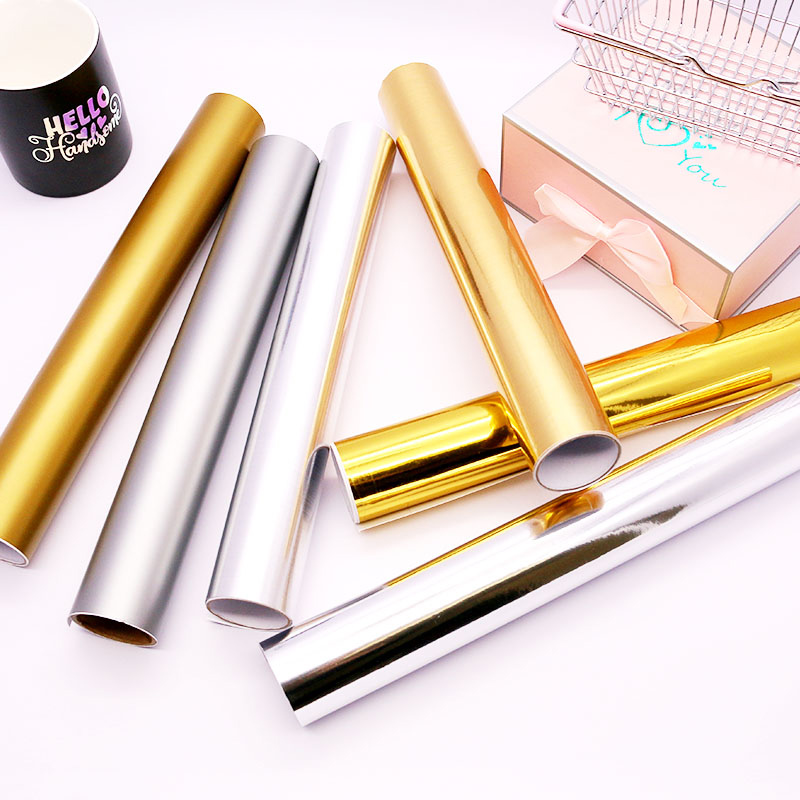
Then, you have the Specialty Vinyls. This is the fun category! Here you find glitter, holographic patterns, metallic finishes, and even glow-in-the-dark styles. They usually work like permanent vinyl but give your project amazing texture and shine.
2. Must-Have Tools for Cutting Vinyl
You need more than just a cutting machine. Here is your basic toolkit:
-
Cutting Machine: This is the main tool, like a Cricut or Silhouette.
-
Cutting Mats: These sticky mats hold your vinyl sheet flat in the machine. Use a Standard Grip mat for most vinyl.
-
Weeding Tools: These are pointy hooks or picks. You use them to lift and remove the extra vinyl from around your design. A dental pick also works great.
-
Scraper/Burnisher: This is a flat, hard plastic tool. You use it to press your vinyl onto the transfer tape firmly and to smooth it onto your final project, removing bubbles.
-
Transfer Tape: This is a sticky, see-through tape. It acts like a bridge to lift your cut design from its backing paper and apply it straight onto your item without mistakes.
3. How to Choose the Right Cutting Vinyl
With so many types, how do you choose? Ask yourself two questions:
-
Question 1: Where will my project live? For outdoor use (like a car decal or mailbox), you must use Outdoor Rated permanent vinyl. For indoor items, standard permanent vinyl is fine. For clothes, you must use HTV.
-
Question 2: What look do I want? Do you want a simple color, a shiny metallic look, or a bright glitter? Your choice changes the feeling of your project. For your first try, I recommend simple permanent vinyl—it is the easiest to work with.
4. Prepare Your Design for Cutting Vinyl
Before the machine cuts, you must prepare in your design software (like Cricut Design Space or Silhouette Studio).
-
Simplify: Very thin lines and tiny details are hard to weed. Make your design strong and simple.
-
Weld or Attach: If you write a word, make sure the letters are connected as one single shape so they cut in the right place. Use the “Weld” or “Attach” tool in your software.
-
Mirror Image: This is very important for HTV! You must flip your design horizontally before cutting HTV because you apply it face-down. For regular adhesive vinyl, you do notmirror.

5. The First Cut: How to Load Vinyl Correctly
A good cut starts with loading the machine right.
-
Place your vinyl sheet shiny side down on the cutting mat. The sticky mat should hold it flat without any wrinkles.
-
Make sure the vinyl is within the guides on the mat. The mat should go into the machine rollers until the machine grabs it. In your software, always tell the machine what material you are using (like “Premium Vinyl”) so it chooses the right blade pressure.
6. Cutting Vinyl: Pressure and Speed Settings
This is where many beginners worry. Your machine has settings for this.
-
Pressure: If the pressure is too light, the blade won’t cut through the vinyl. If it’s too strong, it might cut the backing paper. Start with the preset your machine suggests for your vinyl type.
-
Speed: A slower speed gives the blade more control, which is better for detailed designs. For simple shapes, you can use a faster speed. For your first project, use the default settings. Do a small test cut first to check if you need to adjust.
7. Weeding Your Cutting Vinyl Project
Weeding means removing all the vinyl you do notwant in your final design. After the machine finishes, peel the vinyl sheet off the mat. Then, use your weeding tool to carefully pick out the negative space around and inside your design. For example, if you cut a letter “O”, you need to weed out the center hole. Take your time here. Good lighting helps a lot.
9. Transferring Your Cut Vinyl to a Surface
Now, apply your beautiful design!
-
First, cut a piece of transfer tape a bit bigger than your design. Peel it off its roll and stick it smoothly over your weeded vinyl. Use your scraper to burnish (rub hard) over the whole design.
-
Then, peel the backing paper away from the vinyl. Your design should now be stuck to the transfer tape. Carefully position it on your clean, dry project surface.
-
Burnish it again from the center out. Finally, slowly peel back the transfer tape at a sharp angle, leaving your vinyl perfectly applied.
Conclusion:
You did it! Your first vinyl project is complete. I know it feels like many steps, but soon it will become a fast and fun habit. Remember, every expert started exactly where you are now. Do not fear mistakes—they are your best teacher. Take your new knowledge, grab some vinyl, and make something wonderful. I am excited to see what you create. Happy crafting, and until next time on the blog!
Did you try this guide? I love seeing what you make! Share a photo of your first project in the comments below—I’ll be here to give you a virtual high-five and answer your questions.