Step-by-Step Instructions for Installing Your Own Car Window Tint
Installing car window tint yourself can be a rewarding project that enhances the appearance and comfort of your vehicle. This guide will walk you through the entire process, from gathering the necessary tools to applying the tint. Follow these steps for a successful DIY window tinting experience.
Tools and Materials Needed
– Pre-cut window tint film or tint film roll
– Spray bottle with soapy water solution (a few drops of baby shampoo in water)
– Squeegee or tinting squeegee
– Utility knife or precision cutting blade
– Heat gun or hairdryer
– Window cleaner
– Lint-free cloth or microfiber towel
– Hard card or credit card wrapped in a soft cloth
– Masking tape
– Measuring tape
Preparation
- 1. Choose a Suitable Workspace:
– Find a clean, dust-free area to work. Indoor spaces are ideal to avoid debris and direct sunlight. - 2. Clean the Windows:
– Thoroughly clean the inside of the windows with window cleaner and a lint-free cloth. Remove any dirt, grime, and stickers to ensure a smooth application. - 3. Measure and Cut the Tint Film:
– If using a tint film roll, measure the windows and cut the film slightly larger than each window. Pre-cut tint films are already sized to fit your vehicle’s windows.
Installation Steps
- 1. Wet the Window:
– Fill a spray bottle with a soapy water solution. Spray the inside of the window generously. This will allow you to reposition the film during application. - 2. Peel the Tint Film:
– Carefully peel off the protective backing from the tint film. This can be done by attaching a small piece of masking tape to each side of a corner and pulling them apart. - 3. Apply the Tint Film:
– Place the adhesive side of the tint film onto the wet window, starting from the top and working your way down. The soapy water allows you to slide the film into position. - 4. Smooth Out the Film:
– Using your squeegee, start from the center of the window and push the water and air bubbles out towards the edges. Be gentle but firm to avoid creases and wrinkles. - 5. Trim Excess Film:
– Once the film is positioned and smoothed out, use a utility knife to carefully trim the excess film around the edges of the window. Leave a small gap (1-2mm) around the edge to prevent peeling. - 6. Heat and Set the Film:
– Use a heat gun or hairdryer to gently heat the film. This helps it conform to the window’s shape and removes any remaining bubbles. Keep the heat source moving to avoid burning the film. - 7. Final Squeegee:
– Give the window a final pass with the squeegee, focusing on any remaining small bubbles or moisture. Work from the center outwards.
Aftercare
– Drying Time:
– Allow the tint to cure for at least 24-48 hours before rolling down the windows. This ensures the adhesive sets properly.
– Cleaning:
– After the tint has fully dried, clean it with a soft, non-abrasive cloth and mild soapy water. Avoid ammonia-based cleaners as they can damage the tint.
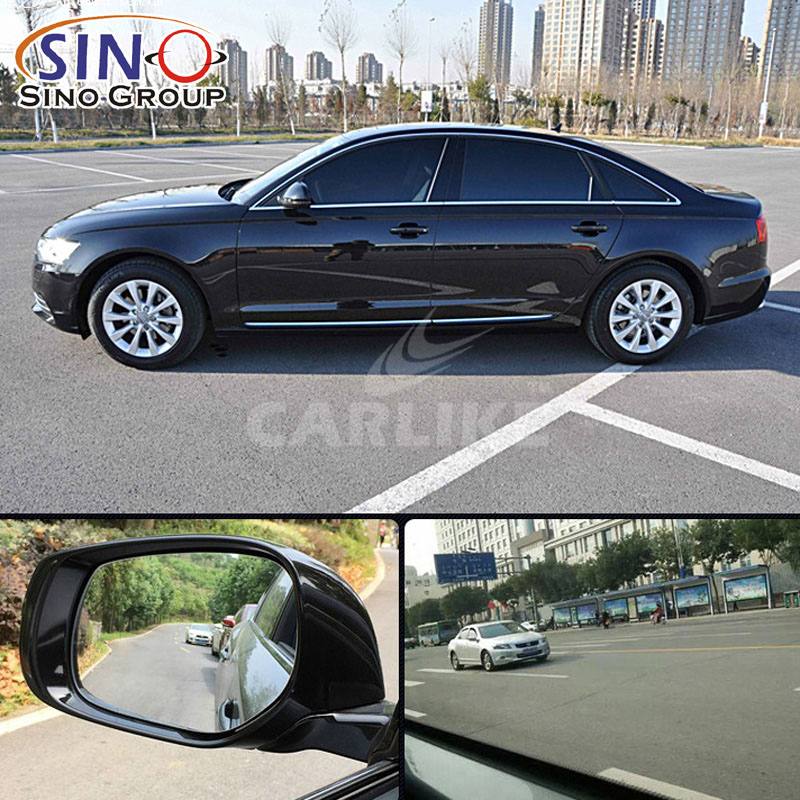
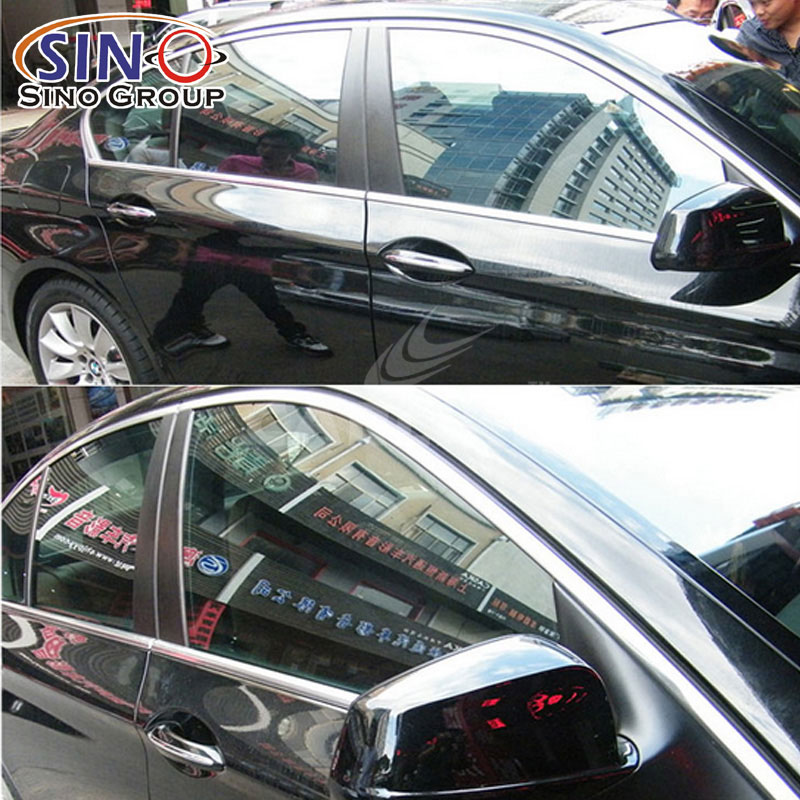
By following these steps, you can successfully install car window tint yourself, enhancing your vehicle’s appearance and comfort. Enjoy the benefits of your new window tint!

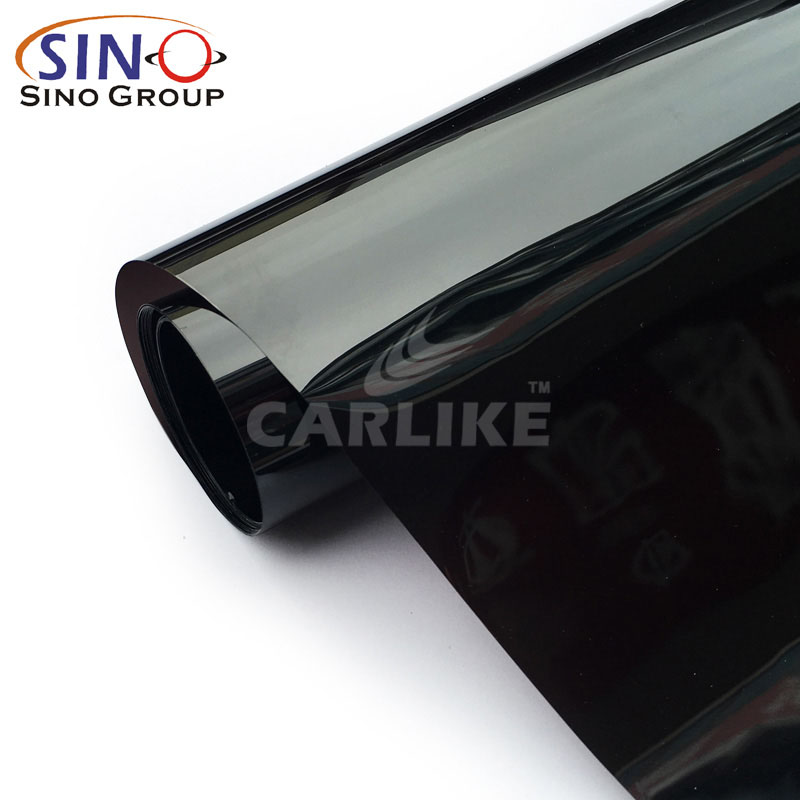
Window Tint Film


Window Tint Film