Tinting your car windows may seem like a job for pros, but I found that with the right steps, anyone can learn to do it at home — and get great results. It was a pleasant surprise to find out how rewarding it can be to give a car a new appearance and a more comfortable ride by myself. Having been involved in many DIY projects, I have learned a great deal from my experiences and I have documented these here.
This article describes the tools and materials you’ll need, explains how to select the correct window tint for your vehicle, and offers advice on preparing your car for a bubble-free application. I explain how to measure and cut the film precisely, use a soap solution for easy positioning, and handle each window carefully — even tricky areas like the rear windshield and defroster lines. I also give tips for removing air bubbles, fixing mistakes, and letting the tint cure properly. Since legal limits matter, I include key guidelines on allowed tint levels so you can drive confidently.
Whether for style, privacy, or heat protection, this guide turns window tint installation into simple, manageable steps. Let’s start and make your car sleek, one pane at a time.

1. Tools and Materials Needed to Install Window Tint
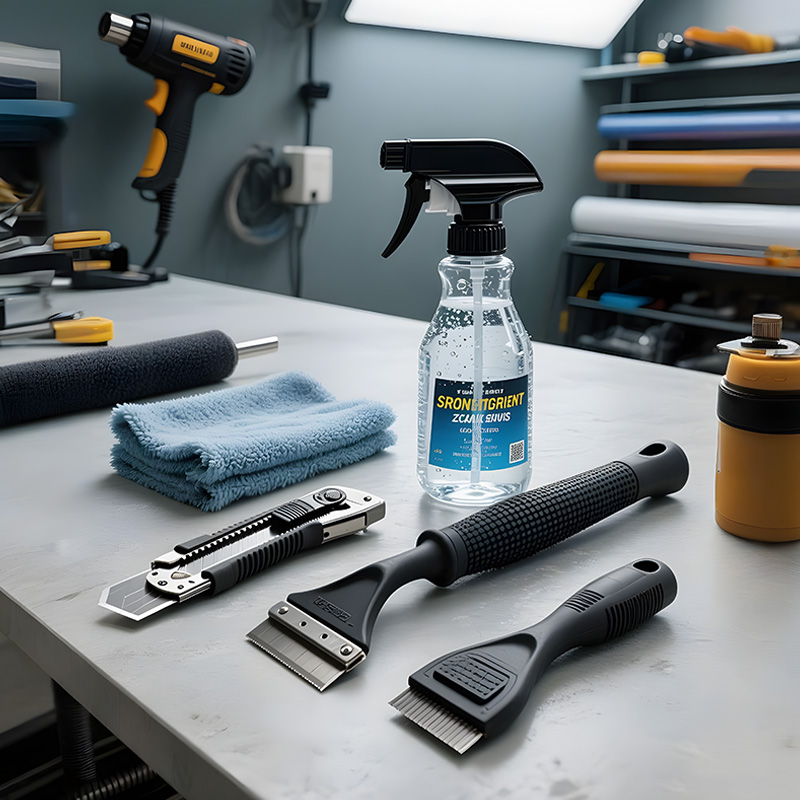
Before I began installing window tint, I made a checklist of everything I needed. Having the right tools helped me avoid frustrating stops mid-job and gave me confidence. First, I bought high-quality tint film suitable for automotive use — I’ll talk more about choosing the right one in the next section. I also picked up a tint application squeegee, which helps push out water and air bubbles. I used a sharp utility knife with fresh blades for clean cuts, and I relied on a metal or hard plastic straight edge to guide the knife smoothly.
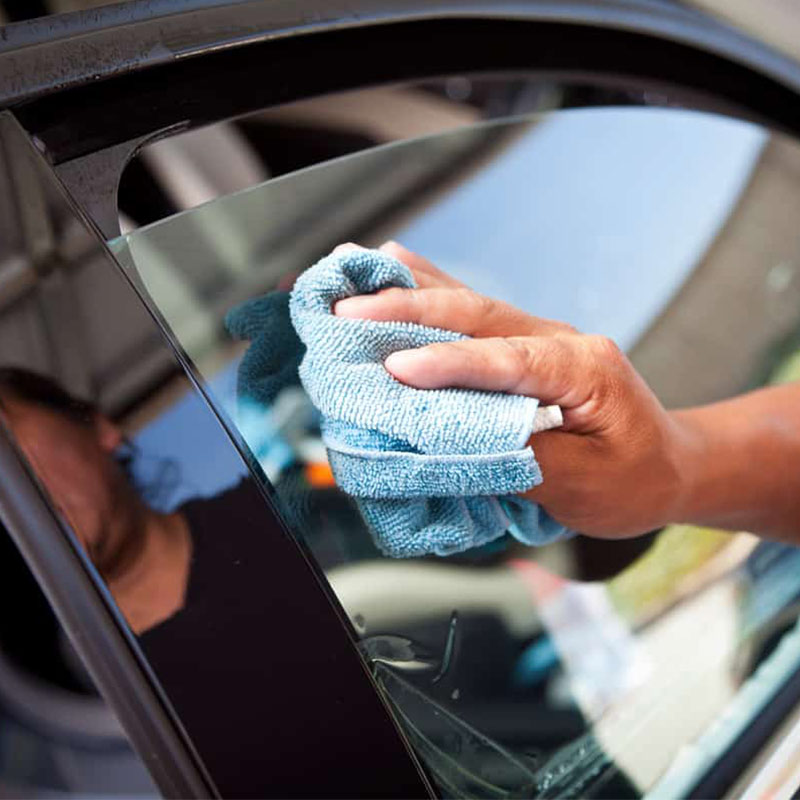
A spray bottle filled with soapy water became essential. This mix lets the film slide into place before sticking permanently. I used microfiber cloths constantly to wipe surfaces and prevent lint from getting trapped. For tasks requiring precision I have found a credit card handy in working around edges and corners. Having carefully chosen a sunny, clear spot to give me sufficient room to move around, I unfolded a large protective tarp over the ground. It is essential to have everything at hand so a smooth operation is not turned into a struggle.

2. How to Choose the Right Window Tint Film for Your Car
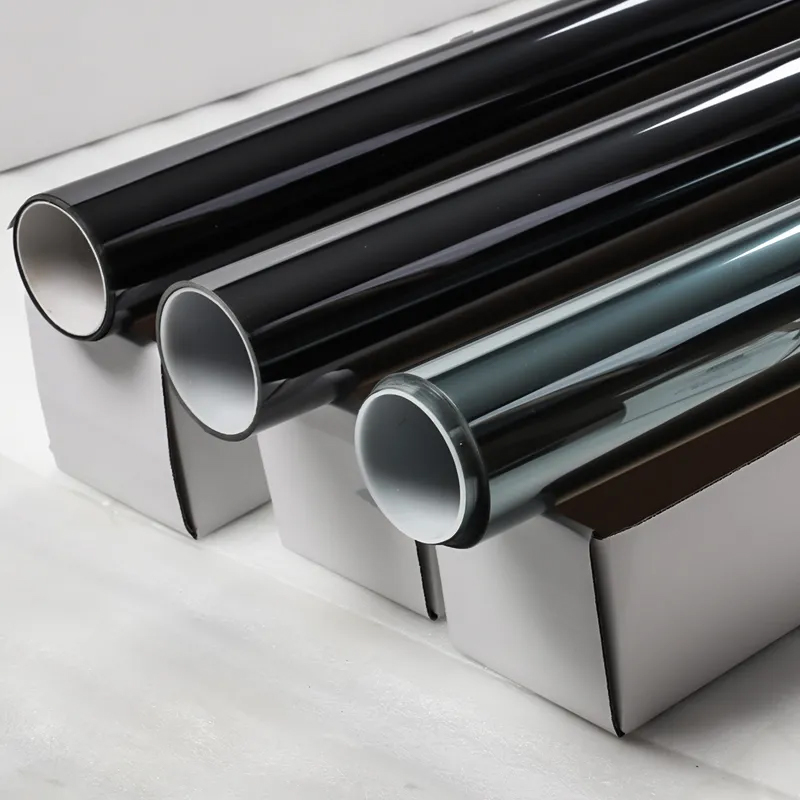
The choice of tint was one of the key decisions I had to make right from the start and influenced the whole project. Several types of films are available, these are dyed, ceramic, metalised, hybrid and carbon films. Coloured film has a non-reflective finish and also reduces solar heat gain but the colour can deteriorate with time. Although metalized film lasts longer and reflects heat well, it can disrupt radio and GPS signals. Ceramic film costs more, but it offers excellent heat rejection without signal issues and does not fade.
I also looked at visible light transmission (VLT) percentages, which tell how dark the tint is. I checked my local laws since each state or country sets legal limits for front, side, and rear windows. I chose a VLT that matched both my style preference and what I could legally use.Carefully I measured each window to decide on the film needed, adding some extra for possible cuts. Selecting a suitable film assisted the installation process significantly, allowing me to attain the performance and durability I needed from my product.

3. Preparing Your Vehicle for a Clean Tint Installation
The success of an experience at work can be directly linked to proper preparation. It is only by having a well planned background that you can tell the difference between a working experience which was successful and one which was stressful. The car was parked in the shade with windows left partially open. With the glass cleaner now applied to the glass I proceeded to clean the glass, ensuring it was free of any residue left by the cleaner. Areas in the house where dirt tends to collect unnoticed are typically lower parts of floors. After dampening a cloth with water and soap, I then cleaned the glass once again in order to remove all dirt specks that may have been left behind.
Once any adhesive residue or any stickers had been removed the glass was cleaned. While sitting in the vehicle, people can secure themselves by placing a towel or plastic across the dashboard and seats. This prevented slipping and the water damage. I ensured my workbench, circuit boards and components were isolated from draughts and dust. Tiny imperfections in the glass are also a problem as they show up later as a bump. By putting a bit more time into the initial work, the project ended up needing fewer amendments later on, and consequently, the finished item was neater as well as of a higher standard.

4. Measuring and Cutting Tint Film for a Perfect Fit
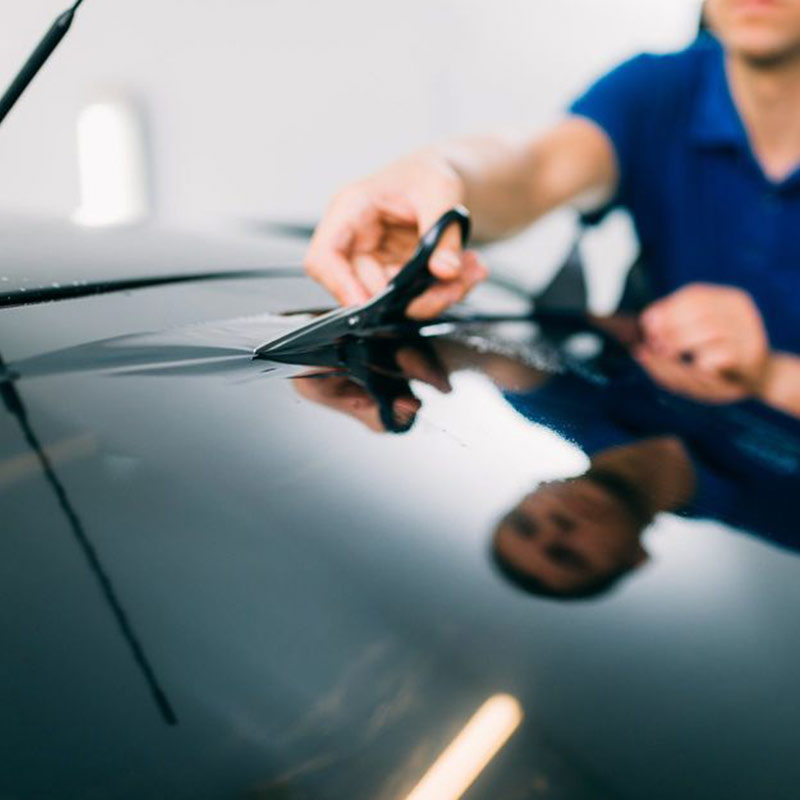
When I first measured and cut the tint, I realized accuracy here saves major frustration later. I unrolled the film onto a clean flat surface and sprayed it lightly with soapy water so it would relax and lay flat. I held the window template against the film or measured the actual glass dimensions, leaving about an inch of extra film around all sides. I marked the shape with a fine marker or kept the pattern in place for guidance.
Using a sharp utility knife, I cut the film carefully along the lines. I kept the blade angled slightly to avoid slicing too deep. I checked the fit often by holding the cut piece against the window. It is better to cut slightly larger and trim down than to end up with a piece that is too small. My goal was a snug fit that covered the glass completely but did not overlap rubber seals, which can cause bubbling. Precision at this stage meant less adjustment later.

5. How to Apply Soap Solution for Sliding the Tint into Place
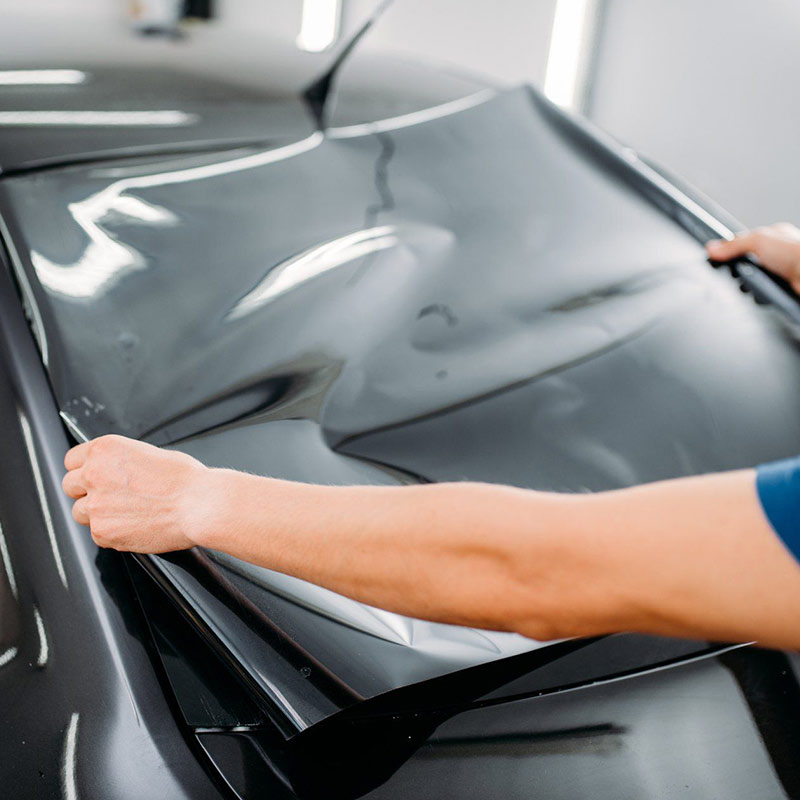
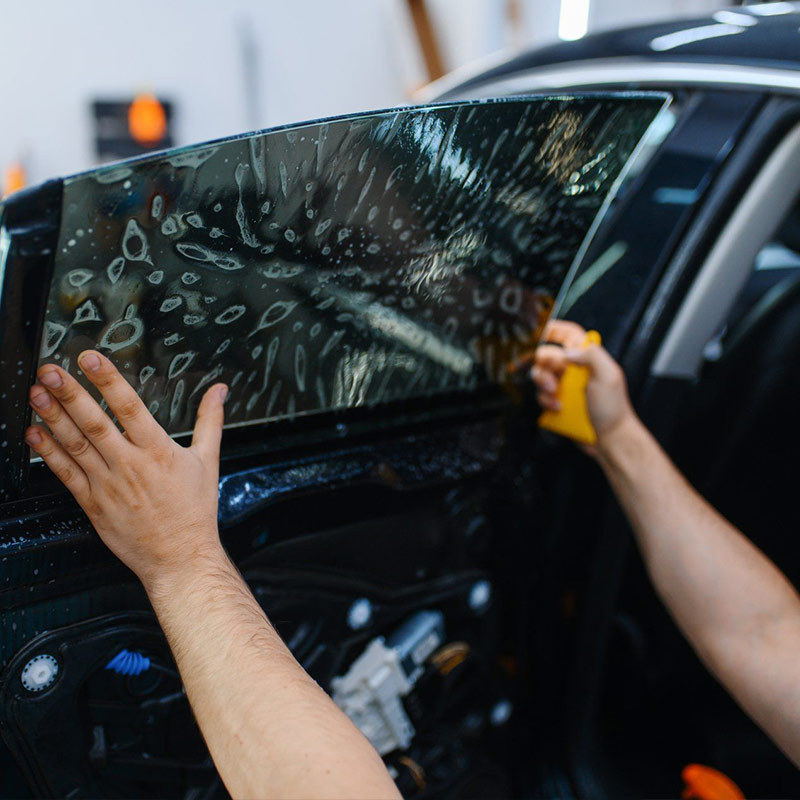
The soap-based solution appears almost magical in its installation process. To create a home made insect repellent, fill a spray bottle with water and then add a few drops of baby shampoo or dish soap. While the mixture is still wet it creates a slippery surface which still provides a bit of adhesion to the glass. However, as it dries, it allows a reasonable amount of movement. The precut window film was generously coated with adhesive on one side, and a generous amount of the other product was sprayed onto the glass.
Carefully putting the film onto the glass which was wet I made sure it was positioned carefully before sliding it with my fingers to ensure the film was perfectly aligned at the edges and with the top corners. Since the objects float at first on the surface of the liquid, I could push the object with the rod without its sticking in the solution prematurely. With the film in place I slowly applied a squeegee to the plastic from the middle outwards towards the edges. The process forced any extra liquid and air out of the film which then adhered strongly. I was able to make adjustments easily as I could control the way the solution was set up.

6. Step-by-Step Tint Application on Side Windows
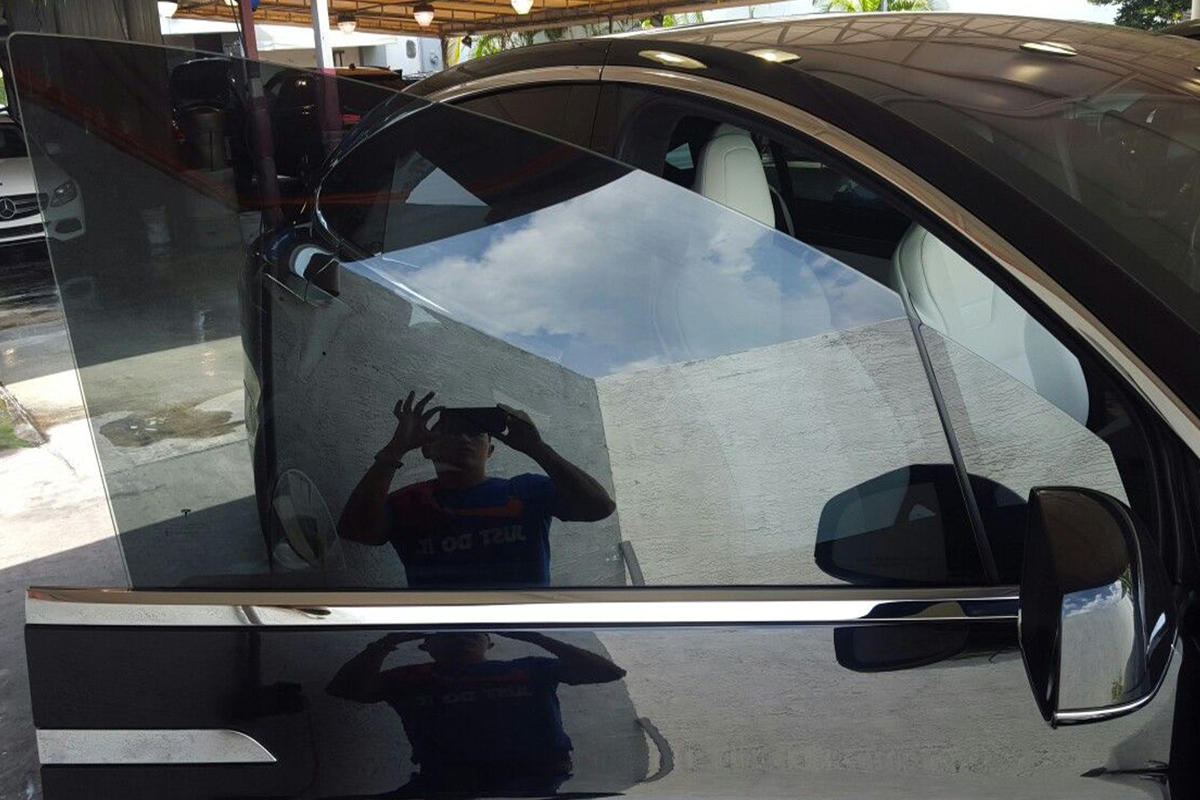
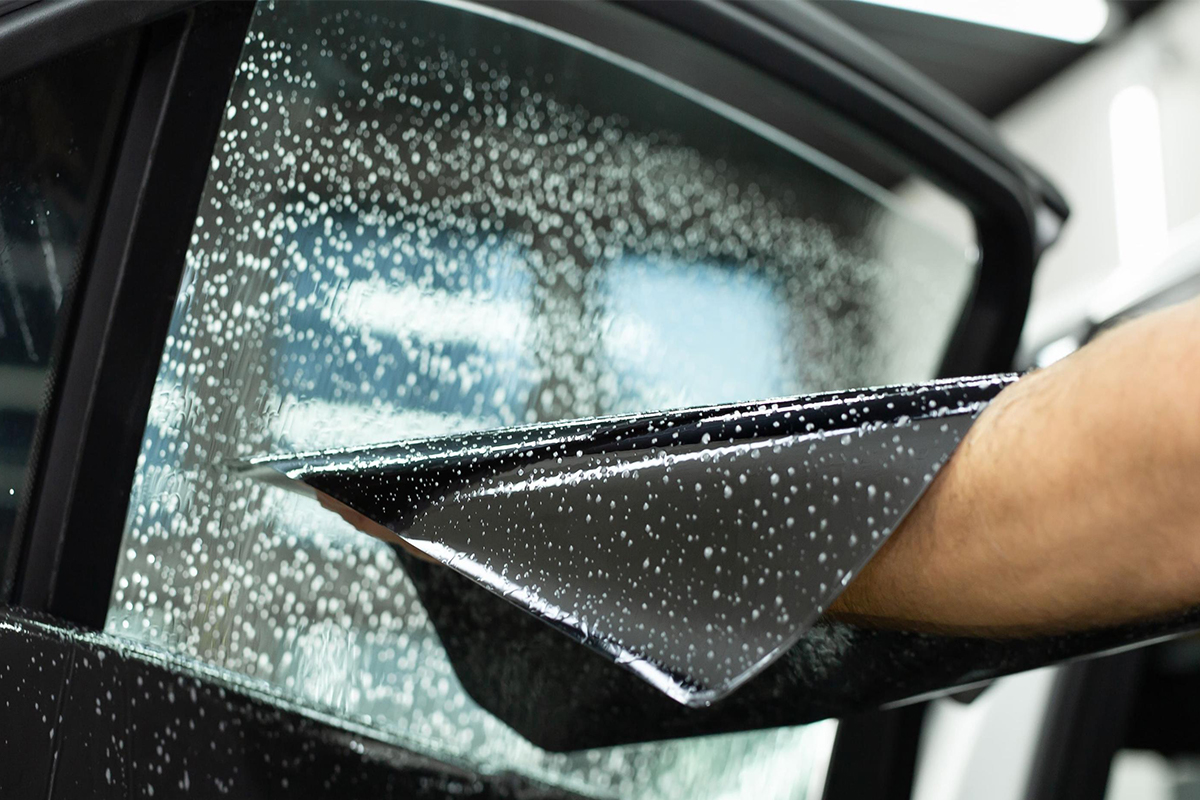
With the side windows, I started with the smaller rear windows before tackling the larger front ones. I lifted the window glass slightly to reach underneath. I peeled off the backing from the tint film gradually while spraying the sticky side with soapy water. I lowered the glass carefully and positioned the film inside the frame.
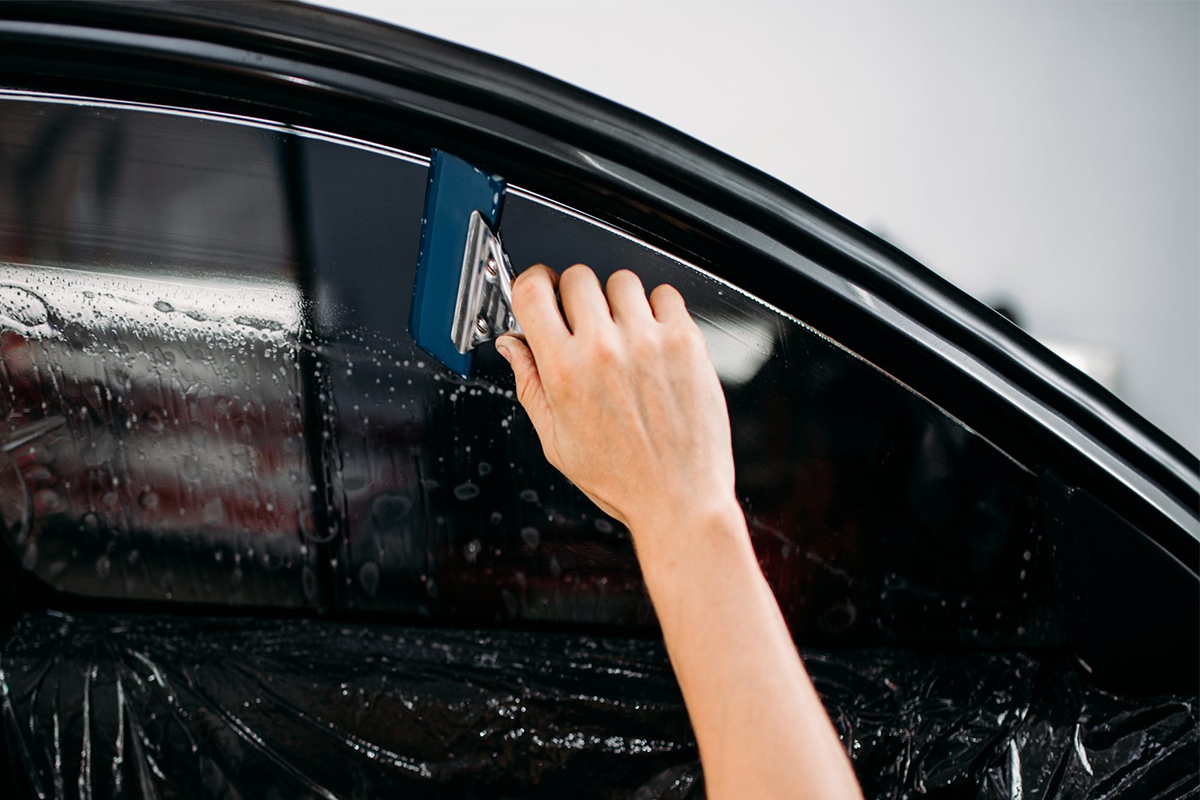
I pressed the film against the top corner first and smoothed it downward using the squeegee. I worked in sections to push out water and air, especially near the bottom where puddling happens. I trimmed the excess film at the edges with my knife, following the contour of the window opening. I took my time to avoid cutting the gasket or leaving gaps. Repeating this careful method on both side windows gave me symmetry and a factory-like appearance.
7. How to Tint Rear Windshield Without Messing Up Defroster Lines
Tinting the rear windshield felt intimidating because of the curved shape and defroster lines. I approached it with extra caution. I measured and cut the film slightly larger than the glass area. I moistened the glass and the film’s adhesive side generously before applying. I lined the film up vertically with the center of the glass and let it float into position.
Because the defroster lines are raised, I avoided sliding the film forcefully over them. Instead, I used my fingers and squeegee to coax the film around the lines gently. If I noticed a line lifting, I lifted that section and re-squeegeed it. After the film stuck, I used a soft cloth to press along each line to ensure good contact. I waited for the film to adhere fully before testing the defroster. Taking patience here protected the heating elements and preserved function.

8. Removing Air Bubbles and Fixing Mistakes During Installation
With normal handling small creases or bubbles can occur. I’ve learned not to panic, though. A lot of the tiny bubbles usually vanish once the resin has cured, but I took care of the larger ones as soon as I saw them. Working my way outwards, I squeegeed the glass starting in the middle, with smooth, uniform motions. It was essential to avoid introducing any air bubbles so I ensured the air bubble was between two layers of glass and plastic. I raised this section slightly before smoothing it again.
For stubborn creases caused by improper alignment, I sometimes had to remove and reposition the film. I sprayed more soapy water, lifted the film carefully, and reset it. I accepted that mistakes happen and viewed them as part of the learning curve. Fixing issues early prevented permanent flaws and helped me improve with each window I tinted.
9. Curing Time and Post-Installation Care for Tinted Windows
On completion of the paintwork, I was not in a position to wash the car or lower the windows for some time. The duration required for curing depends on weather but I left it to dry for anything between three to five days, on occasion I allowed it to be dry for up to a week. The process of curing is speeded up by heat, hence the sun was beneficial in this case, though the car was placed in the shade immediately after it had been applied in order to prevent excessive shrinkage.
I ensured the interior is thoroughly dry under the cover prior to cleaning and avoided the use of cleaning products that contain ammonia as they can damage the window tint. With the glass’s grime removed, I carefully cleaned the inside with a mild soap and a soft cloth. The edges have been treated to prevent the use of abrasive materials. Regular maintenance helped to extend the life of the tint and meant my windows continued to look sharp.

10. Legal Guidelines and Rules About Car Window Tinting
Before I installed the tint, I researched my local laws. Each region sets limits for how dark or reflective your windows can be, usually stricter for front side windows than for rear windows. I found my state’s regulations online and confirmed the maximum VLT percentage allowed. Some places require a sticker on the driver’s door jamb to show compliance.
By following these rules, I avoided tickets and hassle during inspections. I also learned that medical exemptions exist for certain conditions requiring extra UV protection. Knowing the law helped me choose a legal tint level and install it with peace of mind. It is smart to check these details before buying film and starting the job.

In conclusion:
Learning how to install window tint changed the way I see DIY car projects. What once felt out of reach became something I could do with confidence and the right approach. From picking the proper film and gathering tools to mastering each step of the application, I found the process rewarding and easier than I expected. Mistakes happened, but I fixed them and improved with every window.I’ve found that the joys of a bike are more enjoyable when I don’t have to endure heat, and I appreciate the added privacy of being out in the open but travelling at a decent speed.
Additionally, I appreciate the satisfaction of having a task done well. With patience and adherence to the rules, it is possible to obtain professional-looking finishes. Enjoy the process of modifying your vehicle into something that stands out.