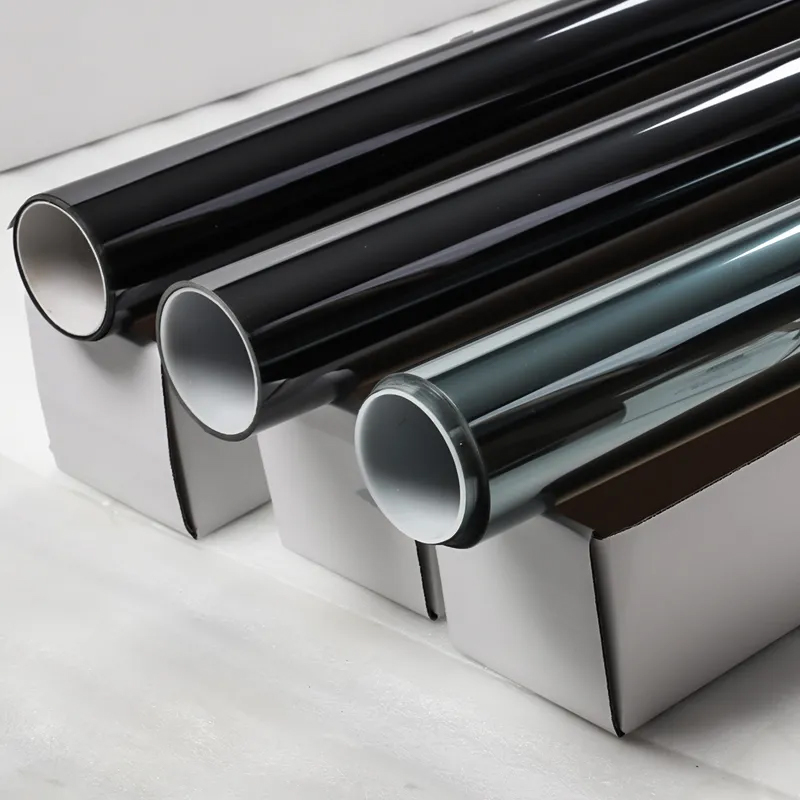
For dealers and distributors, window tint installation is one of those things that looks simple on paper but causes the most arguments after delivery.
When a customer complains about bubbles, haze, or lifting edges, the first thing they question is usually the film — even when the real issue happened during installation. That’s why understanding how window tint film should be applied is important for anyone selling or supplying it.
This article walks through the installation process the way most professional shops actually do it, without over complicating things.

Why Installation Quality Matters for Dealers
If you sell window tint film in wholesale quantities, you’ve probably seen this pattern before.
The film ships fine.
The specs are correct.
Then a few days later, messages start coming in.
“The film looks foggy.”
“Small bubbles appeared after delivery.”
“The edges won’t stay down.”
In most cases, the film hasn’t failed. The installation did. When dealers understand where things usually go wrong, it becomes much easier to separate real product issues from application problems — and that saves time on both sides.
Tools That Are Actually Needed on Site
Good results don’t come from fancy equipment. They come from having the basics ready and using them properly.
Most professional installers rely on the following:
✳ Window tint film cut slightly larger than the glass
✳ A spray bottle with slip solution made from water and a small amount of baby shampoo
✳ A rubber squeegee and a hard card
✳ A heat gun for shaping curved windows
✳ A sharp blade
✳ Clean, lint-free cloths
What matters most here is cleanliness. A dusty shop will show through the film every single time, no matter how good the material is.
Step 1: Clean the Glass Properly
This is the step that gets rushed the most — and causes the most problems later.
The glass needs to be completely clean. That means no dust, no oil, and no leftover adhesive near the edges. Spray the surface generously and squeegee from top to bottom. After that, wipe around the seals and corners by hand. Dirt loves to hide there.
If tiny dots appear after installation, they almost always come from this stage.
Step 2: Shape the Film Before Going Inside
For side windows with a flat surface, this step is quick. For curved rear windows, it’s essential.
Most installers shape the film on the outside of the glass first.
✳ Place the film with the liner facing outward
✳ Use light, controlled heat
✳ Shrink the film until it follows the glass curve naturally
If the film is still fighting the shape at this point, it will never sit correctly on the inside.
Step 3: Apply Slip Solution and Remove the Liner
Once the film is shaped, spray slip solution on the glass and on your fingers. Remove the liner and wet the adhesive side of the film immediately.
This gives you time to position the film without it grabbing too fast. Try not to touch the adhesive more than necessary. On high-clarity films, fingerprints can sometimes show during the early curing stage.
Step 4: Position the Film Carefully
Start from the top and let the film fall into place.
At this moment, accuracy matters more than speed.
✳ Make sure the top edge is straight
✳ Check both sides before pushing water out
✳ Leave a small gap near the seals if required
Once you’re happy with the position, lightly squeegee the center to lock it in before working toward the edges.
Step 5: Remove Water and Air Evenly
This is where the final appearance is decided.
Work from the center outward using firm, steady pressure. Overlap your strokes and slow down near the edges. Corners deserve extra attention.
Some moisture haze is normal and usually disappears within a few days. Large air bubbles, however, should never be left behind.
Step 6: Trim and Inspect
Trim the excess film using a sharp blade. A dull blade will pull the film and leave rough edges.
After trimming:
✳ Go over the edges again with a squeegee
✳ Clean the glass
✳ Check the window from different angles
This final inspection often catches small issues that would otherwise become complaints later.
Curing Time and Customer Instructions
Curing time depends on temperature and humidity, but most films need several days.
Customers should be told to:
✳ Keep windows rolled up
✳ Avoid cleaning the inside glass
✳ Expect slight haze at the beginning
Clear instructions here prevent unnecessary follow-ups.
Installation Problems Dealers See Most Often
From a dealer’s point of view, installation-related disputes usually come from a few habits:
✳ Rushing the cleaning stage
✳ Using too much or too little slip solution
✳ Applying too much heat
✳ Installing in an uncontrolled environment
Improving these habits often solves more problems than changing film specifications.
Final Notes for Dealers and Wholesalers
Good window tint film can only perform as well as it’s installed.
For dealers supplying window tint film to professional shops, sharing basic installation guidance helps reduce misunderstandings and builds trust. It also makes it easier to have honest conversations when issues come up.
In the end, consistent results don’t come from shortcuts. They come from clean work, correct steps, and enough time to do the job properly.