Car Wrapping isn’t means just about wrapping vinyl on a vehicle, it’s an art form that requires patience, precision, and the right technique. Beautiful wraps might be ruined by small but costly mistakes. Let’s see how to avoid them.
1. Egnore Proper Surface Preparation
This is one of the biggest and most frequent mistakes will happen. Many people thought a quick wash is enough before wrapping a car wrap, but that’s not true. Because small traces of wax, oil, or dust can effect the car vinyl from bonding properly, leading to bubbling or peeling later on.
To avoid this, I always recommend starting with a thorough wash for the car. Also pay special attention to edges, seams, and door handles. These areas trap the most of dirt. If you haven’t do this step, the car wrap will be failed to wrap.

2. Ignore Temperature and Environment
The car vinyl changes differently depending on temperature. If you want to try to wrap a car in a cold garage or under direct sunlight, which is a recipe for disaster. In cold conditions, car vinyl will becomes stiff and brittle, making it hard to stretch evenly. In heat conditions, it can get overly soft and sticky, make the car vinyl to overstretching or distortion.
It’s good for always work in a controlled environment, ideally between 68°F and 77°F (20°C–25°C) , also without dust. Suitable temperature and humidity can make the car vinyl easier to handle and ensure it adheres properly to the car paint surface.

3. Overstretching the Vinyl
It’s easy to get the car vinyl overstretch while wrapping, especially when trying to fit vinyl around curves and contours. But overstretching can make the vinyl become, distort the design, and weaken the glue adhesive.
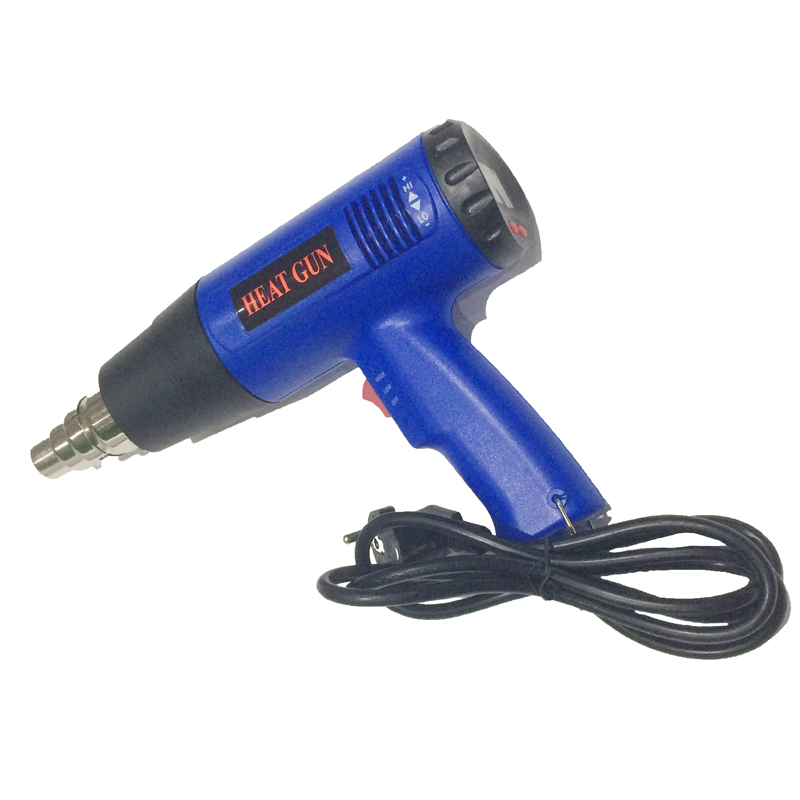
To prevent this, please heat the car wrap vinyl gently to increase flexibility and work slowly from the center outward. Use a heat gun sparingly and watch for overstretched areas. If you overstretch it, it may rebound later and cause lifting around edges.

4. Neglecting Edge Sealing and Post-Heating
Edges are the most vulnerable parts of any car wrap. If they’re not sealed or post-heated correctly, they’ll start peeling in a matter of weeks — especially in hot or humid climates. Many beginners overlook this because the wrap looks fine immediately after application.
After finishing the car vinyl wrap, please always go over all edges and curves with a heat gun and set around 90°C (194°F) to activate the adhesive fully. This process called post-heating, it can locks the vinyl in place and prevents it from lifting later. For extra protection, you can use an edge sealer to make a world of difference.

5. Cutting Directly on the Paint
This is one mistake that makes me cringe every time. Cutting vinyl directly on a vehicle’s surface can leave deep scratches that are often irreversible. I’ve seen installers destroy paint jobs worth thousands of euros because they rushed the trimming process.
The best way to avoid this is to use knifeless tape — a thin filament tape designed to cut vinyl cleanly without damaging the paint. It’s one of those small investments that save both time and money in the long run.

6. Not Allow the Vinyl to Set Properly
After the car vinyl wrap is completed, many people are eager to show off their newly wrapped car, but if you driving or washing it too soon, this can ruin all that hard work. Because the car wrap vinyl needs time to cure and bond fully with the car paint surface.
Please tell the clients to avoid washing or exposing the car to heavy rain for at least 48 hours after wrapping. The should park the car indoors during this period. So it can help the car wrap vinyl settle perfectly and ensuring a smoother and longer-lasting finish.

7. Using Low-Quality Vinyl or Tools
No amount of skill can make up for poor materials. There are many car vinyl brands, and the difference between premium and budget film is night and day. Cheap car vinyl easy to tear, fade, and peel quickly, especially when the wrap exposed to UV light or extreme weather.
If you’re serious about quality, please choose the trusted brands. And pay attention to the tools either. A high-quality squeegee, heat gun, and cutting tools make wrapping more precise and less frustrating.

8. Skipping Maintenance After Installation
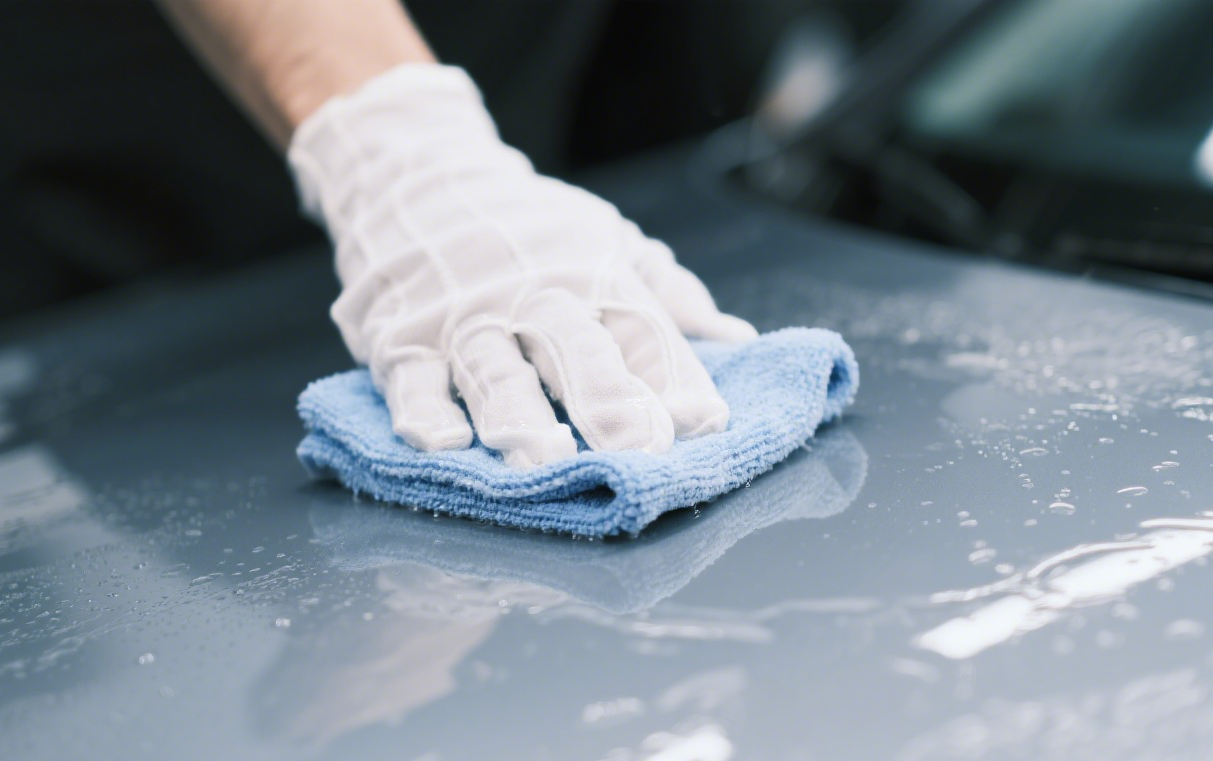
A car wrap isn’t “set it and forget it.” With regular maintenance, your car can looks new as usual. If your car isn’t properly cleaned, it can easily fade or damaged by road dirt and UV rays.
I recommend hand-washing your car by using a mild detergent and a microfiber cloth. Don’t use automatic car washes, as their brushes can lift edges or make the film’s surface have scratches. Of course, applying a coat of vinyl sealant every few months will also help maintain your car’s color and shine.

9. Failing to Plan the Design and Layout
This mistake is especially common with custom-printed wraps. Without a clear design plan or proper measurements, the car wrap installation will end up with misaligned graphics or stretched logos. I always map out the design digitally first and do a visual mock-up before printing anything.
A good design layout ensures that key elements align perfectly across doors, panels, and curves — giving the vehicle a professional, cohesive look.

10. Rushing the Installation Process
Car Wrapping takes time. If you are rush to finish it, you’ll trap air bubbles, create wrinkles, or misalign panels. I’ve seen even experienced installers destroy an perfect job by cutting corners.
Take your time with each section, double check alignment and smooth out the inside air bubbles carefully. Working methodically not only improves the quality but also saves time in the long run by avoiding rework.

Car wrapping is a skill that requires patience and precision. Every step plays a important role in achieving a professional finish. From cleaning and prepping to post-heating. I’ve learned that avoiding these common mistakes not only make a vinyl wrap look better; but also helps it last longer and perform.