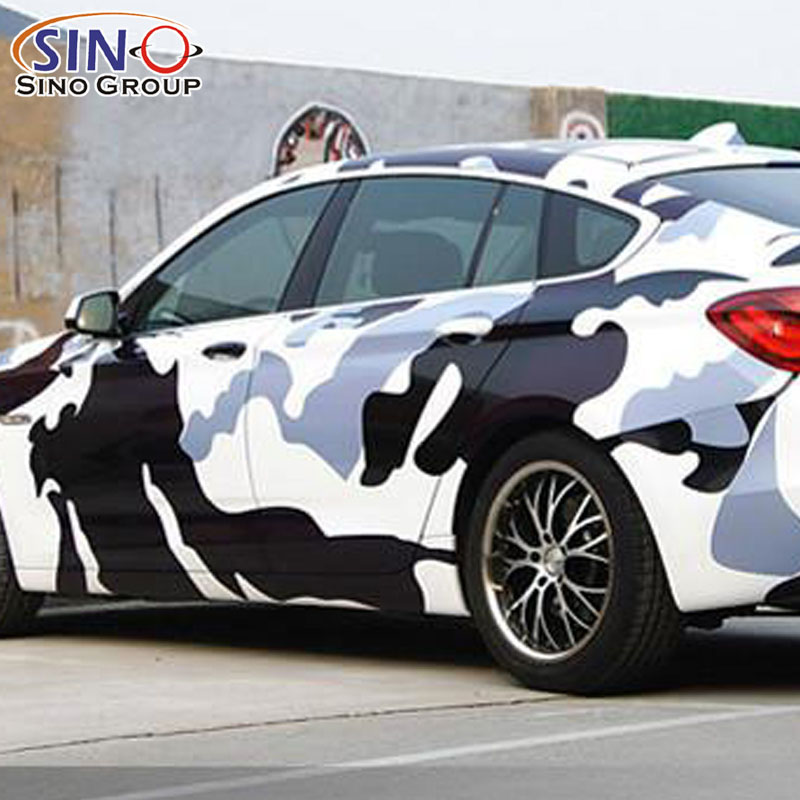
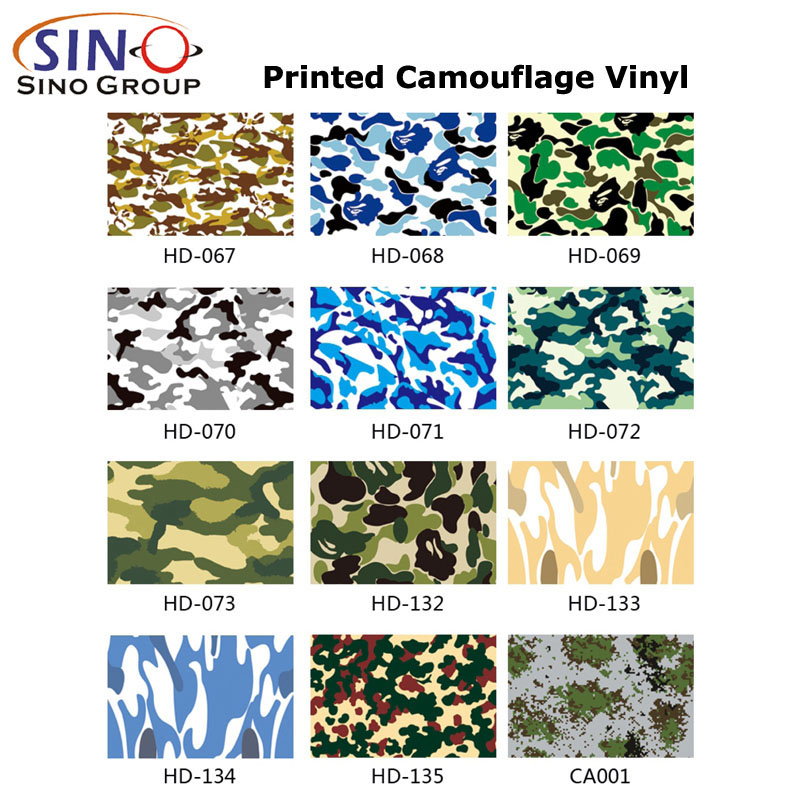
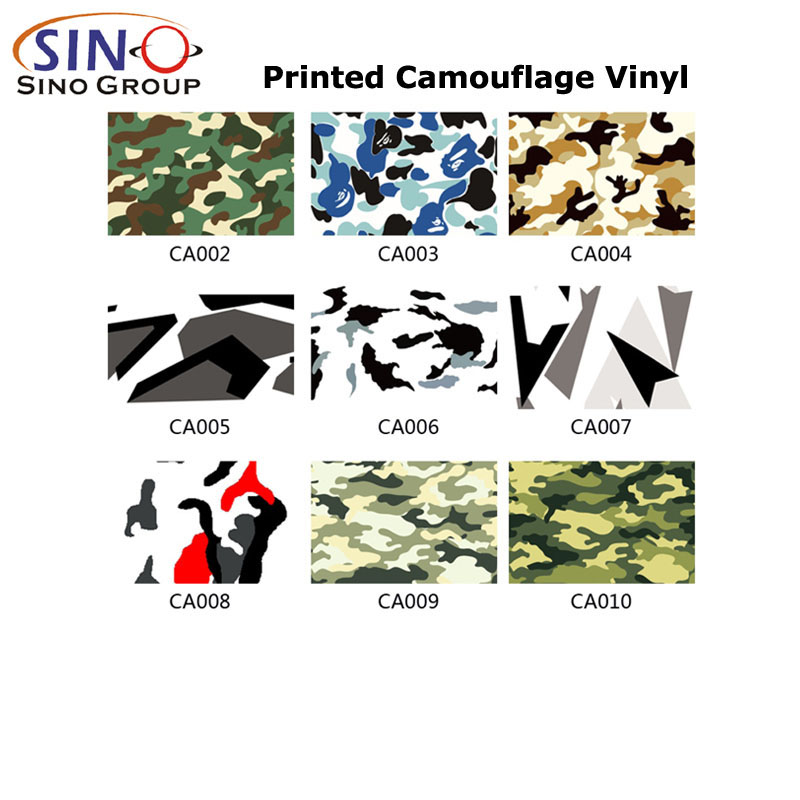
CL-CA Multiple Colors Printed Camouflage Vinyl Car Wraps
Characteristic:Stretchable, Removable
Brand: SINOVINYLⓇ
Model Number: CL-CA, CL-MC
Performance level: Premium+
Film produce technology: Calendered
Size: 1.52x20M/5x65FT
Film thickness : 160micron, 6.4mil(with glue)
Release paper: 160g/m², Silicone coated
Adhesive thickness: 30μm
Durability: 1-3 years
Air bubble free: Yes
Application: Car wrap, laptop, cell phones, wall, furniture


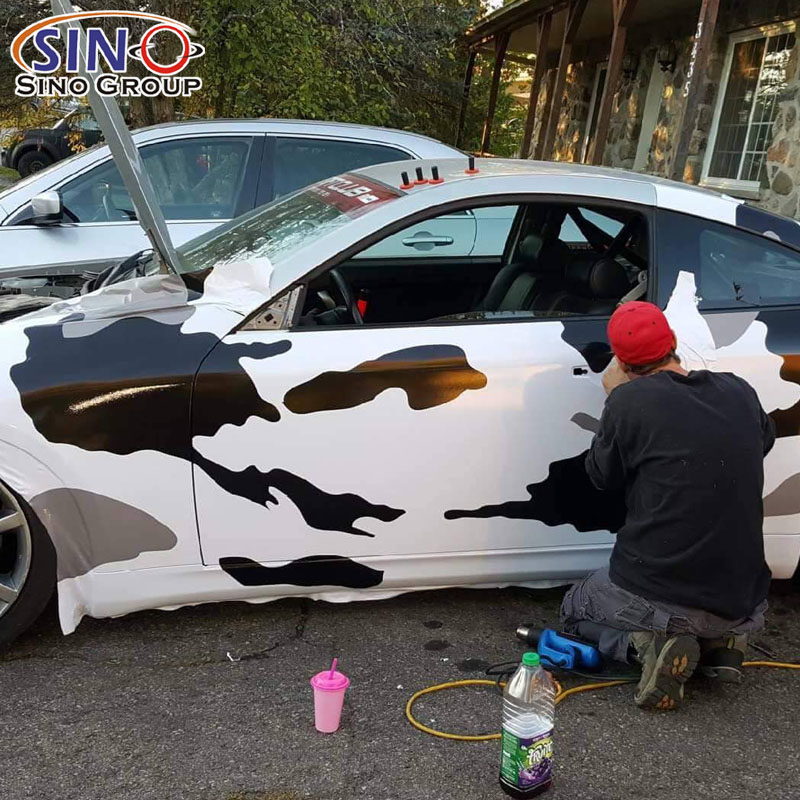
What are the key considerations for properly installing a camo wrap on a car?
Properly installing a camo wrap on a car requires careful preparation, attention to detail, and the right techniques. Here are some key considerations to keep in mind:
1. Surface Preparation
– Thoroughly clean the car’s surface to remove dirt, dust, wax, and other contaminants that could affect adhesion.
– Ensure that the surface is completely dry before applying the camo wrap to prevent trapping moisture underneath.
2. Temperature and Environment
– Choose a controlled environment with moderate temperature and low humidity for installation. Extreme heat or cold can affect the adhesive properties of the wrap.
– Avoid installing the wrap in direct sunlight, as it can make the material more challenging to work with and increase the risk of bubbles and wrinkles.
3. Tools and Equipment
– Gather the necessary tools, including squeegees, heat guns, razor blades, and microfiber cloths, to aid in the installation process.
– Using the right tools will help ensure smooth application and proper alignment of the wrap.
4. Trimming and Cutting
– Carefully measure and plan how the camo wrap will be positioned on the car’s surface.
– Use precision cutting techniques to trim excess material, ensuring clean edges and a professional appearance.
5. Alignment and Positioning
– Begin by aligning one edge of the camo wrap with a reference point on the car, such as a door edge or window line.
– Gradually work your way across the surface, smoothing out the wrap and ensuring proper alignment as you go.
6. Heat Application
– Use a heat gun to gently warm the camo wrap material as you work. Heat helps the vinyl conform to the curves and contours of the car.
– Be cautious not to overheat the material, as excessive heat can cause it to stretch or become brittle.
7. Stretching and Conforming
– While applying the camo wrap, gently stretch and manipulate the material to fit the car’s curves and angles.
– Use the squeegee to press the wrap down and remove any air bubbles or wrinkles as you go.
8. Overlap and Seam Placement
– If the design requires overlapping sections of the wrap, ensure that the overlap is seamless and not overly visible.
– Align the seams in inconspicuous areas, such as along panel edges or body lines.
9. Edges and Corners
– Pay special attention to edges, corners, and complex areas like door handles, mirrors, and bumpers.
– Use precise cutting and folding techniques to create clean and neat edges.
10. Patience and Practice
– Camo wrap installation requires practice and patience. Take your time to ensure a professional finish.
– If you encounter difficulties, don’t hesitate to pause and make adjustments before proceeding.
11. Post-Installation Finishing
– Once the camo wrap is applied, use a heat gun to gently warm the edges and corners. This helps activate the adhesive and ensures secure bonding.
– Apply gentle pressure with the squeegee to ensure all edges are properly adhered.
12. Maintenance and Care Instructions
– Provide the customer with proper care instructions, including washing and maintenance recommendations, to prolong the life of the camo wrap.
Remember, camo wrap installation can be intricate and may require some practice to achieve optimal results. If you’re unsure about the process, consider seeking assistance from a professional installer or referring to instructional videos and guides provided by reputable wrap manufacturers.


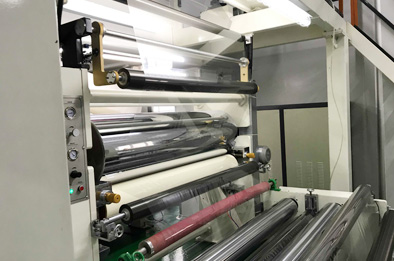
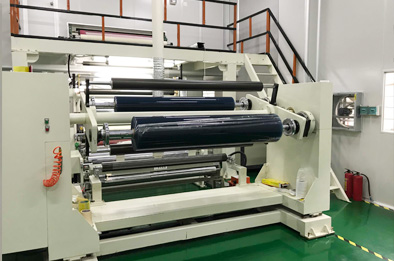
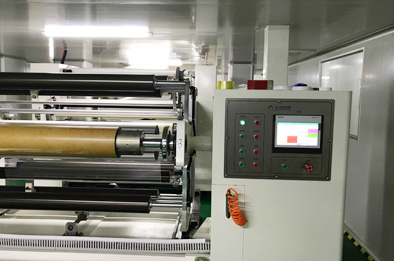
Factory Show


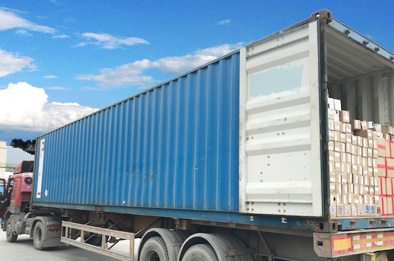
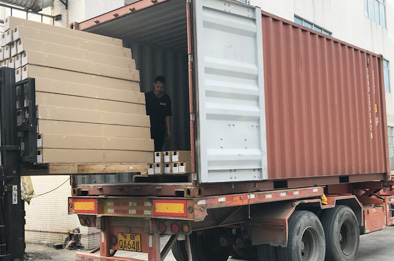
Products Shipping