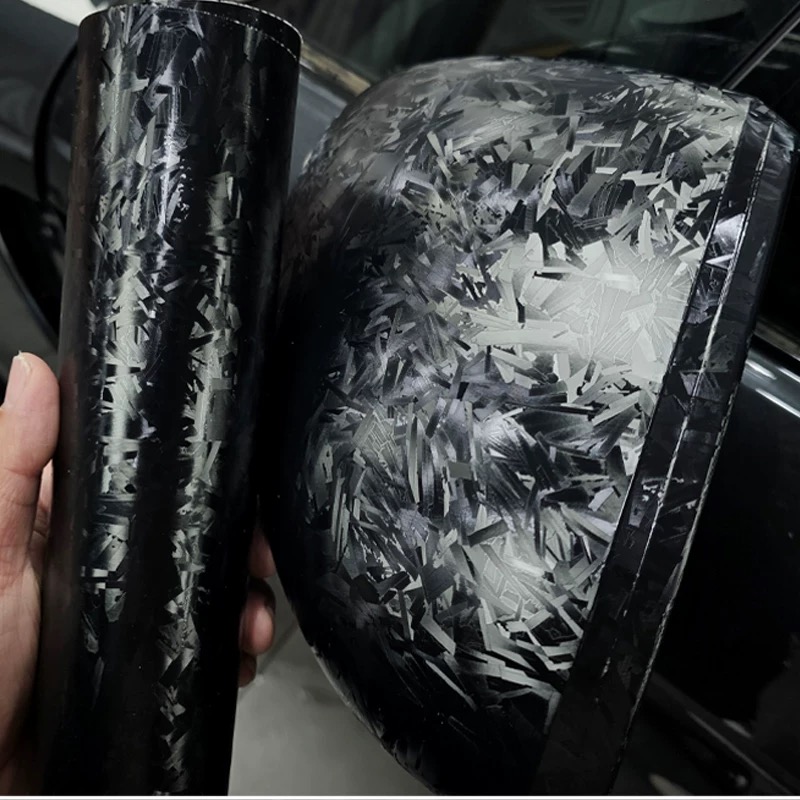
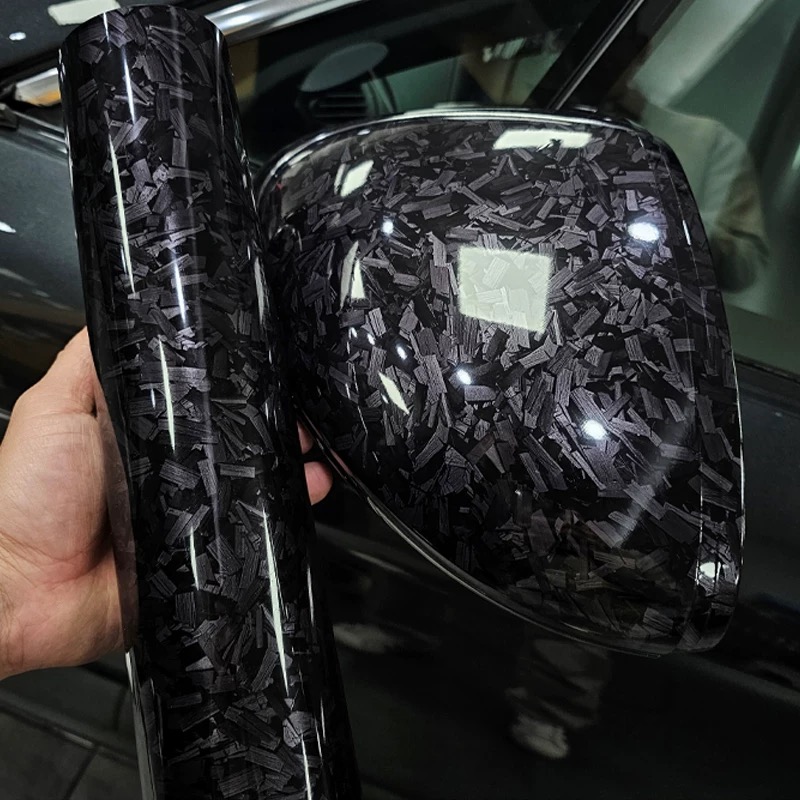
That car catch your eye? Maybe its sharp lines, bold stance, even that rough matte skin like it rolled from a pit crew tent. Black carbon fiber decals are everywhere now, sticking to hoods, sides, trunks – you name it. My own vehicle got the treatment, honestly, peeling off the wrap changed how I see roads entirely. Suddenly details matter more than before. Black carbon fiber vinyl gets a closer look here. Car fans now swear by it – turns out, it delivers in ways most don’t expect. Instead of sticking to paint jobs alone, consider how this option bends without breaking. Flexibility wins hands down when scratches or sun damage come knocking.
Starting off, take apart each part you require to tackle like a pro – tools, supplies, along with the doable stages I used when covering my vehicle. Included too are errors that tripped me up early on (and where you gain by avoiding them), along with advice for making the wrap stay clean over time. Once done, it becomes clear: dark carbon fiber decals aren’t only visual flair – they’re also an effective move allowing bold presence on the road without noise.

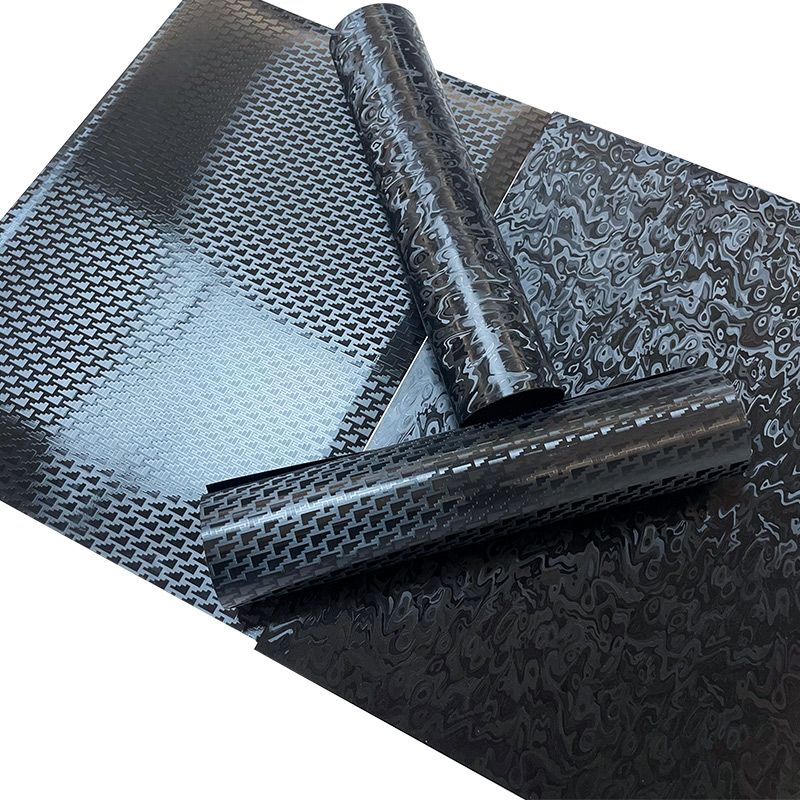
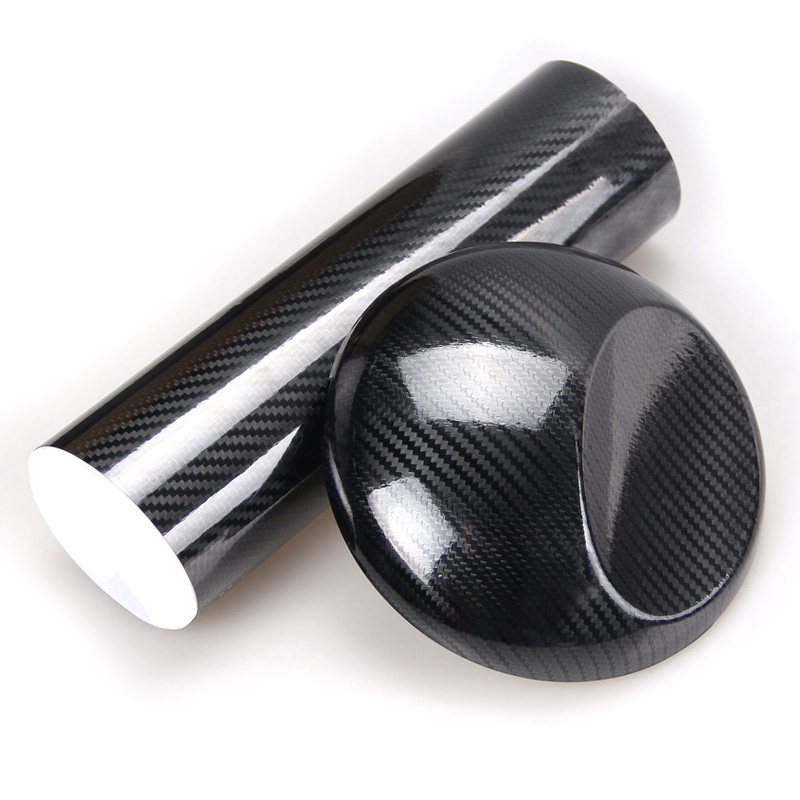
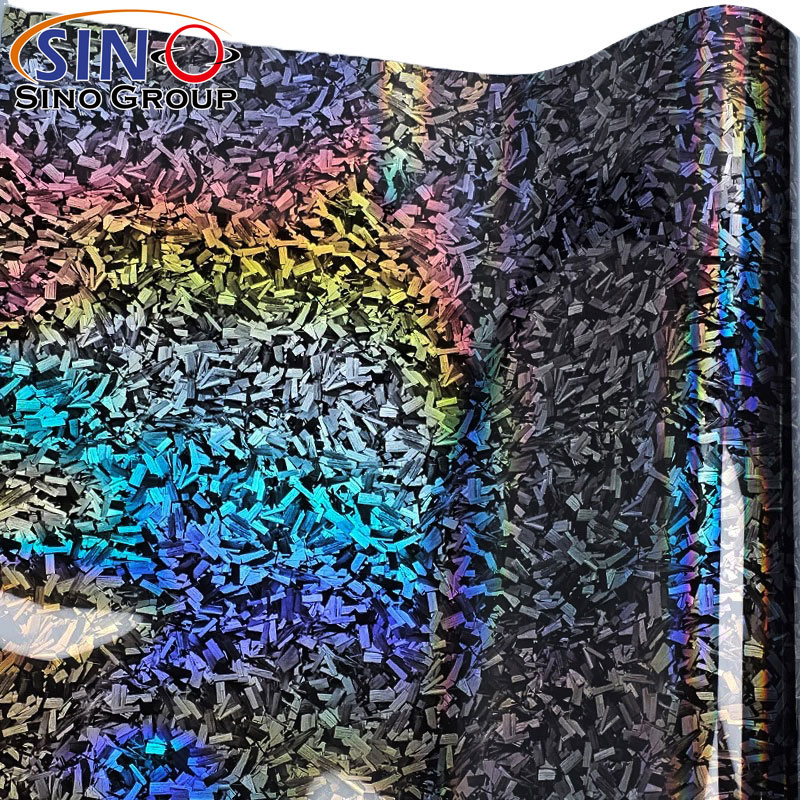
1. What Black Carbon Fiber Vinyl Is
Begin by covering what matters. Black carbon fiber vinyl copies the appearance of genuine carbon fiber, offering a flexible film with built-in adhesive. Think of those sharp weave designs found on high-performance vehicles. This product does not contain real carbon fiber – a material known for its strength and extreme price tag. Often used in structures like race car components. What you get here is advanced printing on durable vinyl, delivering a similar bold, modern look. Only much lighter on your budget.
Vinyl arrives in rolls, often coming in different widths, with a feel that sits between stiff plastic and soft fabric in texture. Against shiny or dull surfaces, its black hue stands out well when mixed with base tones, helped by the visible weave underneath. Even though it appears complex at first glance, figuring out how to work with it isn’t too difficult if practice unfolds successfully. What surprised me most was how accessing these details opened up deeper customization – no fancy workshop required.
2. Why Car Enthusiasts Love It
If you’re into cars, you probably already know image matters—not just for turning heads but for expressing your personality. Black carbon fiber vinyl hits that sweet spot between subtle and bold. It screams performance and precision, even if your ride is just your daily driver.
Enthusiasts love it because it instantly makes a car look faster, sharper, and more purposeful. Plus, it’s not permanent. That means you can switch things up later, resell your car without scaring off buyers, or try different accents without commitment. I remember peeling back a bad attempt on my trunk and re-doing just that section—total lifesaver. Also, there’s something oddly satisfying about seeing people do double-takes at a stoplight because they think your car’s packing real carbon bits.

3. Benefits of Using Vinyl Wrap vs. Paint
Here’s where vinyl really wins my heart. Compared to paint, black carbon fiber vinyl is cheaper, reversible, and way less risky to apply. A professional paint job can run thousands and take days or weeks. With vinyl, you can transform your ride in hours—for hundreds of bucks.
It also protects your original paint. If you scratch the vinyl, no biggie—you patch or replace that piece. If you scratch paint? You’re either buffing forever or repainting entirely. Another perk? Wraps block UV rays better than many factory paints, which helps prevent fading over time. And since it’s removable, you keep your options open. I’ve seen folks wrap their whole car for a wild color change, then strip it off before selling, leaving the factory paint pristine underneath.
4. Tools and Materials Needed for DIY Application
Before jumping in, you’ll want the right setup. Here’s what I used for my first wrap project:
-
Black carbon fiber vinyl roll (measure your panel sizes beforehand!)
-
Surface prep solution (isopropyl alcohol works great)
-
Microfiber cloths for wiping clean
-
Razor blade or precision knife
-
Squeegee or soft applicator tool (helps smooth out bubbles)
-
Heat gun or hair dryer (to soften vinyl for shaping)
-
Measuring tape or ruler
-
Masking tape (for marking areas)
-
Optional: Gloves (keeps oils off the vinyl) and hinge method tools if you want to get fancy
I started with just a few basic items, and honestly, you don’t need a ton of fancy gear. My first setup came together for under $100, and I still use most of that stuff today.

5. Step-by-Step Application Tips for Beginners
Alright, let’s talk process. I’ll walk you through how I tackled my first panel (a side mirror, nice and small):
-
Clean like crazy. I wiped the surface with isopropyl alcohol until it squeaked. Any dust or grease = instant bubbles.
-
Measure and cut carefully. I left a little extra around edges so I could trim after sticking.
-
Position slowly. I used masking tape to mock up placement before committing.
-
Peel and stick in sections. I used the hinge method (where you lift half the vinyl back, squeegee down the other half, then repeat) to avoid misalignment.
-
Use heat to mold. Especially around curves, warming the vinyl makes it stretch and form nicely.
-
Smooth out bubbles. I worked from the center outward with a squeegee, pushing air toward edges.
-
Trim excess. Once secure, I trimmed with a sharp blade for a clean edge.
Take your time. My first mirror took nearly an hour, but by the third panel, I had it down to 20 minutes.
6. Common Mistakes to Avoid
I learned most of these the hard way, so you don’t have to:
-
Skipping surface prep. Dirt or wax ruins adhesion. Don’t rush this step.
-
Stretching too much. Overstretching distorts the carbon weave pattern. Use heat wisely.
-
Not using enough heat on curves. Cold vinyl cracks and lifts on bends. Warm it!
-
Applying in dusty spaces. Even tiny particles cause bumps. I now wrap inside my garage with all fans off.
-
Rushing alignment. Misaligned pieces are painfully obvious. Measure twice, stick once.
-
Cutting too close initially. Leave wiggle room for trimming neatly.
My worst fail? Trying to wrap a curved hood scoop on a windy day. Let’s just say I ended up buying extra vinyl.

7. How to Maintain and Care for the Wrap
Once you’ve nailed the install, keeping it fresh is key. Wraps aren’t indestructible, but they hold up well with proper care:
-
Wash regularly with pH-neutral car shampoo and a soft mitt. No abrasive brushes!
-
Avoid automatic car washes with harsh chemicals or brushes that can lift edges.
-
Dry with microfiber towels to prevent scratches.
-
Don’t wax aggressively. Some waxes contain solvents that damage vinyl. Look for wrap-safe products.
-
Fix small issues early. If you see a lifting edge, tuck it back down before moisture gets in.
I wash mine every two weeks and hit it with a quick detail spray afterward. After a year, my wrap still looks freshly laid.

8. Final Thoughts on Upgrading Your Ride with Confidence
Black carbon fiber vinyl covering your car’s surface brought a grin each time you saw it. Not expensive, still tough and adjusts well to curves. A shift in look happens right away, no waiting weeks. Temporary like a theme change, easy to reverse when needed. Slow steps guide the process, even if messy at first. Calm focus grows after repeated tries, like breathing steady while moving.
Not only does it shape how your car looks, but also shields the paint while trying out different designs – transforming your vehicle into something that mirrors who you are. If you’re spending time polishing either a casual ride-out or what you drive every day, wrapping it in glossy black carbon fiber vinyl brings sharp attention without leaving you disappointed.So grab a roll, set aside a weekend, and start transforming your ride. Trust me—you’ll never look back.

Conclusion:
At the end of the day, black carbon fiber vinyl is one of those mods that looks way more complex than it actually is—and that’s the beauty of it. It gives your car a high-end, race-inspired look without the high-end price tag or permanence of paint. I went from total newbie to confident wrapper pretty quickly, and the satisfaction of doing it myself (and seeing the results) has been unbeatable. If you’re craving a visual upgrade that turns heads, protects your paint, and lets you customize on your terms, this is a solid way to level up your ride. So grab the tools, take your time, and wrap like you mean it—your future self (and your car) will thank you.