Welcome to SINO GROUP’s comprehensive beginner’s guide to vinyl wrapping your car!
If you’ve ever dreamed of giving your vehicle a fresh new look without breaking the bank or committing to a permanent paint job, then you’re in the right place. Vinyl wrapping offers an exciting opportunity to customize your car’s appearance, express your personality, and protect its original paint finish—all with relative ease and affordability.
Preparation
Preparing the car’s surface is a critical step in the vinyl wrapping process, and it encompasses several key elements, including cleaning, gathering tools, and materials. Here’s why each aspect is important:
1. Cleaning
– Surface Preparation: Ensuring the car’s surface is clean and free from dirt, dust, grease, and other contaminants is essential for achieving a smooth and long-lasting vinyl wrap.
– Adhesion: A clean surface promotes better adhesion of the vinyl wrap, reducing the risk of it peeling or lifting over time.
– Appearance: Dirt or imperfections trapped beneath the vinyl can detract from the finished look, so starting with a clean surface ensures a professional and polished outcome.
2. Gathering Tools
– Precision: Having the right tools for the job ensures precision during the vinyl wrapping process, from cutting the vinyl to smoothing out air bubbles.
– Efficiency: The proper tools can streamline the process and make it more efficient, saving time and effort in the long run.
– Quality: Using high-quality tools helps achieve a professional finish and reduces the likelihood of damaging the vinyl or the car’s surface.
3. Materials
– Vinyl Quality: Choosing high-quality vinyl material is crucial for durability, longevity, and overall appearance.
– Color and Finish: Selecting the desired color, finish, and texture of the vinyl allows for customization and personalization of the vehicle’s appearance.
– Protective Properties: Some vinyl wraps offer additional protective properties, such as UV resistance and scratch resistance, which can help preserve the car’s original paint finish.

Choosing the Right Vinyl
When it comes to vinyl wraps for your car, the options are as diverse as your imagination. Understanding the different types of vinyl wraps available is crucial for achieving the desired look and durability. Here’s a brief overview to help you navigate through the choices and select the perfect wrap for your needs:
1. Cast Vinyl: Cast vinyl is considered the premium option for car wrapping. It’s highly conformable, making it ideal for complex curves and contours on the vehicle’s surface. Cast vinyl also offers excellent durability and color retention, ensuring your wrap looks great for years to come. If you’re looking for professional-grade quality and long-lasting results, cast vinyl is the way to go.
2. Calendered Vinyl: Calendered vinyl is a more economical option compared to cast vinyl. While it may not offer the same level of conformability or durability, it’s still a popular choice for budget-conscious enthusiasts. Calendered vinyl is suitable for flat or slightly curved surfaces and works well for short to medium-term applications.
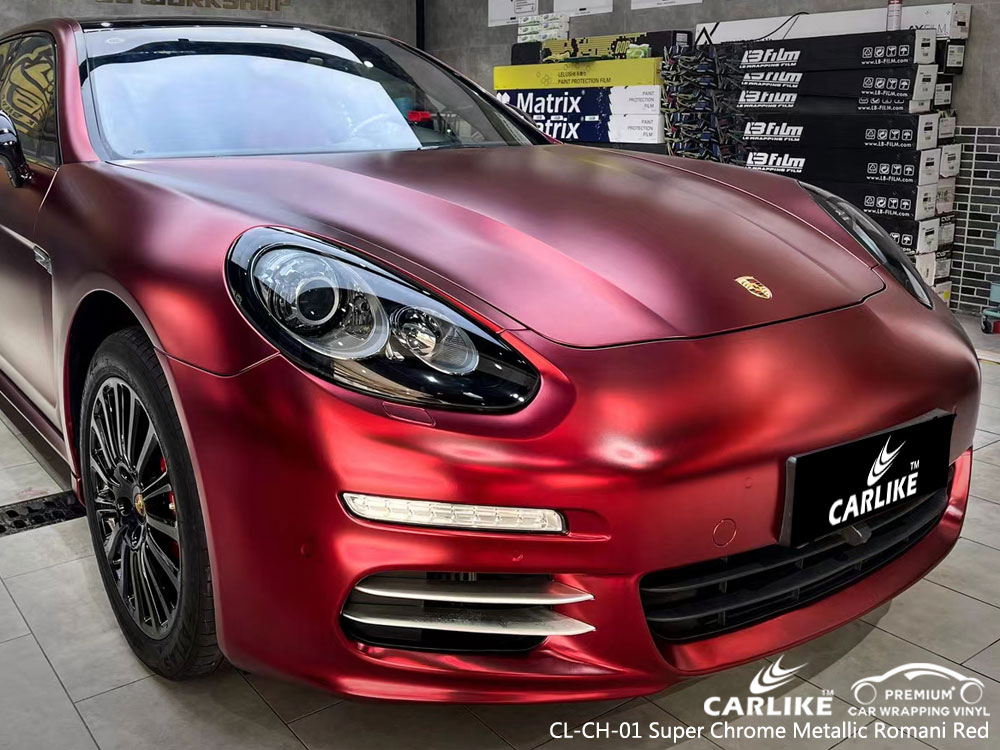
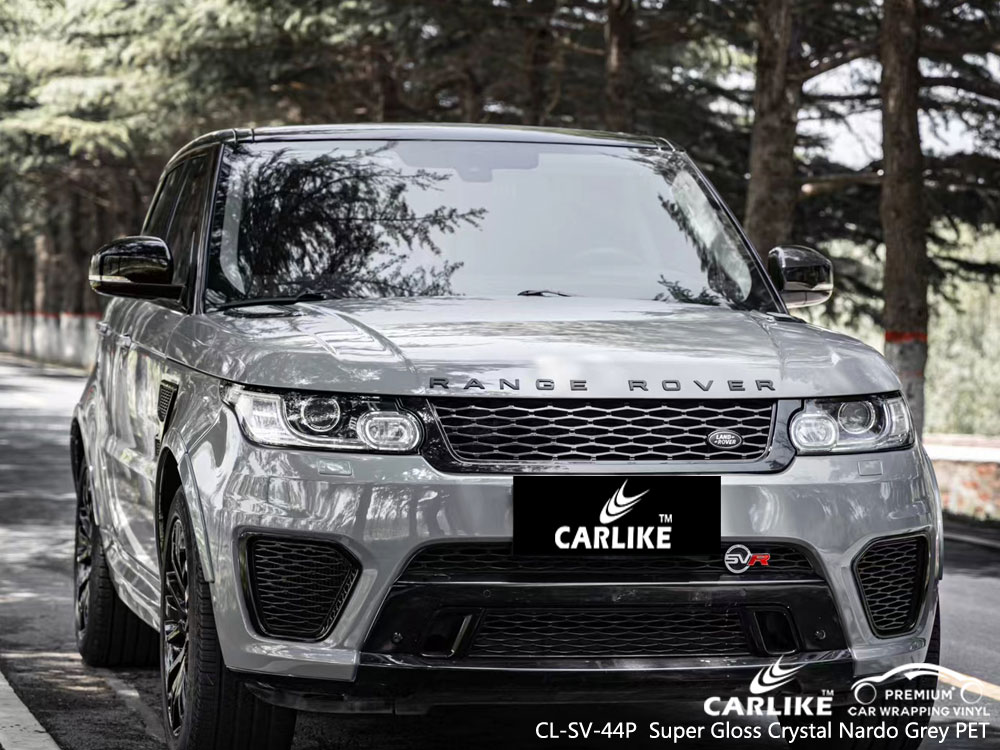
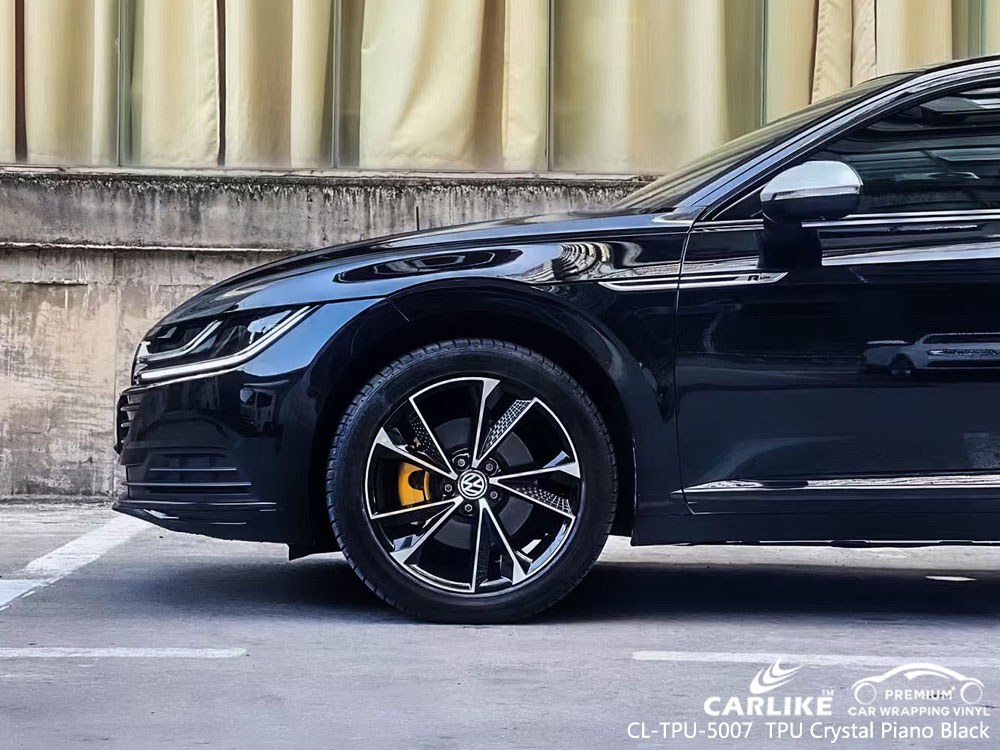
3. Color Change Wraps: If you’re looking to completely change the color of your car, color change vinyl wraps are the way to go. Available in a wide range of colors, finishes, and textures, these wraps allow you to unleash your creativity and customize your vehicle to your heart’s content. Whether you prefer a glossy metallic finish or a sleek matte look, there’s a color change wrap to suit every style.
4. Printed Wraps: Printed vinyl wraps offer endless possibilities for customization. With advancements in digital printing technology, you can now create custom designs, patterns, and graphics to make your car stand out from the crowd. Whether you want to showcase your company logo, promote a brand, or express your personality with a unique design, printed wraps give you the freedom to turn your vision into reality.
When selecting a vinyl wrap for your car, consider factors such as your budget, desired look, durability requirements, and installation complexity. Consulting with a professional wrap installer can also provide valuable insights and guidance based on your specific needs.

Step-by-Step Guide
1. Measuring and Planning
– Start by thoroughly cleaning the surface of your car to ensure there’s no dirt, dust, or debris.
– Use a measuring tape to determine the amount of vinyl wrap needed for each panel or section of the car.
– Plan the layout of the vinyl wraps, considering any intricate curves, contours, or body lines of the vehicle.
2.Cutting the Vinyl
– Lay the vinyl wrap material on a clean, flat surface, preferably a cutting mat or table.
– Use a sharp utility knife or vinyl cutting tool to carefully cut the vinyl according to the measurements and layout planned earlier.
– Take your time to ensure precise cuts, especially around edges and curves, to avoid any excess material or gaps.
3. Preparing the Surface
– Once the vinyl is cut to size, clean the surface of the car again to remove any remaining dirt, grease, or wax.
– Use a solution of isopropyl alcohol and water to wipe down the surface, ensuring it’s completely free of contaminants and dry before proceeding.
4. Applying the Vinyl
– Start by peeling off a small portion of the backing paper from the vinyl wrap, exposing the adhesive side.
– Carefully align the exposed edge of the vinyl with the corresponding edge of the car panel or section.
– Gradually peel away more of the backing paper while simultaneously pressing the vinyl onto the surface, using a squeegee or soft cloth to smooth out any air bubbles or wrinkles.
– Work slowly and methodically, applying firm pressure to ensure the vinyl adheres evenly and smoothly to the surface.
– Continue this process, gradually peeling off more backing paper and smoothing out the vinyl until the entire panel or section is covered.
5. Using Heat to Conform the Vinyl
– Once the vinyl is applied, use a heat gun or heat gun attachment on a hairdryer to gently heat the vinyl.
– Apply heat evenly across the surface, focusing on areas with curves, contours, or complex shapes.
– The heat will soften the vinyl, making it more pliable and allowing it to conform better to the contours of the car.
– Use the squeegee or your hands to press the heated vinyl into place, ensuring a tight, secure fit.
– Be cautious not to overheat the vinyl or hold the heat source too close to the surface, as this could cause damage or shrinkage.
By following these detailed steps, you’ll be able to effectively measure, cut, apply, and conform vinyl wrap to your car, achieving professional-looking results that enhance its appearance and protect its original paint finish.