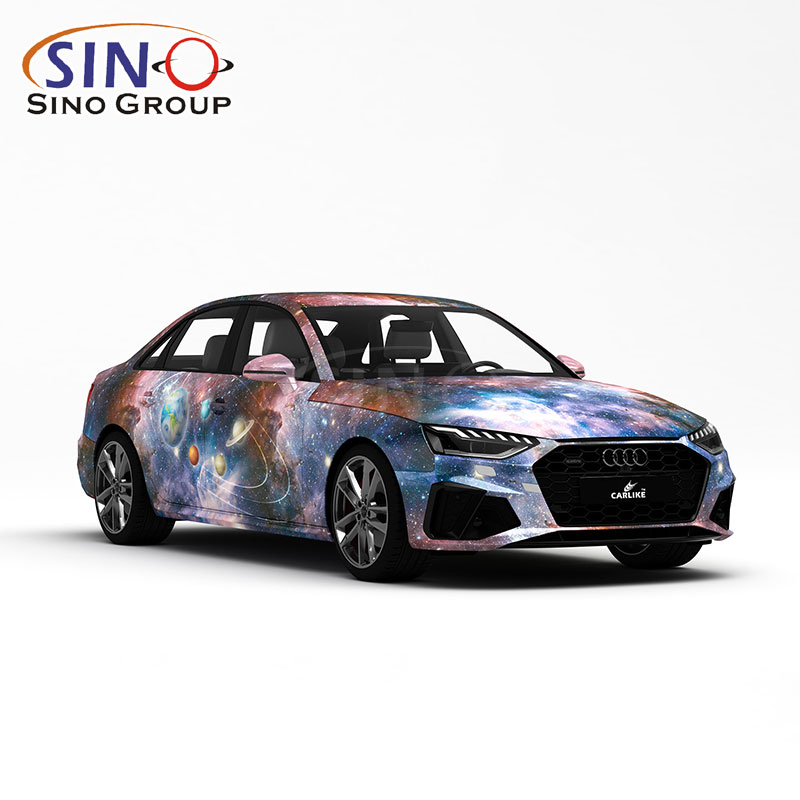
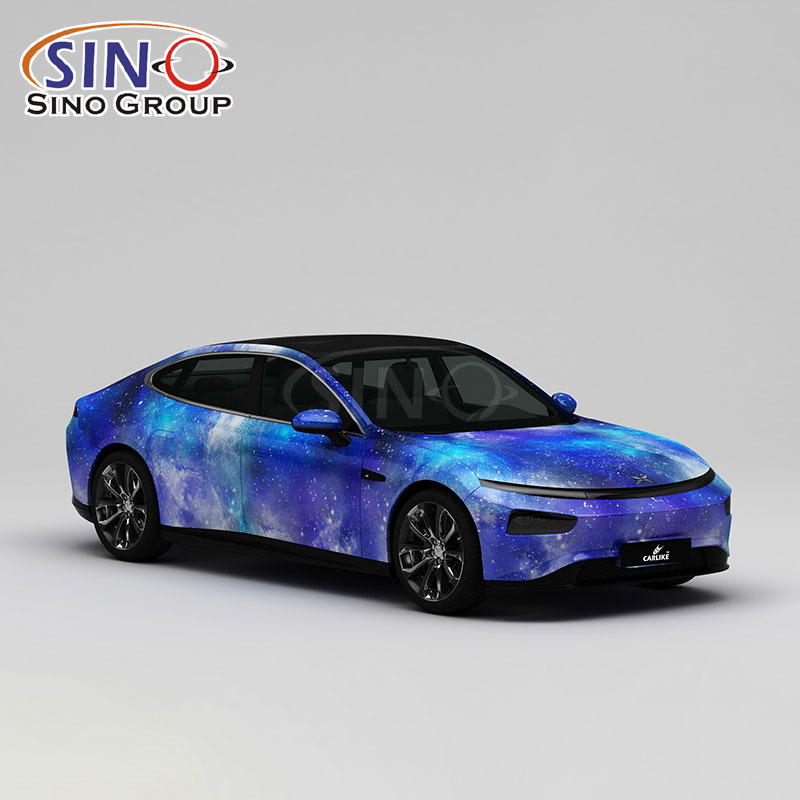
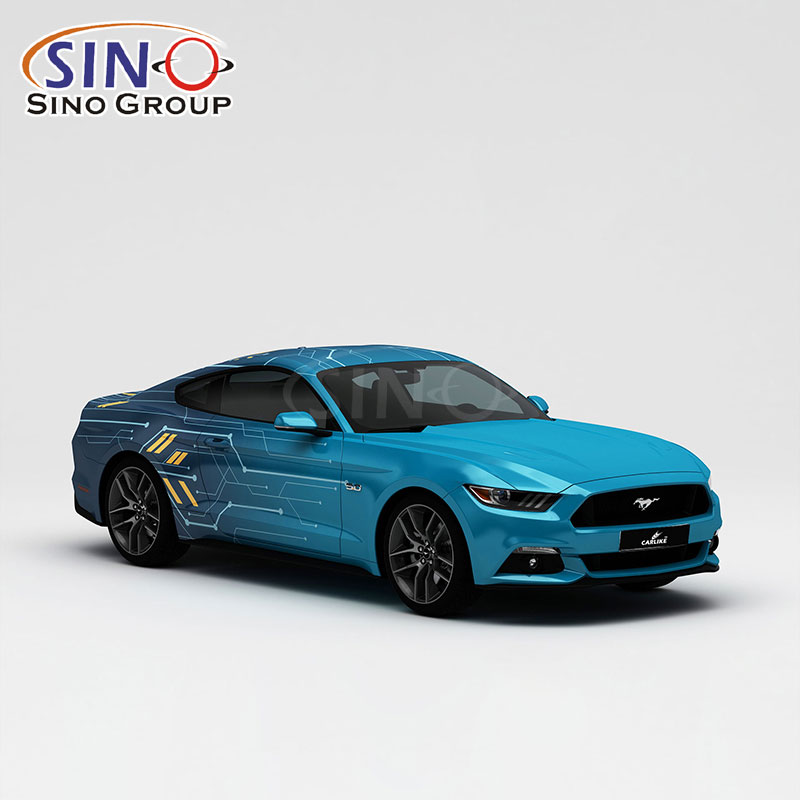
A vehicle just sitting there – and yet somehow holding every bit of your attention? Maybe bold art, bold hues, or an outrageous paint job halted you dead in your shoes. That kind of pull? It comes straight from wrap material built for printing, ready right off a roll. Turns out, making that moment happen now is within reach. That first wrap caught my eye. Then came the realisation – it wasn’t just about sticking shiny stuff on cars. There’s actual depth behind the idea.
Picture this: if I could go back, I’d lay out each piece clearly. What that printable stuff really means – turns out it’s the game changer nobody tells you about – will get covered. The gear you cannot skip without scratching walls or peeling decals? That lands near the top. Getting colors right feels messy until you see the pattern others follow. Slapping it on seems chaotic until order steps forward quietly. Staying ahead means avoiding drifts between layers. Freshness holds when warping happens behind small choices. Blunders hide in corners where haste whispers better results. Paint stays intact only if respect replaces habit.
If showing off your ride on weekends matters – or simply making everyday driving catch eyes – this path fits. Step by step, we’re reshaping what your vehicle says. Style begins where ordinary meets bold.

1. What Is Printable Vehicle Wrap Vinyl?
A vehicle wrap starts life as ordinary film – printed sheets stick well when dry. Custom art made at home takes shape through ink, not premade images. Large rolls feed your printer, if needed; smaller cuts work too from stocked sheets. Air channels help smooth curves, fewer bubbles pop up by chance. Applying it yourself means design freedom that stores often can’t match.
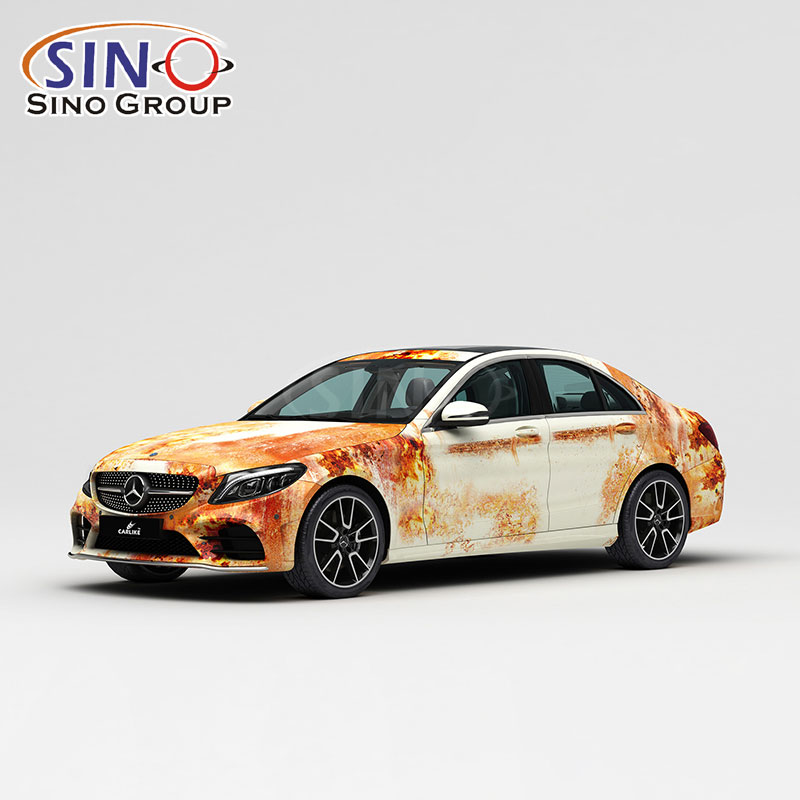
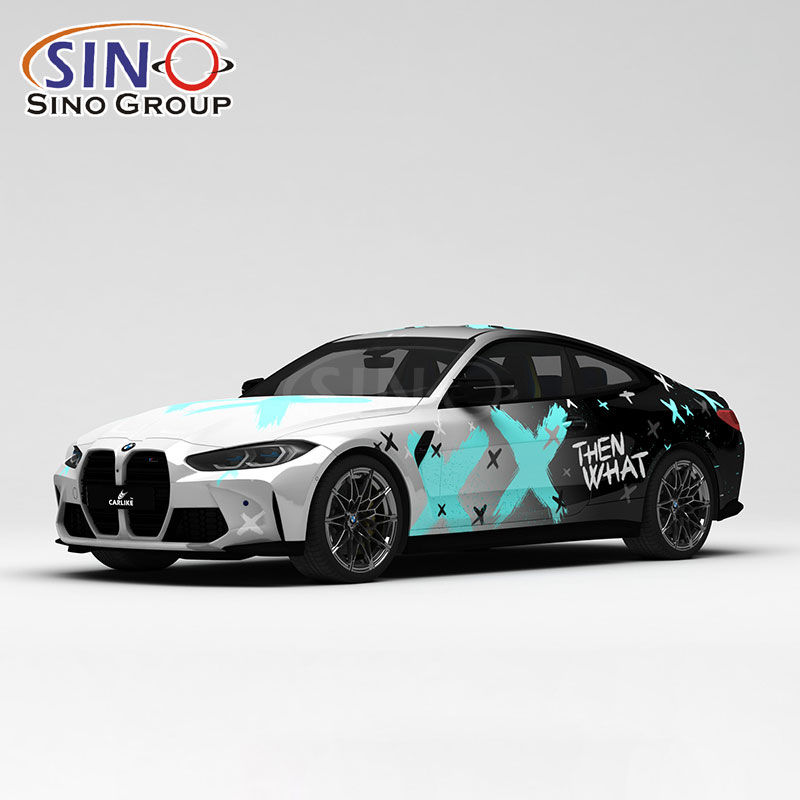
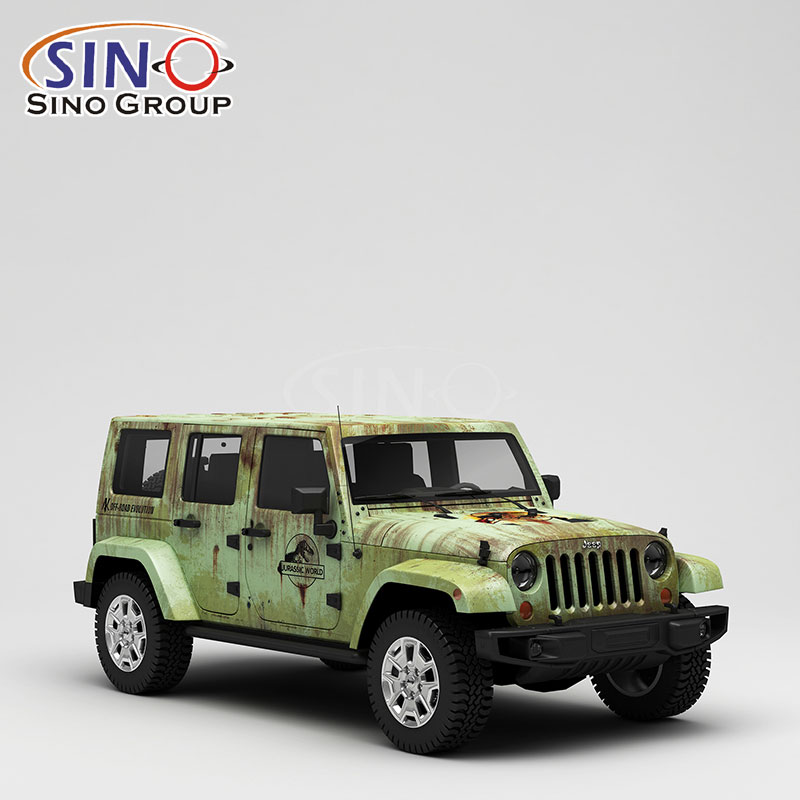
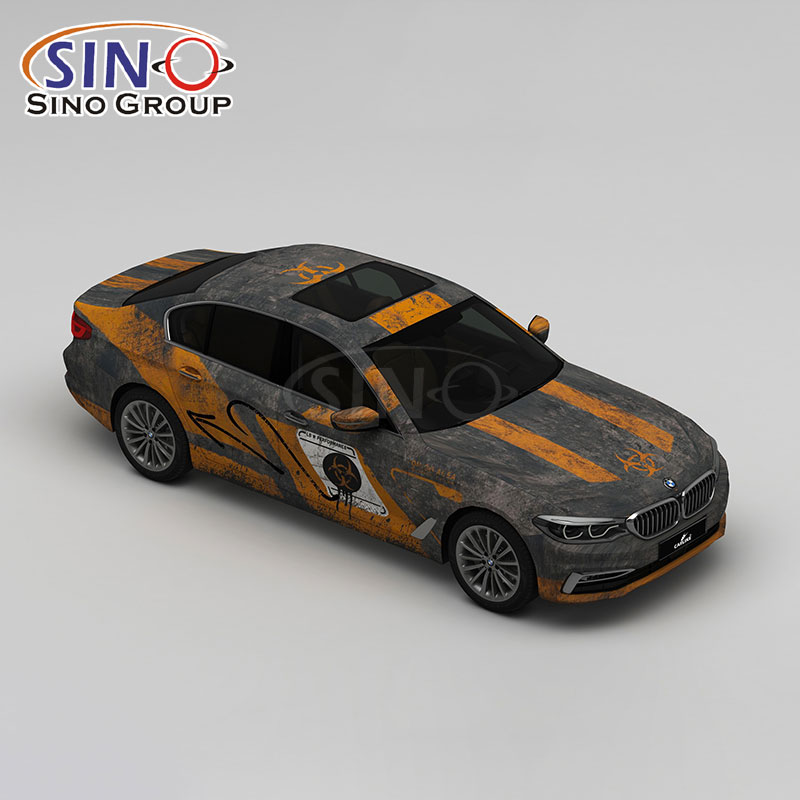
Folks who love cars now have endless options to make their vehicle stand out. Not held back by standard hues or few design choices, they might paint it straight into being a rolling work of art. Lasting years even in direct sunlight, that tough vinyl wrap shields the surface from sun damage, small marks, and grit kicked up by driving. What stands out is how taken off it can be – no need to stick with just one design forever.
2. Why Use Printable Vinyl for Car Wraps?
I went with printable vinyl because it gave me creative freedom without breaking the bank. Traditional paint jobs can cost thousands and take forever, while a wrap is way more budget-friendly and quicker to change. Plus, if you mess up during install (which I did at first!), you can peel it off and try again.
Another big reason is protection. Vinyl steps in front of the car’s first coat, guarding its true condition so it stays easier to sell. Truth is, it also adds some style. Picture your vehicle pulling into a gathering of collectors or simply driving local streets – the clean design pulls eyes right to you, turning heads without trying too hard. When it comes to real-world use, printable vinyl sticks well to smooth parts like metal or fiberglass – even rough plastic surfaces can accept it, if cleaned and ready.

3. Tools and Materials You’ll Need
First things first, pulling every necessary piece together meant skipping the frustration later on. That’s what my basic setup looks like:
-
Printable vinyl roll/sheet: Choose a quality brand designed for vehicle wraps; some have built-in air channels.
-
Printer: A large-format eco-solvent or latex printer gives the best results, but some entry-level inkjet printers work for smaller projects.
-
Cutting tools: Precision knife or vinyl cutter for trimming edges.
-
Squeegee: Helps smooth out bubbles and push vinyl into tight spots.
-
Heat gun or heat source: Crucial for softening vinyl around curves and complex shapes.
-
Measuring tape & masking tape: For accurate sizing and marking areas before cutting.
-
Surface cleaner: Isopropyl alcohol or dedicated automotive surface prep solution to remove wax, dirt, and oils.
-
Gloves: Keeps oils from your hands off the vinyl and car surface.
Having these tools on hand saved me from frustrating delays and helped me work cleanly and efficiently.
4. Designing Your Wrap: Tips for Success
Designing your wrap was the fun part, but also the trickiest. First, I measured every panel of my car so the artwork would fit perfectly—no weird stretching or awkward gaps. I used design software like Adobe Illustrator or free alternatives such as Inkscape or Canva for simpler layouts.
Key tips I picked up:
-
Keep important elements away from body lines and seams so they don’t distort.
-
Mirror your design if wrapping both sides of the car for consistency.
-
Think about color contrast and readability from different distances.
-
Test print a small section first to check colors and alignment.
-
Remember bleed areas—extend your design slightly beyond cut lines to prevent white edges after trimming.
I also learned to keep file resolution high (at least 150 DPI) so the printed graphics stay crisp even up close. Don’t rush this stage; a solid design makes the whole wrap pop.

5. Preparing Your Car and Workspace
What changed the outcome most was how well I had prepared. First came a good rinse, scrubbing each section clean – no residue left behind, not even flecks hiding in corners. That step removed old wax, dirt, everything that might interfere down the line. Location mattered too; under an open roof, away from gusts and glare, surfaces stayed calm. Heat and breeze; they tangle, warping both stuck parts and their coating alike.
With the outside sorted, inside I opened up space by removing clutter, setting up a wide work area. Underneath came a layer of shielding material – no scraping sounds, less mess piling up below. That surface held firm against smudges or spills slipping through. Once ready, off went the door panels along with the roof section, lifted high enough to let each corner get its turn under direct light and even airflow.
6. Step-by-Step Application Process
Here’s how I tackled the actual wrap:
-
Test fit: I loosely placed sections of vinyl on the car to check positioning.
-
Cut and trim: Using my measurements, I cut the vinyl slightly larger than the panel size.
-
Remove backing: Peeled off the adhesive liner slowly while being careful not to let dust stick.
-
Position carefully: Aligned the vinyl with the panel, using masking tape as guides if needed.
-
Apply gradually: Started from the center and used a squeegee to press the vinyl down, working outward to push out air bubbles.
-
Heat and stretch: On curved areas, I gently heated the vinyl with a heat gun and stretched it to follow the shape without tearing.
-
Trim excess: Once applied, I trimmed the edges neatly with a precision knife.
-
Final smoothing: Went over the whole section again with the squeegee to ensure strong adhesion.
Patience is everything here. Rushing leads to wrinkles and bubbles that are hard to fix.

7. How to Maintain Your Wrap
Putting so much work in, I hoped the wrap wouldn’t fade fast. Staying on top matters more than you think. A gentle hand wash using a non-acidic cleaner does the trick, along with gentle scrubbing tools – skip those noisy robot car spas they might drag across the surface and ruin everything.
Shading helps guard against color loss from sunlight, so that is where I choose to leave my vehicle whenever it suits. When a mark lingered despite cleaning, a soft wipe followed rather than forceful rubbing. Now and then – about every couple months – the tape gets checked for raised edges or harm, fixed later by warming small areas just enough. Even after long stretches, the color of my wrap held up thanks to careful handling.
8. Common Mistakes to Avoid
I made a few blunders early on, so I’ll save you from them:
-
Skipping surface prep: Dirt or wax ruins adhesion. Clean like your wrap depends on it—because it does.
-
Ignoring temperature: Cold vinyl is stiff and harder to stretch; hot vinyl can become too sticky and stretch unevenly. Work in moderate temps.
-
Not using enough heat on curves: This causes wrinkles and poor conforming. Heat is your best friend on tricky spots.
-
Rushing removal of backing: Trapping air or dust between vinyl and car surface creates bubbles. Peel slowly and methodically.
-
Overstretching: Some vinyl has limits; overdo it and you’ll thin the material or lose print quality.
Learning from these mistakes made me better at wrapping and kept my frustration levels low.

9. Final Thoughts and Encouragement
Peeling off the transfer tape, you catch your breath – that first glimpse of the pattern already stuck to metal feels alive. This job blends imagination with slow progress, built by touching every corner of the material. Remembering that moment clearly, like a snapshot from years ago, brings back how much it meant. More than just showing off skill, there’s something about doing it yourself that makes the effort worth noticing.
Starting out? Try something little first. Get familiar with how things stick by doing tests. Your vehicle becomes a personal space when you work with it. Printed vinyl gives room to show what matters most. Mistakes happen – they’re part of finding style.

Conclusion:
When it comes down to it, sticking printable decals onto a vehicle using special vinyl turns out to be one of the most unique methods I know for personalizing a car. Planning ahead matters, along with having the correct equipment and allowing enough time – yet the result feels truly one-of-a-kind. Maybe the guidance here will keep you from repeating the errors I ran into, allowing you to jump right into building something remarkable. Even if the initial wrap does not turn out flawlessly, each attempt adds a fresh lesson. Pick up your layout, activate the printer, then begin shaping your vehicle into a stunning sight. It goes without saying – sitting behind a creation shaped entirely by you brings a quiet pride.