So, you want that perfect, mirror-shine finish? I see many gloss car wrap vinyl jobs that look bad from close. Bubbles, wrinkles, poor edges. It hurts my eyes! The secret is not just the vinyl film. It is the installation. I learned this from many years and many mistakes. Today, I share my professional secrets with you. Let’s make your gloss wrap perfect together.
1. Secret 1: The Gloss Car Wrap Vinyl Cleaning Step You Cannot Miss
This is the most important step. If you skip this, you will fail. Your car might look clean, but it is not clean enough for gloss car wrap vinyl. I do not mean just soap and water. You must remove every invisible particle. I use a mixture of 70% isopropyl alcohol and 30% clean water in a spray bottle. I spray a section and wipe with a clean microfiber cloth. Then, I use a second dry microfiber cloth to wipe again. I look at the surface from an angle under bright light. I search for any leftover wax, grease, or road film. Gloss vinyl is like a mirror. It shows every tiny speck of dirt underneath. If you trap dirt, you will see a bump forever. There is no fix after. Take your time here. One hour of cleaning can save you from a terrible result.
2. How to Find the Perfect Gloss Car Wrap Vinyl for Your Project
Not all gloss vinyl is the same. This is a big secret. Some cheap gloss films are thin. They tear easy and do not stretch well. The color might look different in the sun. I always tell people: choose a premium brand from a real supplier. Ask for a small sample first. Test it. Stick a piece on a curved part of your car. Does it stretch without turning white? Does the adhesive feel strong but not too aggressive? Look at the gloss level. Some are just shiny. A good gloss has deep, liquid-like reflection, like real paint. Also, check the warranty. Good brands give 5+ years warranty. This tells you they trust their product. Do not buy the cheapest roll. You will pay more in frustration and time.
3. My Gloss Car Wrap Vinyl Stretching Technique for Curves
This is where most beginners panic. You have a door handle or a bumper curve. You think you must pull very hard. Wrong! Pulling too hard is bad. It makes the vinyl thin and weak. The color can fade in that spot. My technique is about heat and patience. I use my heat gun on low or medium setting. I warm the vinyl until it becomes soft and relaxed. I never make it hot! Then, I use the pads of my fingers, not my nails, to slowly smooth and stretch the film over the curve. I work from the center out, like smoothing a sticker. I apply heat in small bursts. If I see the vinyl turning white or shiny, I stop. That means it is over-stretched. I lift it a little, reheat, and try again with less force. The secret is to let the heat do the work, not your muscles.
4. Why Temperature Control is a Gloss Car Wrap Vinyl Must
Temperature is your best friend and worst enemy. You must control two temperatures: the air temperature and the vinyl/surface temperature. I never install outside in cold weather. The ideal is a warm room, about 20-25°C (68-77°F). In cold, the adhesive does not stick well. The vinyl becomes stiff and can crack. In very hot sun, the adhesive becomes too sticky too fast. You cannot reposition it. My rule: warm the car and the vinyl roll before you start. I keep the roll inside my warm shop for 24 hours. I sometimes use a space heater to warm a cold car panel. Also, when you use the heat gun, move it constantly. Do not point it at one spot. You want to make the vinyl flexible, not melt it. Perfect temperature control means the vinyl sticks where you want and moves when you need it to.

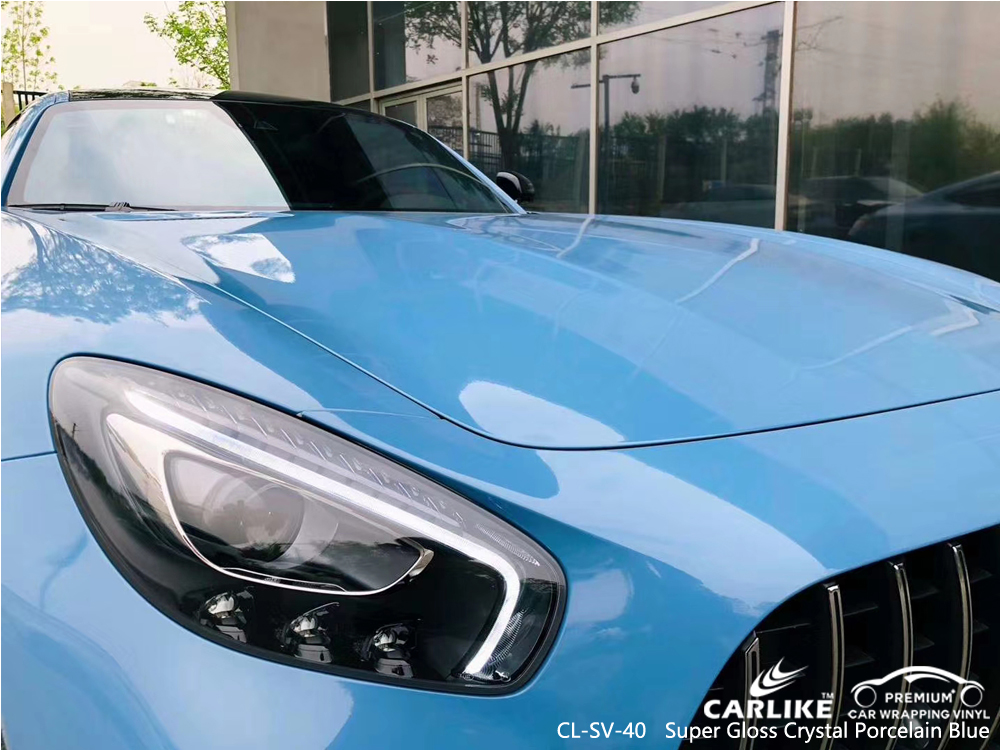
Super Gloss Crystal Porcelain Blue
5. Using the Right Tools: A Gloss Car Wrap Vinyl Game Changer
You cannot do a professional job with just your hands. You need the right tools, but not many. My essential kit is small. First, a good squeegee. I have different ones: a soft felt squeegee for the first smooth application, and a hard Teflon squeegee for final pressing. Never use a hard squeegee first; it will scratch the gloss. Second, a quality heat gun with temperature control. A cheap hair dryer is not hot enough. A torch is too dangerous! Third, a sharp, hook-blade knife. I change the blade very often. A dull blade will tear the vinyl, not cut it clean. Fourth, many clean microfiber cloths. Fifth, a soft microfiber glove. I wear it on my hand when smoothing to prevent fingerprints and scratches. These simple tools make the difference between a struggle and a smooth process.
6. The Gloss Car Wrap Vinyl Secret to Avoiding Bubbles and Wrinkles
Bubbles and wrinkles are not always a disaster. The secret is to prevent them, and to know how to fix them. For prevention, I use the “hinge method.” I peel only a little backing paper, maybe 10 cm. I line up the vinyl and stick that first part perfectly. Then, I use one hand to slowly pull the backing paper away, while my other hand smoothly follows with the squeegee. I work in small sections. This way, air cannot get under a big area. If I see a small bubble, I do not panic. I use the tip of my knife to poke a tiny, tiny hole in the bubble. Then, I use heat and my finger to push the air out through the hole. The gloss vinyl will re-melt and seal the hole. For a wrinkle, I gently lift the vinyl back to just before the wrinkle, apply a little heat, and re-smooth it down with less tension.
7. How to Use Heat Correctly on Gloss Car Wrap Vinyl (Don’t Burn It!)
Heat is magic, but it is also dangerous. The biggest mistake is too much heat. You will burn the vinyl. It will become shiny in a bad way, lose strength, and the color can change. My rules are simple. Always use the lowest heat that works. Keep the gun moving, always at least 15 cm away. Never stop on one spot. What do I use heat for? First, to make vinyl stretchy for curves (as I said). Second, to activate the adhesive. After I smooth a section, I go over it with mild heat. This makes the adhesive bond stronger. Third, to fix mistakes like bubbles. And fourth, for the “post-heat” process. After the whole panel is done, I go over all the edges and recesses with mild, sweeping heat. Then, I press them down again. This seals the edges and prevents lifting later. Touch the vinyl with your hand. It should be very warm, not hot.
8. Trimming and Sealing Edges: Protecting Your Gloss Car Wrap Vinyl
This step decides how long your wrap will last. Bad edges will lift and collect dirt. My secret is to trim at the right time. I do not trim immediately. First, I completely install the whole panel. I smooth it perfectly. Then, I let it sit for 10 minutes. The vinyl relaxes and contracts a little. If I cut right away, the edge might pull back later. After waiting, I use my sharp hook blade. I hold it at a very low angle, almost flat against the panel. I “skim” the edge, never digging in. I use the body gap or panel edge as my guide. I make many light passes, not one hard cut. After trimming, I do the “post-heat” I mentioned. Then, I use a plastic edge sealer tool or a cloth to firmly press and roll over the edge. This locks it down. A perfect edge is invisible and tight.
9. Aftercare Tips to Keep Your Gloss Car Wrap Vinyl Like New
Your job is not done when you step back and admire. The first weeks are critical. Do not wash the car for at least one week, better two. The adhesive needs time to fully cure. After that, wash it often, but only by hand. Never use an automatic car wash with stiff brushes. They will scratch the gloss. I use a pH-neutral car shampoo, two buckets (one clean, one soapy), and many soft mitts. I dry with a soft drying towel, not letting water spots dry on the surface. For protection, I use a spray sealant made for vinyl wraps. I avoid traditional car wax or compound polish. They can damage the film. Also, park in shade when possible. Constant hot sun can, over many years, make the gloss less shiny. With good care, your perfect gloss finish will stay perfect for years.

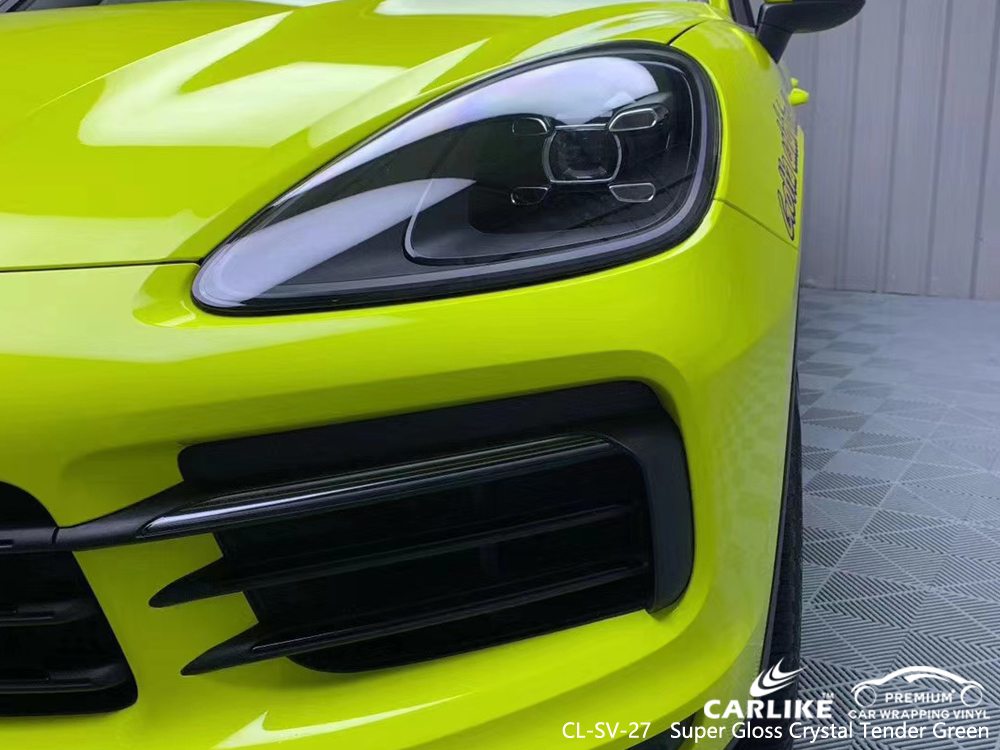
Super Gloss Crystal Tender Green
Conclusion:
See? A perfect gloss car wrap vinyl job is not magic. It is a process. It needs patience, the right material, and these little secrets. Do not rush any step, especially the cleaning and the stretching. Remember, heat is your helper, but you must control it. Use good tools and take care of the wrap after. I hope my secrets help you. Do not be afraid. Start on a small, flat panel first. With practice, you can do it. Good luck, and enjoy that deep, mirror shine!
You want that perfect, professional-grade shine. I use only premium films for my own projects. Ready to start? Browse my trusted selection of professional gloss car wrap vinyl rolls on my shop site. Get the right material for a flawless result.

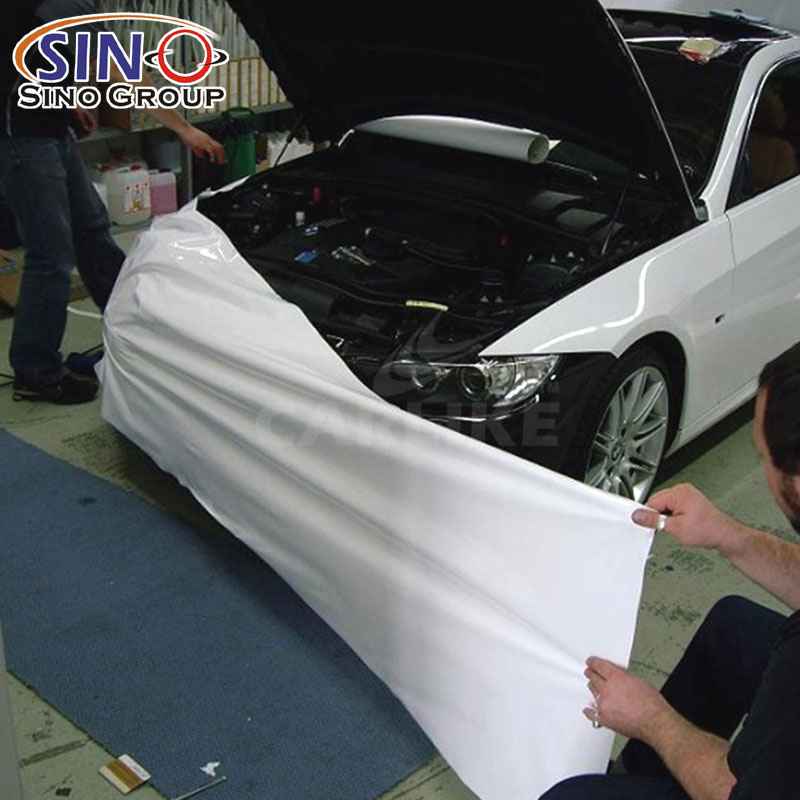
Super Gloss Vinyl
Frequently Asked Questions: Gloss Car Wrap Vinyl
Q1: How long does a gloss car wrap last?
A: A professionally installed gloss wrap with good material can last 5 to 7 years, sometimes more. But this depends completely on three things: the quality of the vinyl film, the skill of the installation, and how well you take care of it. Sun, weather, and automatic car washes will shorten its life.
Q2: Can I install a gloss wrap myself, or should I hire a pro?
A: You can try a DIY install on a small, flat panel (like a roof or hood) if you are very patient. But for the whole car, especially with complex curves (bumpers, mirrors), I strongly recommend a professional. Gloss vinyl shows every tiny mistake. A bad install will look worse than your old paint.
Q3: How do I wash and care for my gloss wrap?
A: Hand wash only! Wait 1-2 weeks after installation. Use a pH-neutral car shampoo, soft microfiber mitts, and two buckets. Dry with a soft towel. Never use a brush at an automatic car wash—it will cause fine scratches (“micro-marring”) that dull the shine. You can use a spray sealant made for vinyl wraps for extra protection.
Q4: What is the biggest mistake beginners make?
A: Rushing the surface cleaning. This is the step everyone wants to skip. If you don’t remove every bit of wax, grease, and dirt with proper alcohol solution, you will trap particles under the vinyl. With gloss film, you will see every single one as a permanent bump.
Q5: Can I remove gloss car wrap vinyl easily later?
A: Yes, if it was a quality film installed correctly. With some heat from a heat gun or even the sun, you can slowly peel it off. Cheaper vinyl with aggressive adhesive can leave more residue and be harder to remove, potentially damaging the paint underneath.
Q6: Does gloss vinyl get scratched easily?
A: Gloss vinyl has a clear protective layer, but it can get light surface scratches (swirl marks) from improper washing. These are less visible than on a matte wrap. You cannot use heavy polish or compound to fix it. Use a dedicated vinyl wrap detailer to help hide light marks.
Q7: Can I wrap over minor dents and scratches on my car?
A: The vinyl will cover very light scratches, but it will not hide dents. In fact, it will often make a dent morevisible because the glossy surface reflects light and shows the uneven shape. Always do your best to repair dents before wrapping.
Q8: How do I fix a bubble or wrinkle after installation?
A: For a small bubble, use a very sharp pin or knife tip