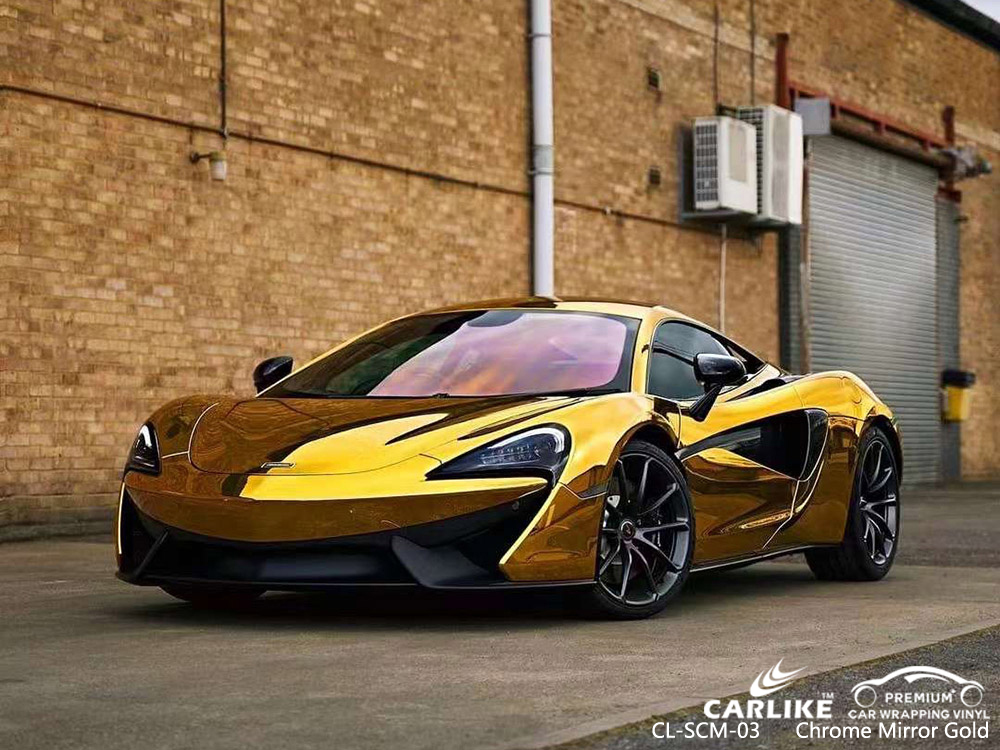
Chrome mirror vinyl, often known as “chrome wrap” or “mirror finish film,” represents the pinnacle of aesthetic vehicle modification. Its breathtaking, high-reflective finish turns heads and creates a show-stopping look. However, beneath its dazzling surface lies a material notorious for being temperamental, scratch-prone, and unforgiving.
Unlike standard color change wraps, chrome mirror film demands the highest level of skill, patience, and the right environment. We strongly advise against DIY attempts for all but the most experienced professionals. The failure rate is high, the material is expensive, and a botched job can lead to significant financial loss.
This guide is designed to educate enthusiasts on the intricate process, highlight the challenges, and underscore why professional installation is not just recommended, but essential.

Part 1: Understanding the Material – Key Characteristics & Warnings
Before any tools are picked up, understanding the film’s nature is crucial:
-
Extremely Scratch-Sensitive: The chrome layer is relatively soft. Any abrasive contact—from a dirty cloth, a rough fingernail, or an imperfect tool—will leave permanent, highly visible marks.
-
Low to Zero Stretch: It lacks the memory and elasticity of standard wraps. Forcing a stretch will cause the metallic layer to crack, craze, or distort, ruining the mirror effect.
-
Heat Sensitive: Excessive or direct heat from a heat gun can irreparably damage the reflective coating.
-
Adhesive Risks: Lower-quality films are prone to leaving stubborn adhesive residue upon removal, making future changes a nightmare.

Part 2: The Professional Installation Process – A Step-by-Step Breakdown
Professional installers don’t just apply film; they execute a meticulous, controlled procedure. Here’s how it’s done right, using a car hood as an example.
Core Philosophy: Use Ample Slip Solution, Apply Gentle Pressure, and Use Heat Sparingly.
Phase 1: Pre-Installation Preparation
-
The Environment: A climate-controlled, dust-free booth is non-negotiable. Dust particles become glaring imperfections under the mirror surface. Professional lighting is critical for spotting contaminants and imperfections.
-
Tool Preparation:
-
Squeegees: Multiple types (soft yellow Teflon®, firm felt-covered, detailed) are needed. Every edge must be flawlessly smooth. Any nick will scratch the film.
-
Heat Gun: For relaxing edges only, used with caution and low heat.
-
Application Fluid: A slip solution of water with a few drops of neutral pH soap (like baby shampoo).
-
Cutting Tools: Brand new, sharp blades are changed frequently.
-
Cleaning Agents: Isopropyl alcohol, dedicated panel wipes, and clean microfiber towels.
-
Vehicle Preparation: The car undergoes a thorough decontamination wash, clay bar treatment, and a final wipe-down with isopropyl alcohol to remove all oils and residues. For a seamless finish, handles, emblems, and lights are often removed.
Phase 2: Installation (The Main Event)
-
Film Handling & Positioning: The film is roughly cut with excess margin. The backing paper is peeled just enough to anchor the top edge. With the panel flooded with slip solution, the film is carefully laid onto the surface, allowing it to float and be positioned without drag.
-
The Initial “Tack”: Using the “cross-hatch” squeegee technique, the installer works from the center outwards—first side-to-side, then top-to-bottom—gently pushing out the majority of the fluid and air bubbles. Only soft, felt-covered squeegees are used.
-
Wrapping Edges & Complex Curves: This is the most critical skill. The heat gun is used on low setting, at a distance, with constant motion to gently warm the film only at the very edges. The installer then coaxes the film over the contour with their fingers or a soft wrap tool, avoiding hard pulls. A proper “invisible” wrap tucks the film behind panels or into seams.
-
Final Trimming & Sealing: Using a fresh blade, the excess film is trimmed away with precise, confident strokes. The tucked edges are then carefully heated and sealed to prevent lifting. All remaining moisture is squeegeed out from edges.

Part 3: Post-Installation Care & Longevity
The job isn’t over when the car rolls out of the bay.
-
Curing: The vehicle should sit for a minimum of 24-48 hours in a warm environment to allow all moisture to evaporate and the adhesive to fully bond. Avoid high-pressure car washes during this period.
-
Washing & Maintenance: Hand washing is ideal. Always rinse thoroughly to remove loose grit before making contact with a mitt. Use pH-neutral car wash soap. NEVER wipe a dry or dusty chrome surface. Avoid automatic car washes with harsh brushes.
-
Parking & Protection: Be mindful of parking near bushes or objects that could brush against the surface. While durable, the film is not armor.

Conclusion: Why Professional Installation is the Only Wise Choice
Chrome mirror wrap is the “final boss” of vehicle wrapping. Its reflective nature magnifies every minor flaw—orange peel, microscopic scratches, dust specks—that might go unnoticed on a matte or gloss finish.
A professional installer brings an irreplaceable combination: a pristine environment, specialized tools honed by experience, and an intimate understanding of the material’s behavior. They don’t just apply the film; they engineer its fit. The cost of professional installation is an investment in a flawless, durable result that protects your vehicle’s paint and delivers the stunning visual impact you desire.
Attempting this as a DIY project is a high-risk endeavor likely to result in wasted material, a damaged appearance, and costly remediation. For a finish that truly mirrors perfection, trust a certified professional.
Ready to transform your vehicle with a flawless chrome mirror finish? Contact our team of certified specialists today for a consultation and quote!

FAQ: Chrome Mirror Car Wraps
Q1: How long does a chrome mirror wrap last, and is it legal everywhere?
A high-quality chrome mirror wrap, professionally installed and properly maintained, can last between 3 to 5 years. Its lifespan depends heavily on exposure to the elements, wash frequency, and care. Regarding legality, mirror finishes are regulated in many regions due to their extreme reflectivity, which can be a distraction or hazard to other drivers. It is your responsibility to check with local Department of Motor Vehicles (DMV) or road authority regulations before installation. We always recommend verifying local laws to ensure your stunning modification is also street-legal.
Q2: Can a chrome wrap be removed without damaging my car’s original paint?
Yes, absolutely. One of the key benefits of a professional-grade vinyl wrap is that it acts as a protective layer for your factory paint. When removed correctly by a professional—typically using controlled heat and proper technique—it should leave no damage or adhesive residue. In fact, your original paint will be preserved in the condition it was in before the wrap was applied. This is why using premium film and a certified installer is critical; cheaper materials and improper installation can lead to difficult removal and paint damage.
Q3: What is the biggest mistake people make with chrome wraps?
The single biggest mistake is attempting a DIY installation or choosing an uncertified installer based on price alone. Chrome mirror film is unforgiving. Without a dust-free environment, professional tools, and practiced technique, the result will be plagued by visible scratches, bubbles, wrinkles, and premature failure. The second major mistake is improper cleaning—using abrasive cloths, harsh chemicals, or wiping the surface when it’s dry. This will quickly cloud and scratch the delicate mirror finish. Protecting your investment means trusting a professional for installation and committing to gentle, regular hand washing.