Have you ever had your car windows tinted, only to notice unsightly bubbles forming on the film a few days, weeks, or months later? It’s a frustratingly common issue that can ruin the sleek look of your vehicle and even impair visibility. While some bubbles are a normal part of the curing process, others signal poor installation or a low-quality product.
Understanding why these bubbles appear is the first step to preventing them. This comprehensive guide will explain the science and art behind window tinting, break down the different types of bubbles, and provide clear solutions to ensure you get a flawless, long-lasting finish.

The Main Culprits: Why Bubbles Form
Bubbles in window tint generally stem from three key areas: the installation process, the film quality, and post-installation care.
1. Installation & Environmental Factors (The Primary Cause)
This is where most problems originate. A perfect application requires a clean room, skilled hands, and proper technique.
-
Insufficient Cleaning: This is the #1 cause. Any tiny speck of dust, lint, or grease left on the glass before application creates a pillar. The film cannot adhere to the glass at that point, leaving a bubble with a visible particle at its center.
-
Non-Sterile Workspace: Tinting in an open garage or by the roadside invites airborne dust and debris to settle on the film or glass during the critical application phase.
-
Poor Shrinking & Heat-Gun Technique: Curved windows, especially windshields and rear windows, require the film to be precisely heated and shrunk to fit the glass contour (“heat forming”). Incorrect temperature or technique can cause wrinkles, weak spots in the adhesive, or immediate bubbling.
-
Ineffective Squeegeeing: After the film is positioned, the installer must use a squeegee to remove all water and air trapped between the film and glass. Uneven pressure, incorrect tools, or missed spots will leave behind air or moisture pockets.
-
Subpar Installation Solution: The slip solution (a mix of water and a mild surfactant) allows the film to be adjusted before final placement. Using the wrong mixture (like dish soap) or a contaminated solution can damage the adhesive or leave residue.
2. Poor Quality Window Film
Not all tint films are created equal. Cheap, low-grade films are prone to failure.
-
Uneven Adhesive Layer: Inferior manufacturing leads to an inconsistent application of pressure-sensitive adhesive. This results in patches that don’t stick, creating random bubbles or a hazy appearance.
-
Unstable Adhesive Chemistry: Low-quality adhesive can break down over time, especially under heat from the sun. This breakdown releases gases, creating a dense pattern of small bubbles (often called “hazing,” “blistering,” or “crazing”). This damage is permanent.
3. Improper Aftercare by the Owner
Even a perfect installation can be ruined if care instructions aren’t followed.
-
Rolling Windows Down Too Soon: The adhesive needs time to cure and fully bond with the glass, typically 3 to 7 days. Rolling the window down during this period can peel the edge of the film away from the glass, allowing air and moisture to seep in.
-
Using Defrosters Prematurely: The sudden, intense heat from rear-window defroster lines causes rapid expansion before the adhesive is set, almost guaranteed to create bubbles along the heating elements.

Bubble Identification Guide: Wet vs. Dry Bubbles
Not all bubbles are created equal. Identifying the type is crucial for knowing how to respond.
Type 1: “Wet Bubbles” (Normal Curing Process)
-
Appearance: Numerous small, hazy, or milky-looking patches or bubbles that appear immediately after installation.
-
Cause: Trapped moisture and micro-pockets of air from the installation solution.
-
Solution: Don’t Panic! These are completely normal. With proper sun exposure, these bubbles should disappear on their own within 1 to 3 weeks as the water evaporates. If some stubborn ones remain after a few days, a professional can often press them out.
Type 2: Dust or Debris Bubbles (Installation Error)
-
Appearance: A bubble with a tiny, solid speck (the dust particle) clearly visible at its center. You can often feel the grit. These do not go away.
-
Cause: Contamination of the glass or film surface during preparation or application.
-
Solution: A single, tiny dust spot in a non-critical area might be tolerable. However, multiple specks or any in the driver’s direct line of sight are unacceptable. The only fix is to remove and re-tint the affected window. This is a clear installer error.
Type 3: “Dry Bubbles” or “Hazing” (Product Failure)
-
Appearance: Larger, distinct air pockets that appear weeks or months later. Alternatively, a widespread, speckled pattern that looks like fish eggs, oil stains, or cracked glass.
-
Cause: This is almost always due to cheap, low-grade window film. The adhesive chemically degrades, releasing gases that cannot escape. Sun and heat accelerate this process.
-
Solution: Immediate removal is required. This film has failed and will only get worse. The released gases can have an odor, and the adhesive often turns purple or brown. Leaving it on will make removal harder and more expensive.

Pro Tips for a Perfect, Bubble-Free Tint Job
-
Choose the Installer, Not Just the Film: Remember, “30% product, 70% installation.” A master installer in a dedicated, climate-controlled, and dust-free bay is your best investment. Look at their portfolio and reviews.
-
Invest in Quality Film: Purchase films from reputable, established brands that offer a manufacturer’s warranty. This warranty protects against adhesive failure (dry bubbles) and color fading. A cheap tint job is often the most expensive one in the long run.
-
Follow Aftercare Instructions Religiously: This is simple but critical. Do not roll down your tinted windows for at least 3-5 days (7 is ideal). Avoid using the rear defroster for the same period. This allows the adhesive to dry and bond completely.
-
Inspect and Act Quickly: Examine the tint thoroughly after installation. Address any concerns about dust particles or large bubbles with the installer immediately. For late-appearing dry bubbles, contact the film manufacturer or your installer about warranty coverage.

Conclusion
Bubbles in your window tint can range from a harmless, temporary phase to a sign of a serious product defect. By understanding the difference between normal “wet bubbles” and problematic “dry bubbles,” you can save yourself unnecessary worry or take appropriate action.
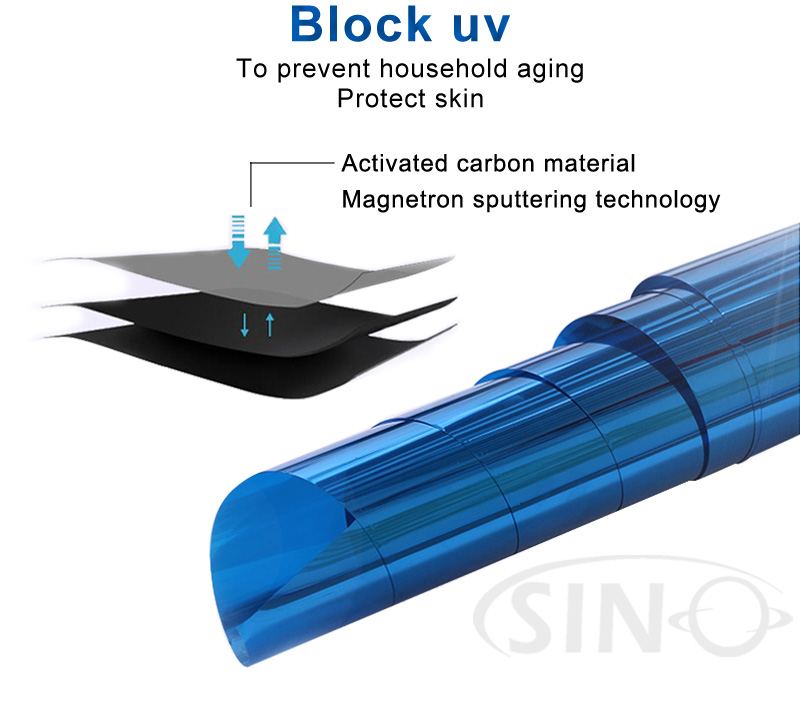
The key to a flawless, durable tint lies in a powerful combination: a high-quality film from a trusted brand installed by a certified professional in a clean environment. Follow the aftercare rules, and you’ll enjoy the benefits of window tinting—privacy, UV protection, and a cooler interior—with a perfect, bubble-free view for years to come.

Security Window Film