Running a T-shirt shop can be thrilling, but if the heat transfer vinyl (HTV) not easy to use, this will take you more patience. Over the years, I’ve learned that picking the right HTV for different fabrics, prepping shirts properly and mastering cutting settings can make or break a design. I’ve experimented with all types of vinyl, discovered the perfect heat press temperatures and pressing times, and learned how to layer designs without creating unwanted bulk. I’ve even figured out how to store HTV so it stays fresh and which brands consistently deliver quality results. In this post, I’ll share my top tips for avoiding peeling issues, troubleshooting common problems, and keeping your T-shirt shop running smoothly with flawless heat transfer vinyl designs.
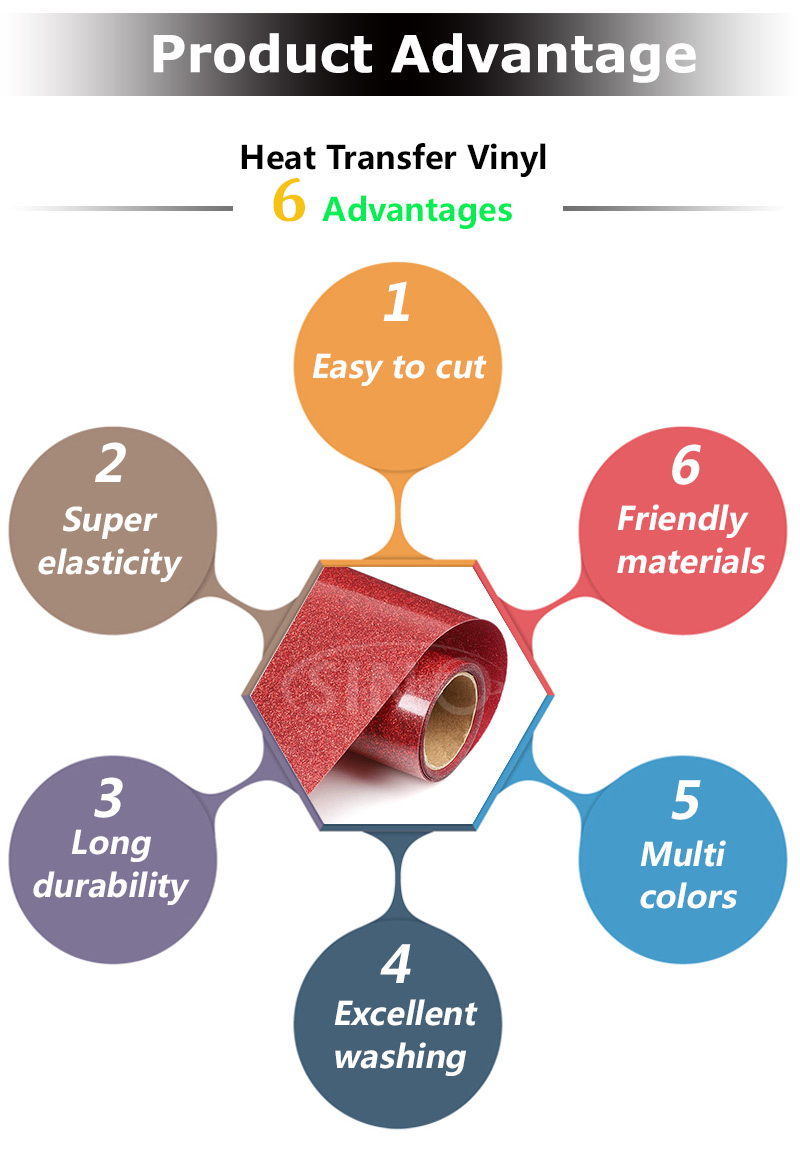
1. How I Choose the Right Heat Transfer Vinyl for Different Fabrics
Not all HTV works the same on every fabric. For example, cotton, polyester, and blends requires different heat and pressure. I always check the HTV’s specifications first, because some vinyls stick better to natural fibers, but others are designed for synthetics. I also test a small sample before producing a full batch. Over time, I’ve learned that matching the HTV type to the fabric can get smooth adhesion, avoids bubbling, and prevents peeling, which saves both time and money.

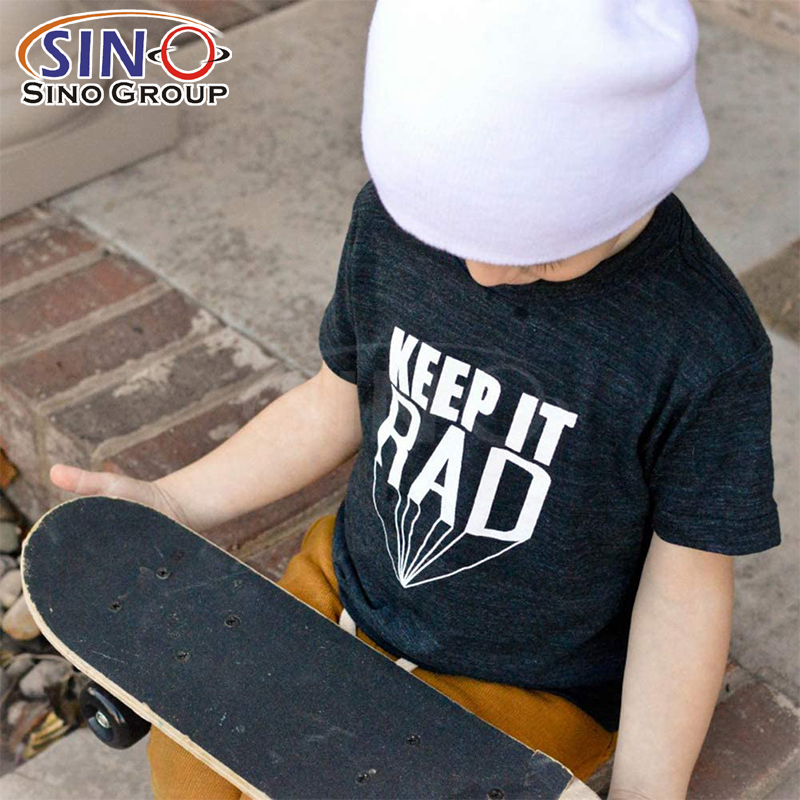
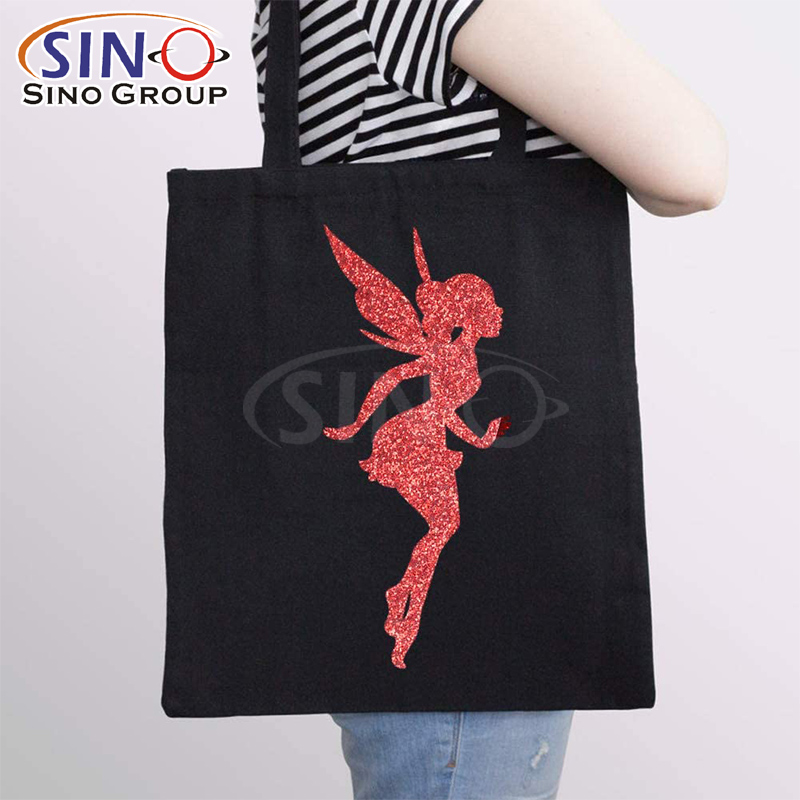
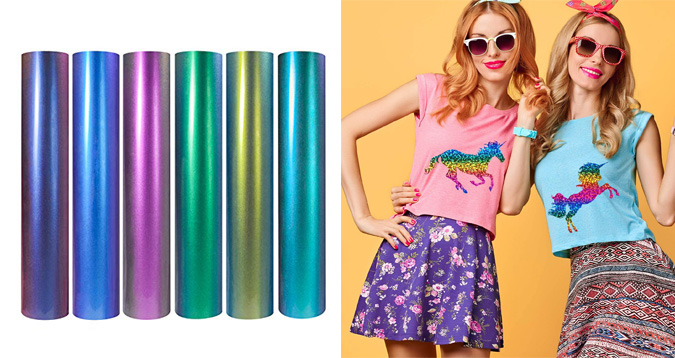
2. My Favorite HTV Types and When I Use Each One
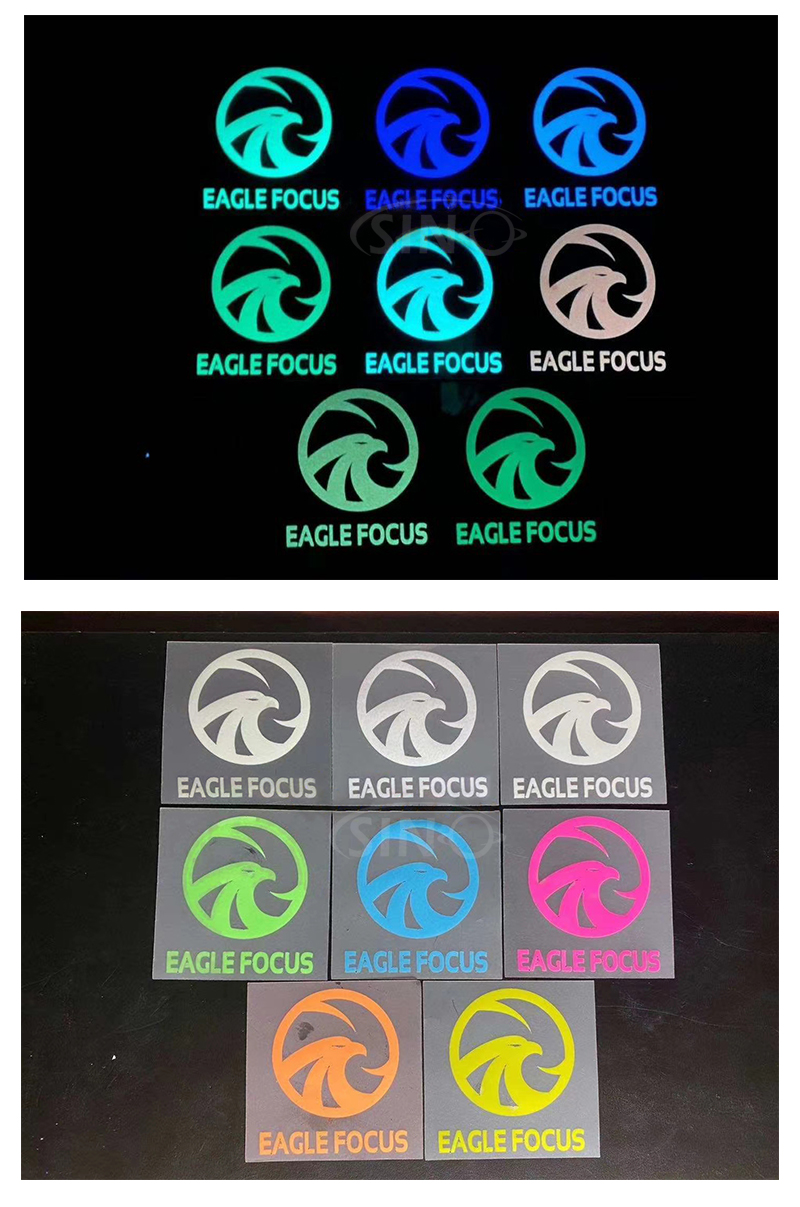
There’s more to HTV than just “regular” vinyl. I often use standard matte, glitter, flocked, metallic and specialty heat transfer vinyl depending on the design I want. Matte vinyl works for classic designs, and glitter or metallic adds fashion to premium t-shirts. Flock vinyl gives a soft and textured feel. Knowing when to use each type allows me to offer variety to my customers and create designs with compromising quality.

3. How I Prep T-Shirts Properly Before Applying HTV
Sometimes many people will ingore prepping the shirt, but it’s important for adhesion. I always pre-wash the shirts to remove sizing, fabric softener or oils that could effect the vinyl. Then I pre-press the T-shirt for 2–5 seconds to eliminate wrinkles and moisture. This simple step prevents bubbling and ensures the design sticks evenly. If skipping this step, the HTV edges might lifting after the first wash, which can ruin a professional look.

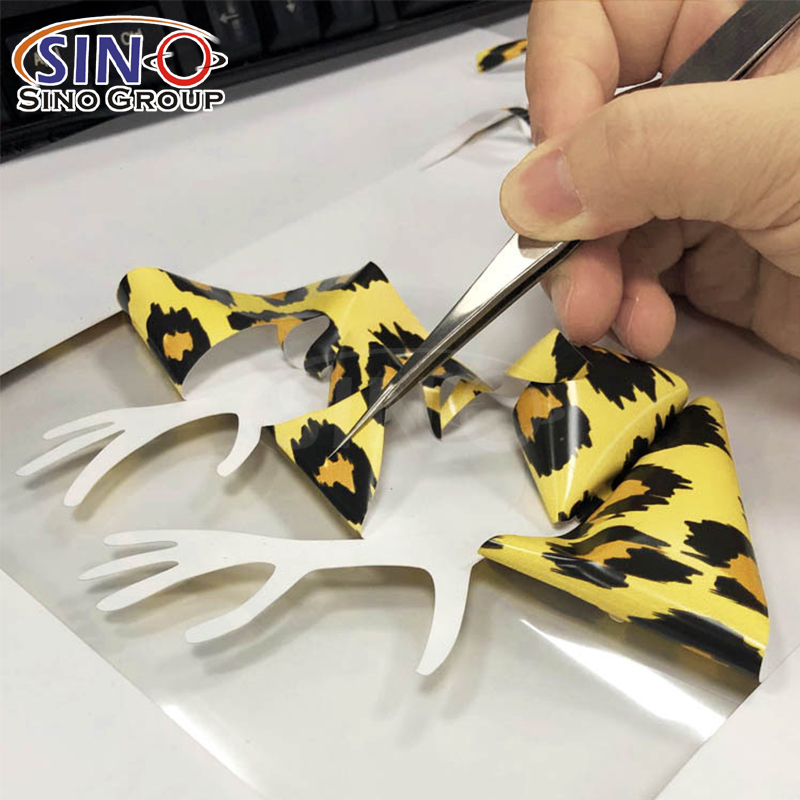
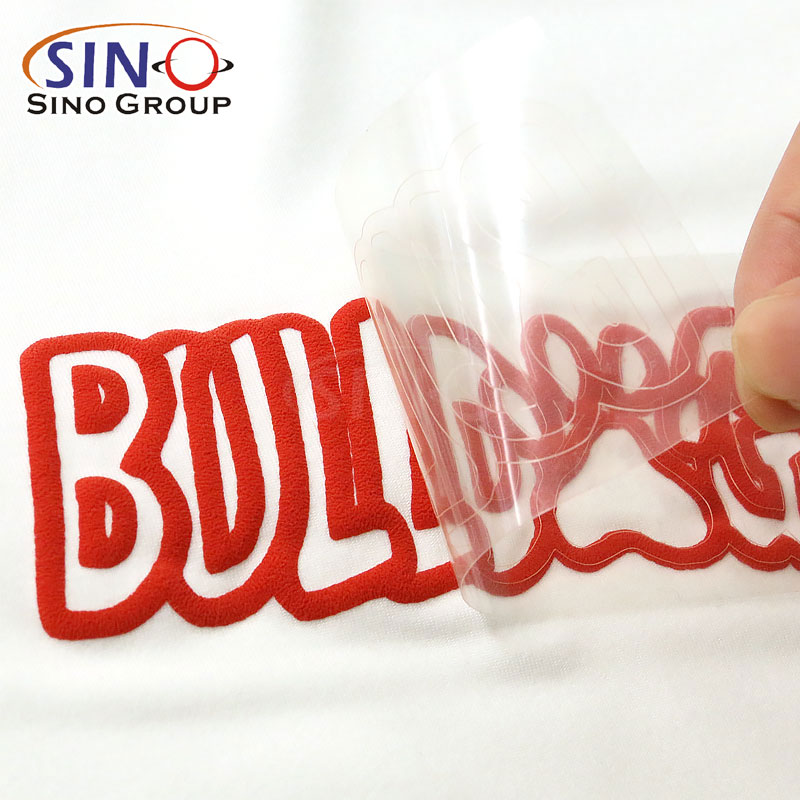
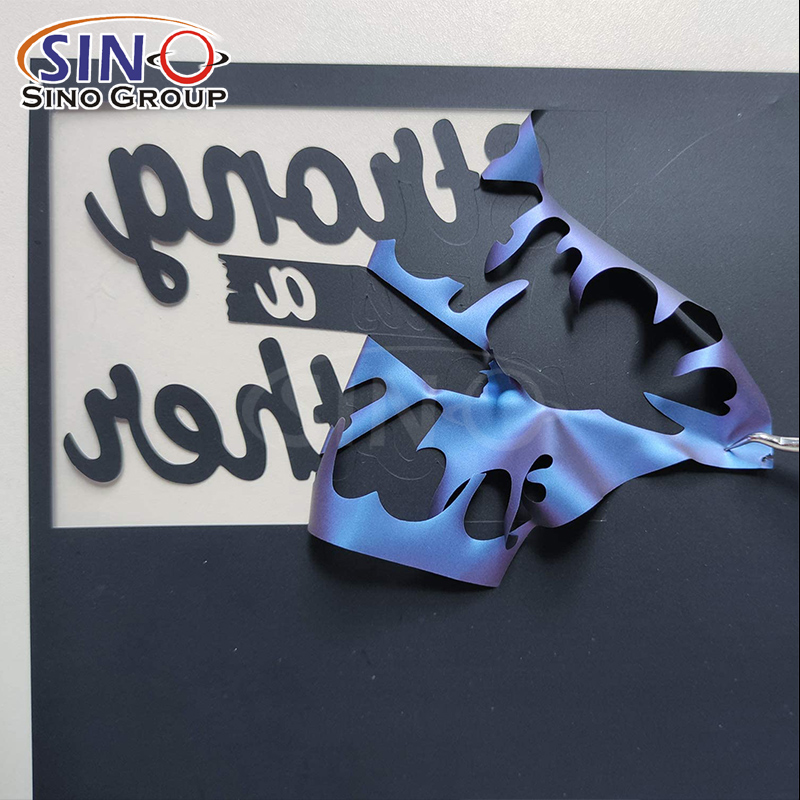
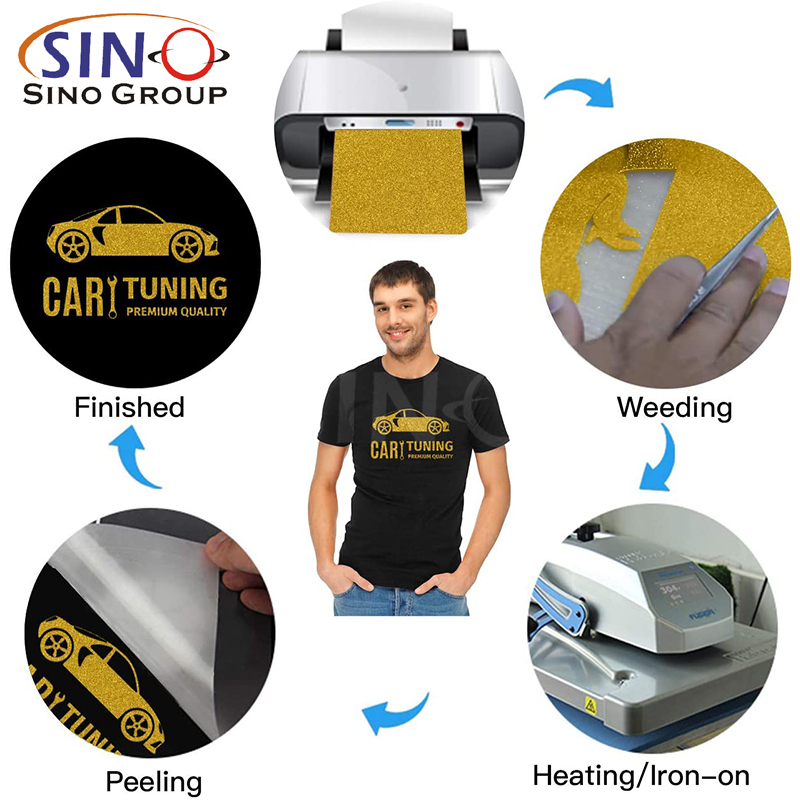
4. The Cutting Settings I Trust for Clean, Accurate HTV Cuts
Cutting HTV isn’t just about loading vinyl and hitting “cut.” I will adjust the blade depth, speed and pressure of plotter based on the type and thickness of the heat transfer vinyl. For example, glitter HTV needs slightly more pressure, while thin matte PU vinyl requires a lighter touch to avoid cutting the carrier sheet. Using the right cutting settings reduces weeding time, prevents tearing and make sures the letters and shapes come out crisp every time. I’ve spent hours testing settings so I can hit the sweet spot quickly in my shop.

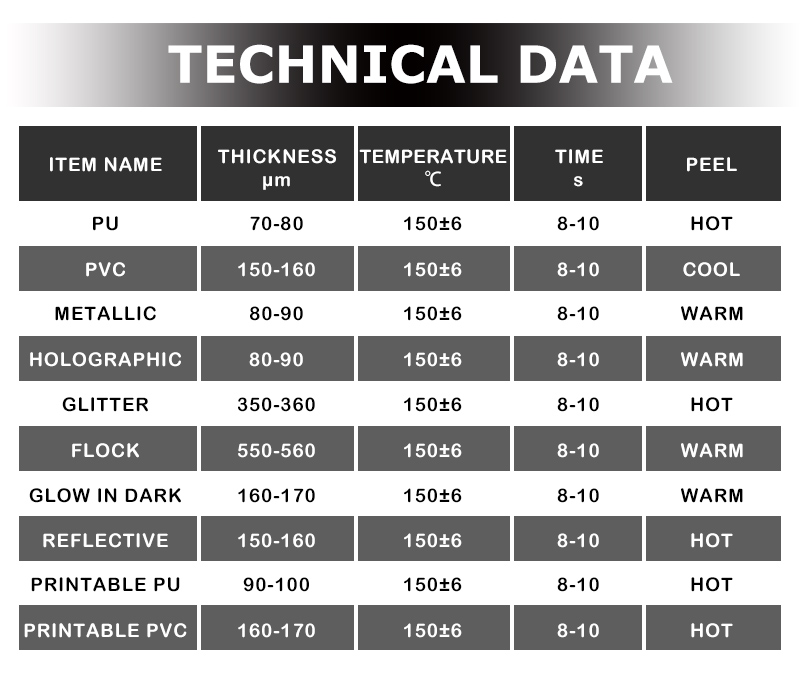
5. My Go-To Heat Press Temperatures and Pressing Times for HTV
The right temperature and pressing time are critical to making HTV stick without burning the shirt. I generally follow the vinyl manufacturer’s instructions but adjust slightly based on my press and fabric. For standard cotton tees, I use 305°F for 10–15 seconds, while delicate blends need lower heat and slightly longer pressing to avoid scorching. I also press in even, firm motions to ensure full contact. Consistent heat and timing prevent peeling and extend the life of the design.

6. How I Avoid Common Heat Transfer Vinyl Peeling Issues
Peeling is one of the most frustrating problems. I prevent it by combining proper prep, the correct heat press settings, and careful application. I also avoid stretching the fabric while pressing and let the design cool as needed. For multi-layered designs, I add a thin sheet of parchment paper between layers to protect the vinyl. These small habits have significantly reduced returns and complaints in my shop.

7. My Tips for Layering HTV Without Bulking Up the Design
Layering vinyl can add amazing effects, but it can also create a thick, uncomfortable patch on the shirt. I layer thin vinyl types and press each layer separately to maintain flexibility. I use light, precise alignment tools to make sure designs match perfectly. Choosing compatible HTV types that adhere well together ensures the layers stay intact while keeping the shirt soft and wearable.

8. How I Store Heat Transfer Vinyl to Keep It Fresh and Easy to Use
HTV can curl, stick, or gather dust if stored poorly. I keep the rolls upright in a cool and dry place, and away from direct sunlight. I also cover opened rolls with plastic wrap or store them in labeled sleeves to avoid dust. For smaller pieces, I keep them flat in a drawer. These proper storage saves me money because I rarely waste vinyl due to curling edges or sticky residue.

9. How I Choose the Best HTV Brands for Consistent Quality
Not all heat transfer vinyl brands are same. Buyer should choose the brands that consistently perform in adhesion, color vibrancy, and durability. This reduces mistakes, returns and wasted time. Investing in quality HTV vinyl is always worth it because it ensures that my T-shirts look professional and last longer.

10. Troubleshooting Heat Transfer Vinyl Problems in a Busy T-Shirt Shop
Even with experience, sometimes it has bubbling, peeling, or uneven cuts problems. My method is checking each step: fabric prep, cutting, pressing temperature and HTV compatibility. I keep a small “test T-shirt” to quickly try new combinations. I also made records which adjustments solve recurring issues. Over time, this method has saved me hours of problem and keeps my shop running smoothly.

Mastering heat transfer vinyl need patience, practice and experience. From choosing the right heat transfer vinyl for each fabric to perfecting cutting and pressing techniques, these every small step are important in creating professional, long-lasting designs. With these tips, you can take control of your HTV projects, avoid common mistakes and bring your creative designs to life with confidence.