Ever looked at a rugged truck or sleek SUV covered in tactical camo and thought, “I’d love to wrap my car like that — but can I actually do it myself?”The good news? You totally can. Camo car wrap vinyl isn’t just for professionals or off-road pros anymore. With the right tools, a bit of patience, and this step-by-step guide, even a DIY enthusiast can transform their ride with a bold, custom camo look — no paint shop required.
In this post, I’ll let you know everything you need to know about why camo car wrap vinyl is such a great choice car lovers. We’ll start with the basics: what camo car wrap vinyl actually is and why it’s so suitable for DIY. Then we’ll talk about choosing the perfect camo pattern to match your vibe, whether it’s classic woodland, desert tan, or something more custom.
You’ll also learn which tools you really need to this job better, from squeegees and heat guns to the best spray solutions for smoothing out vinyl. I’ll break downthe key advantages of using vinyl over paint, like cost savings, paint protection, and the freedom to change your look anytime. And of course, we’ll see the details: how to properly prepare your car, cut and trim the vinyl with precision, and use heat and stretching techniques for those tricky spots.
We’ll also tackle the mistakes most beginners make (so you don’t have to!) and share easy maintenance tips to keep your camo wrap looking fresh for the long haul. And finally, we’ll weigh the pros and cons to help you decide if doing a camo wrap yourself is really worth it — spoiler alert: for many DIYers, it absolutely is.
So grab your tools (or add them to your shopping list), and let’s explore why camo car wrap vinyl is one of the coolest, most customizable, and surprisingly achievable DIY projects out there.

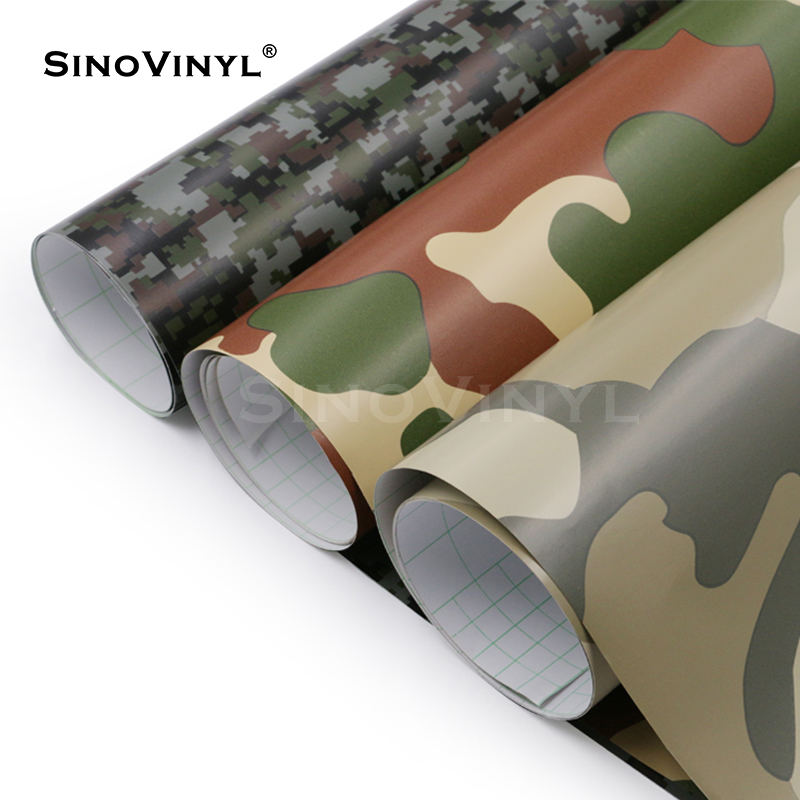
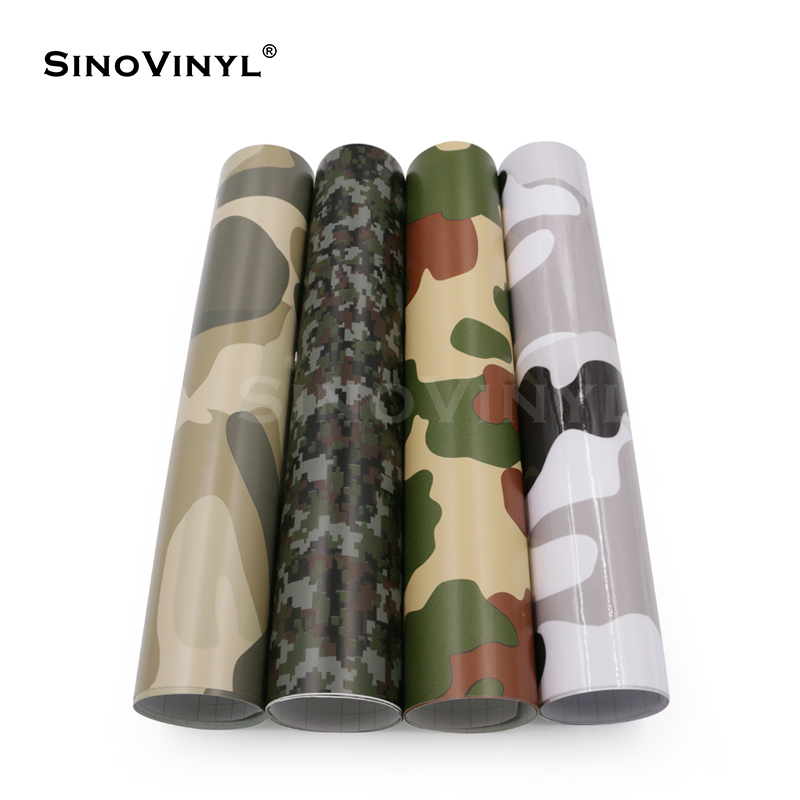
1. What Is Camo Car Wrap Vinyl? (And Why It’s DIY-Friendly)
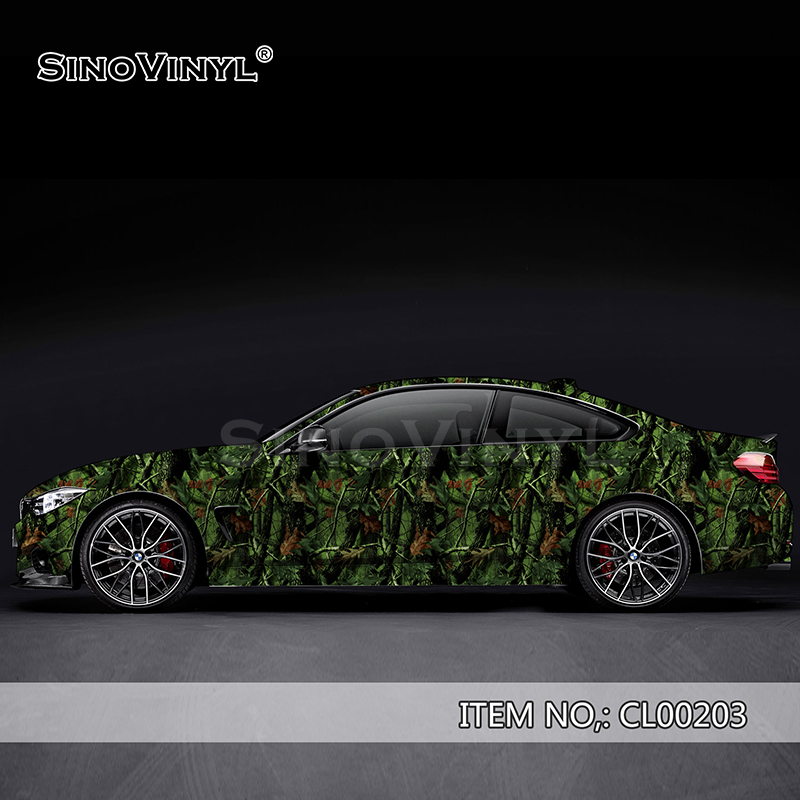
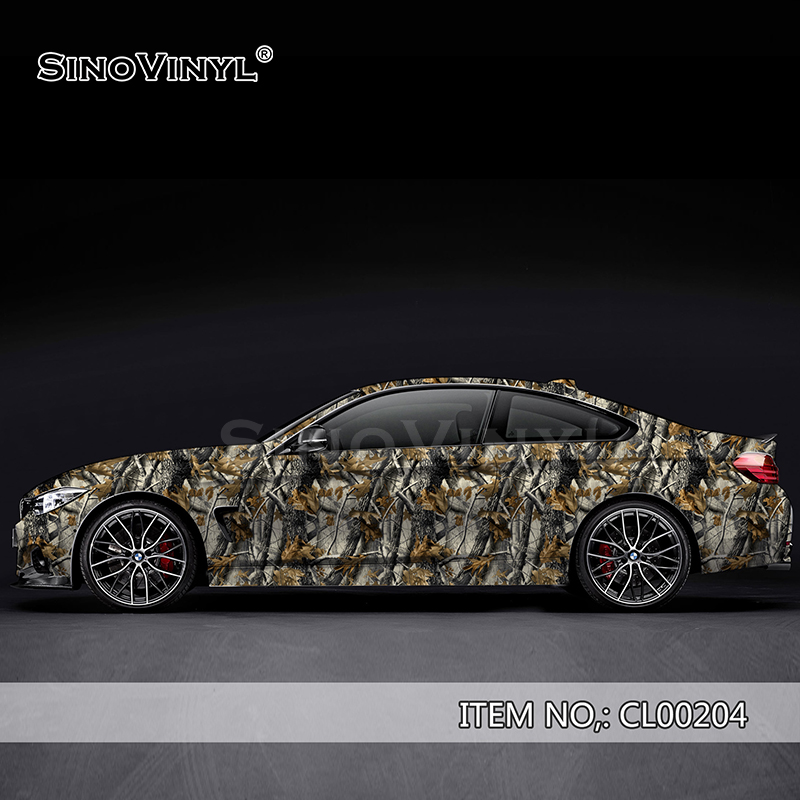
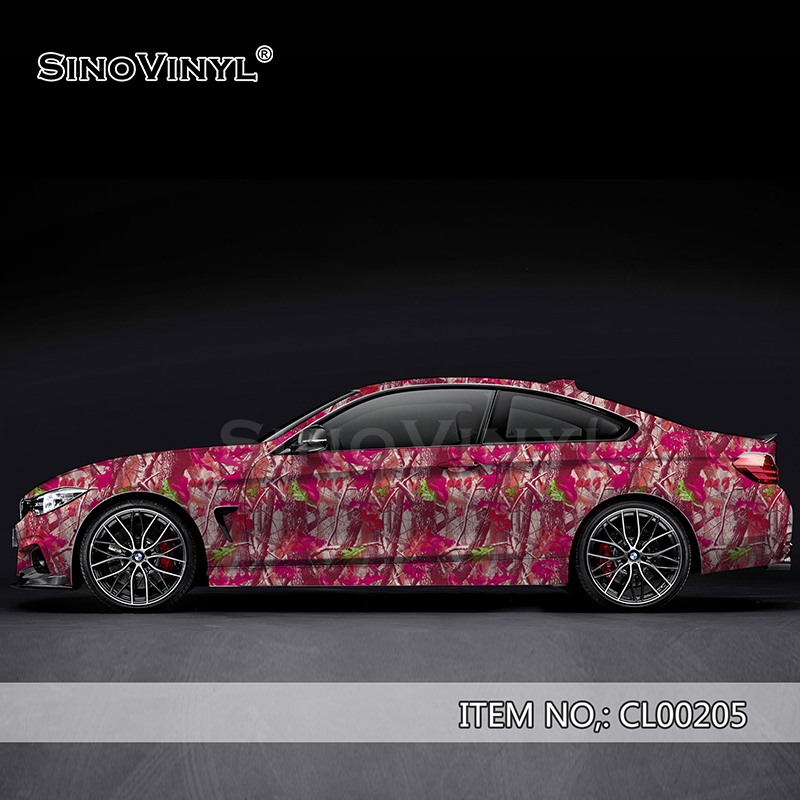
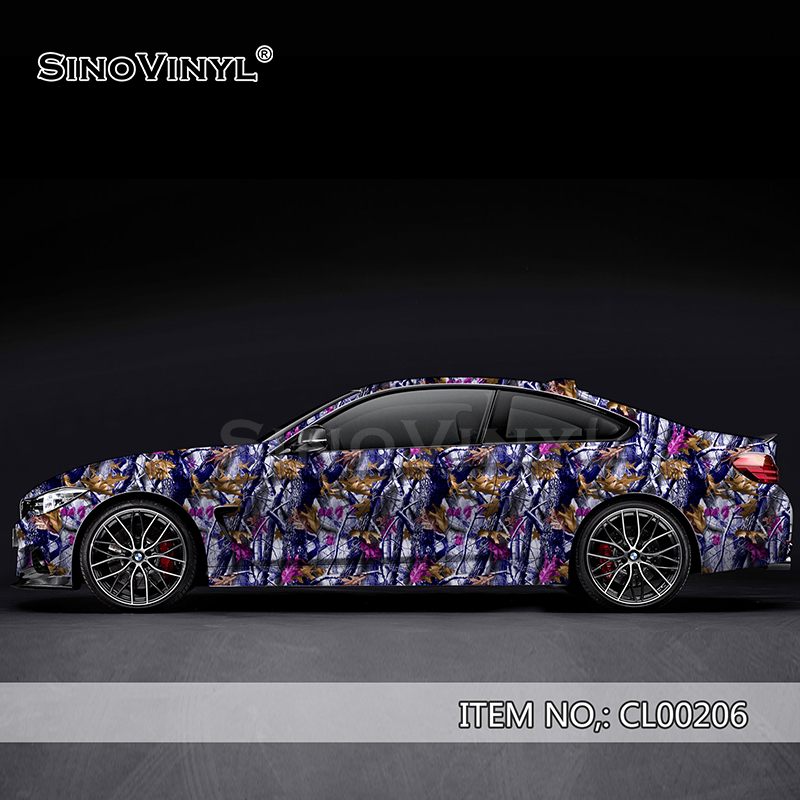
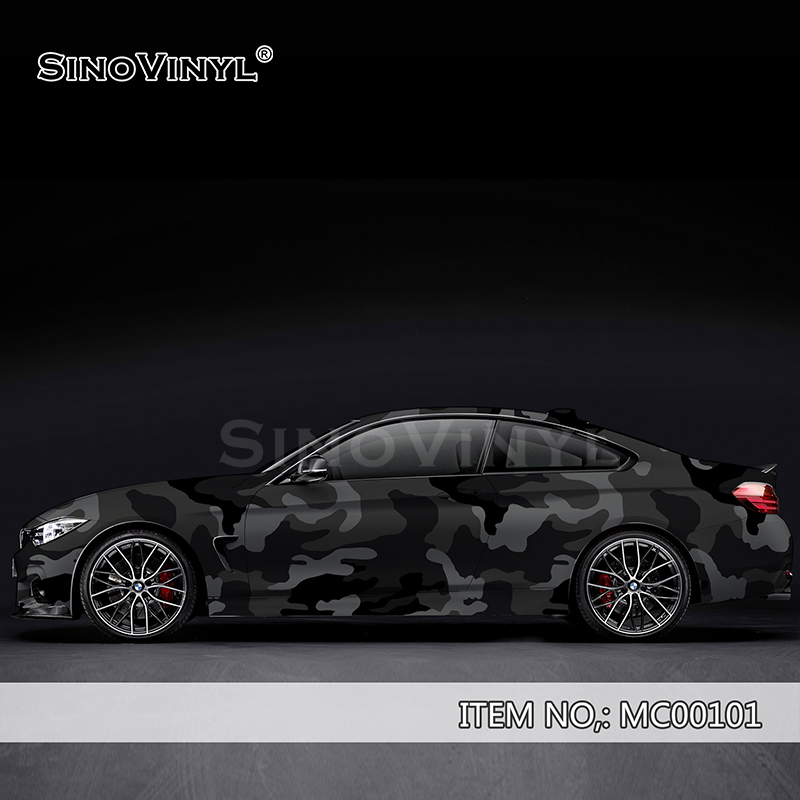
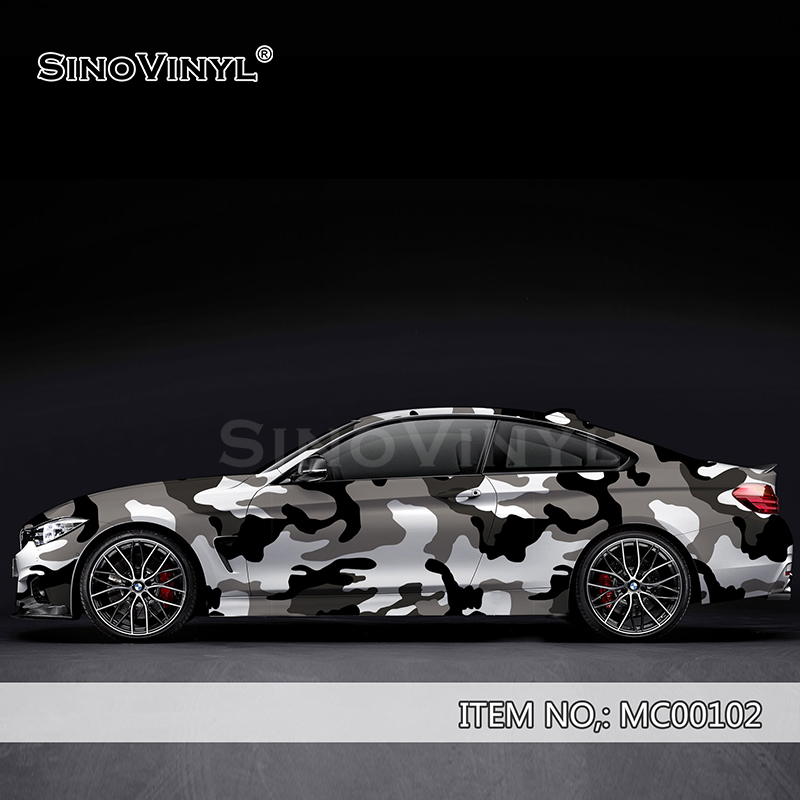
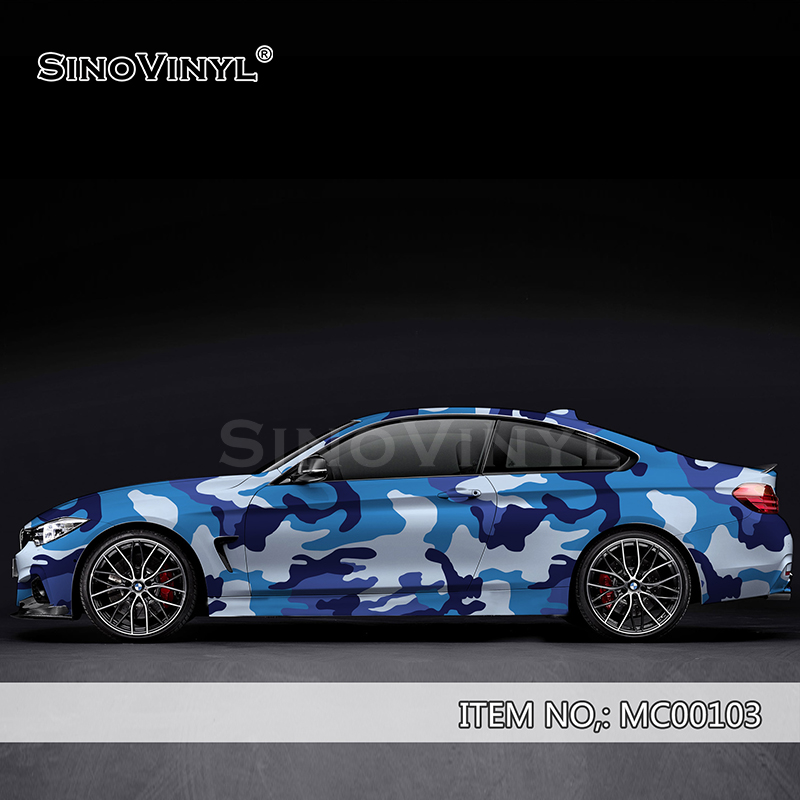
Let’s start with the basics: camo car wrap vinyl is a specially printed adhesive vinyl film,it’s designed to make your car with camouflage. Instead of using permanent paint, the camo wrap dress up your car with a camo pattern — whether it’s classic woodland, desert tan, digital military-style, or even a custom artistic take.
Why it’s DIY-friendly? Painting requires professional tools, spraying skills, and a controlled environment.But vinyl wraps can be applied with basic tools and a bit of patience. You don’t need an auto body shop or years of experience. With some guidance, the right materials, and attention to detail, even a beginner can achieve a pro-level result. Also, vinyl wraps protect your original paint.It’s fully removable and offer flexible design — making them a perfect canvas for creative DIYers.

2. Essential Tools You’ll Need for a DIY Camo Car Wrap
Wrapping a car — especially in a detailed pattern like camo — requires the right gear. Here are some essential tools that will make your DIY camo wrap project go better:
- Squeegee: For smoothing out the vinyl and removing air bubbles.
- Heat Gun: Helps soften the vinyl for stretching around curves and contours.
- Razor Blade or Knife: For trimming excess material and clean cuts.
- Spray Bottle with Solution (Water + Soap): Lets you reposition the vinyl before it sticks fully.
- Tweezers or Detailing Picks: Great for tiny edges and hard-to-reach spots.
- Application Tape (Optional): Useful if you’re cutting patterns or letters in advance.
- Measuring Tape & Masking Tape: For planning and marking placement.
Preparing the right tools on hand before you start will save you from frustration and help you have smooth, bubble-free professional look.

3. What’s the advantages for Camo Car Wrap Vinyl compare to Painting
Why choose vinyl but not traditional car painting? Here’s the reason that camo car wrap vinyl is a good option, especially for DIYers:
- Cost-Effective: A good quality wrap is only a fraction of the cost of a professional paint job.
- No Permanence: Don’t like the look? Just peel it off.
- Paint Protection: The vinyl is like a shield, protecting your original paint from UV rays, scratches ect.
- Customization Freedom: You can choose virtually any pattern, color combo, or design — no limitations.
- Faster Process: Wrapping usually takes less time than painting, and there’s no need curing or drying period.
For DIYers, these advantages mean you can express your style, and protect your car — all without too much cost or committing to a permanent change.

4. Step-by-Step: Prepping Your Vehicle for Camo Wrap Vinyl
Preparation is very important,in order to getting a clean, bubble-free wrap. Here’s the way about how to get your vehicle wrap ready:
1.Wash carefully: Remove all dirt, grease, and wax.
2.Clay Bar (Optional but Recommended): Smooths the surface by removing embedded contaminants.
3.Dry Completely: It may lead to peeling and bubbles if moisture trapped under the vinyl
4.Remove Trim or Emblems: Makes wrapping easier and cleaner around edges.
5.Mask Off Windows & Non-Wrapped Areas: Protect glass, lights, and trim you don’t want covered.
A clean, smooth surface ensures maximum adhesion and helps you avoid costly mistakes. Think of it as priming the canvas before you paint — except in this case, your “canvas” is your car, and your “paint” is premium vinyl.

5. Cutting and Trimming Camo Wrap Vinyl for a Clean Fit
Once your vinyl is laid out and mostly adhered, it’s time for the detail work: cutting and trimming.
Start by squeegeeing out as much air as possible, then carefully trim around body lines, door handles, mirrors, and windows using a sharp blade. Go slowly — it’s better to take your time than to risk cutting too deep or nicking the paint.
For complex areas, leave a little extra material, then fine-tune with precision cuts after everything is set. The goal is a seamless, factory-like finish that highlights both your wrapping skills and the cool camo design.

6. Using Heat and Stretching Techniques for Complex Areas
Camo wraps often need to wrap on tight curves — like around bumpers, pillars, or side mirrors.The vinyl needs to stretch without distorting the pattern.,so we need heat and stretching.
Use a heat gun to warm the vinyl gently(don’t overdo it!),it will make it more pliable. Then, use your hands or a squeegee to stretch the material as you press it into place. Stretching is an art — pull too much and the pattern can warp; too little and it won’t conform to the shape.
If you’re new to this,please practice on flat or less visible areas first. With the right skill, even the trickiest spots can look flawless.

7. Common Mistakes to Avoid When Applying Camo Vinyl Yourself
Even experienced wrappers mess up sometimes — but being aware of these common pitfalls can save you a lot of headaches:
- Skipping Surface Prep: Dirt or wax = bubbles and peeling.
- Not Using Enough Solution: Makes repositioning nearly impossible.
- Over-Stretching the Vinyl: Causes shrinkage, warping, or pattern distortion.
- Rushing the Job: Patience is key — take your time, especially on curves.
- Ignoring Trapped Air Bubbles: Always squeegee from the center outward.
Knowing what notto do is just as important as knowing the right steps. Think of these as pro tips earned through trial and error — so you don’t have to learn them the hard way.

8. Maintaining Your Camo Car Wrap Vinyl (DIY Care Tips)
Your wrap isn’t invincible — but with proper care, it can last 3–7 years or more. Here’s how to keep it looking sharp:
- Hand Wash Only: Avoid automatic car washes with brushes.
- Use a Mild Soap: No harsh chemicals or abrasive scrubbers.
- Avoid Direct Sun When Possible: Prolongs vinyl life and prevents fading.
- Wax? Not Needed — but use a vinyl-safe protectant if you want extra shine
- Inspect for Edge Lift: Check and re-squeegee loose edges as needed.
Taking a few minutes every month to care for your wrap will keep it looking fresh and protect your investment.

9. Is a DIY Camo Car Wrap Really Worth It?
So… should you actually try wrapping your car in camo vinyl yourself? The answer depends on your goals, but for many DIY enthusiasts, the answer is a resounding yes.
Here’s why:
- It’s affordable
- It’s customizable
- It’s reversible
- It protects your paint
- It’s a fun and rewarding project
Sure, it takes time, patience, and a bit of practice — but there’s nothing quite like the satisfaction of stepping back and seeing your ride wearing a camo wrap you applied with your own two hands. Even if it’s not perfect, it’s uniquely you. And that’s pretty cool.
Camo car wrap vinyl is not only just a special style choice,it’s also a funny, cost-friendly, and good achievable way for DIY enthusiasts.They can transform their vehicles with a personalized looking. Whether you’re going for which style for looking, wrapping your car with vinyl gives you the freedom to experiment without the permanence (or price tag) of paint. With the right tools, a little patience, and the tips you’ve learned here, you can tackle this project with confidence and creativity. So why not give it a chance to try? Your dream camo ride might be just a few cuts and squeegee strokes away — and the best part? You did it yourself.