- Home
- Products
- Paint Protection Film
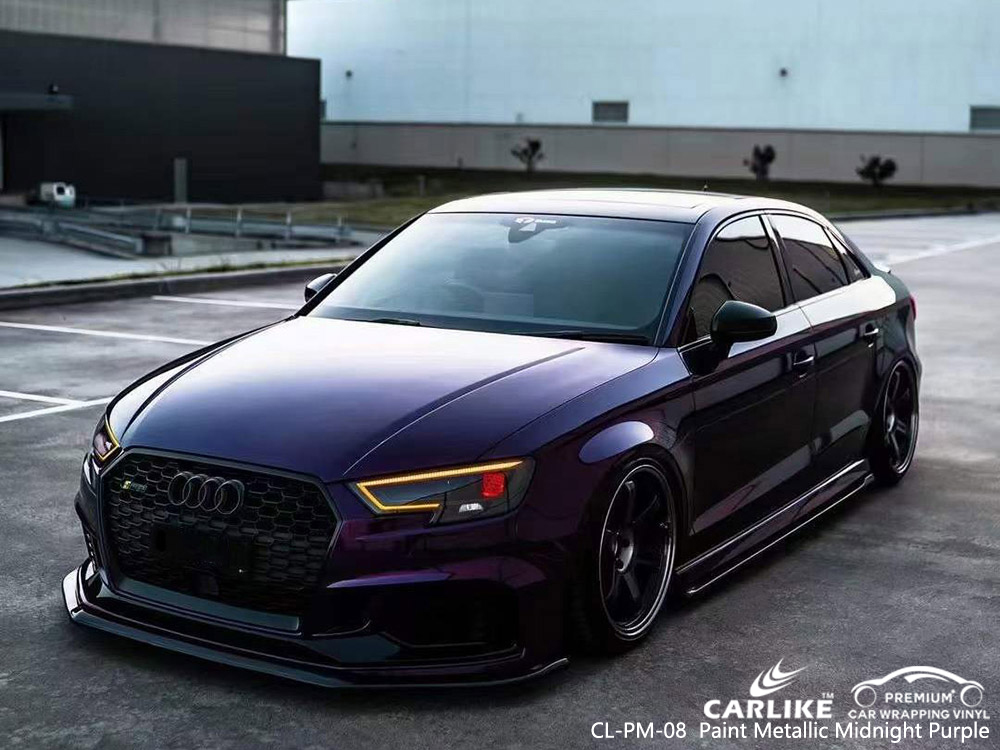
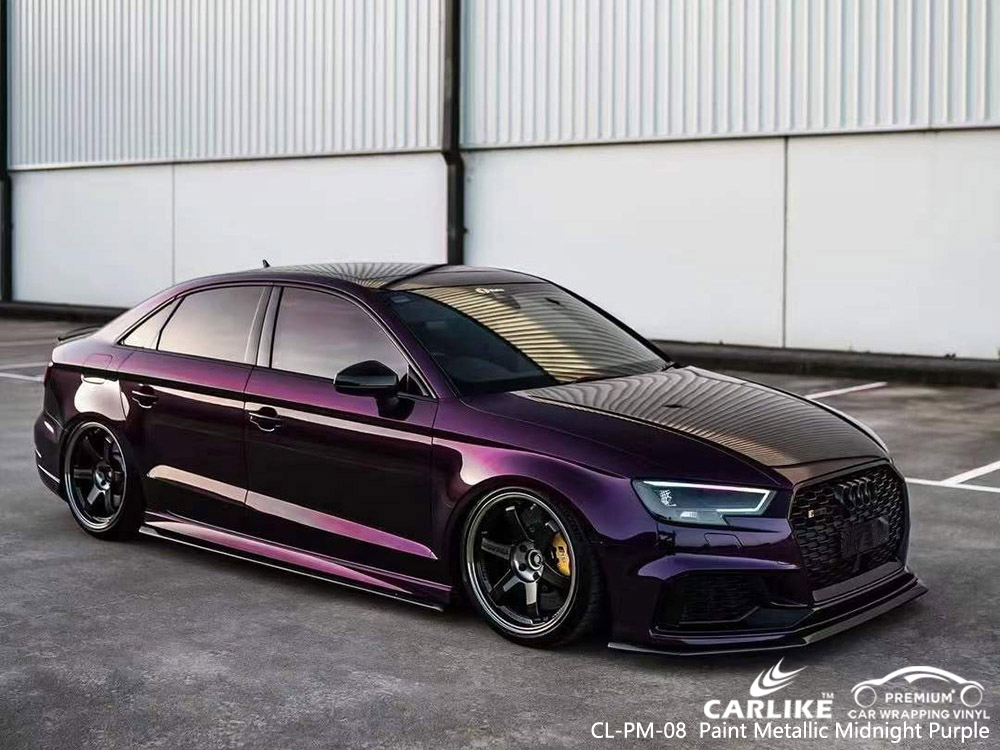
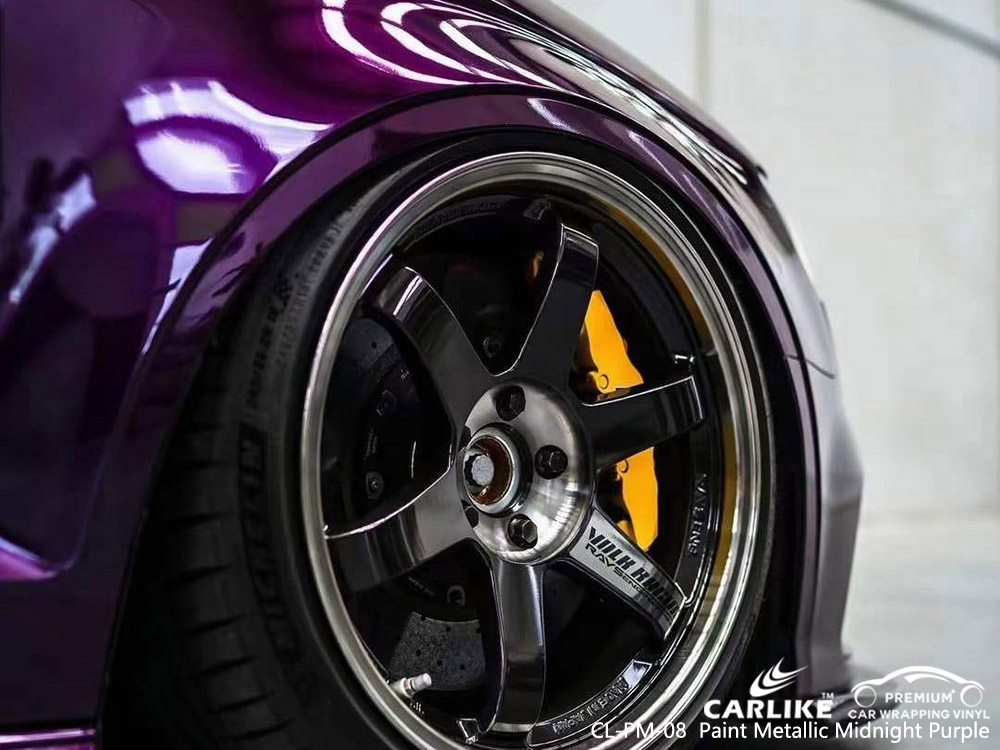
- Car Wrap Vinyl
- Carbon Fiber Vinyl
- Cutting Vinyl
- Heat Transfer Vinyl
- PU Textile Vinyl
- Glitter Textile Vinyl
- Rainbow Textile Vinyl
- Chameleon Textile Vinyl
- Metallic Textile Vinyl
- Reflective Textile Vinyl
- Photoluminescent Textile Vinyl
- Holographic Textile Vinyl
- Puffs Textile Vinyl
- Flock Textile Vinyl
- Camouflage Textile Vinyl
- Leather Textile Vinyl
- Printable Textile Vinyl
- Self Adhesive Vinyl
- Window Glass Film
- Accessories Tools
- About Us
- News
- Video
- Install Show
- DISTRIBUTOR
- Contact Us